
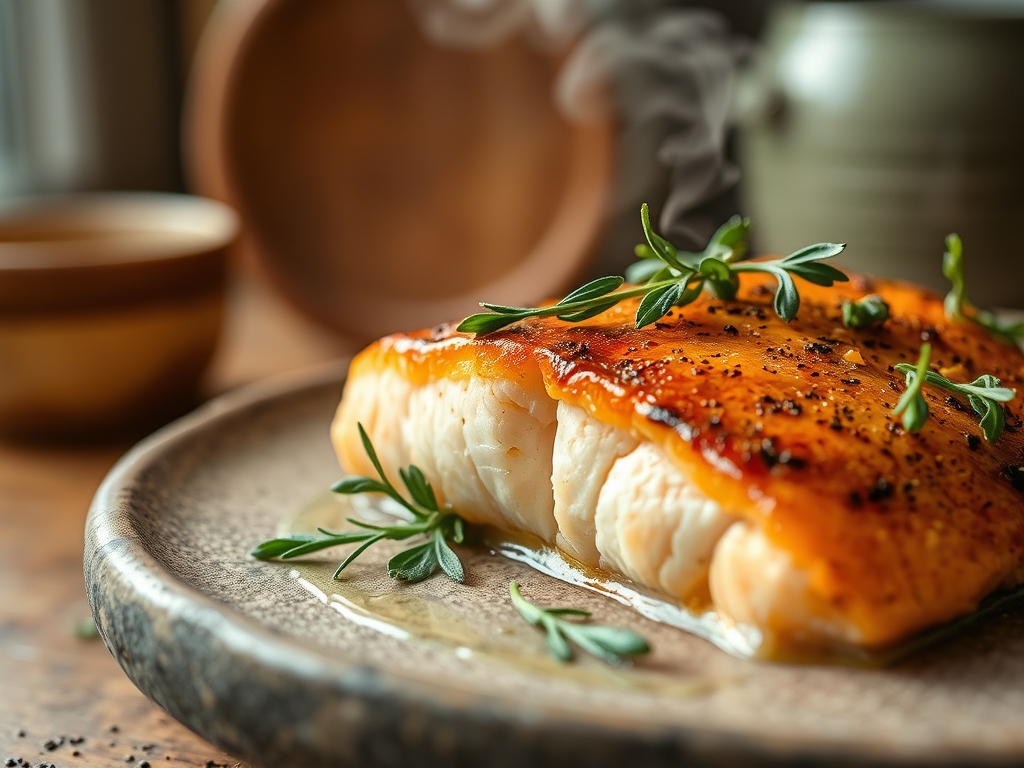
Imagine the sound of a heavy bottomed skillet meeting the flame; it is a crisp, metallic note that signals the start of something transformative. When we talk about martha stewart salmon recipes, we are not just discussing dinner; we are discussing the architectural precision of the perfect sear and the buttery flake of a slow roast. It is about that moment the skin shatters under a fork, revealing a translucent, succulent center that has been tempered to perfection. Whether you are hosting a sprawling garden party or a quiet Tuesday night, these methods elevate the humble fillet into a masterpiece of texture and taste.
The secret lies in the balance of fat, acid, and heat. Martha has always championed the idea that high quality ingredients require minimal interference, yet maximum technique. We are looking for that specific shade of sunset orange, the piquant bite of a preserved lemon, and the herbaceous lift of fresh dill. It is time to move past the dry, overcooked fillets of the past. We are diving into a world where salmon is treated with the reverence of a fine steak; handled with care, seasoned with intent, and cooked with a scientific understanding of protein coagulation.
The Gathers:
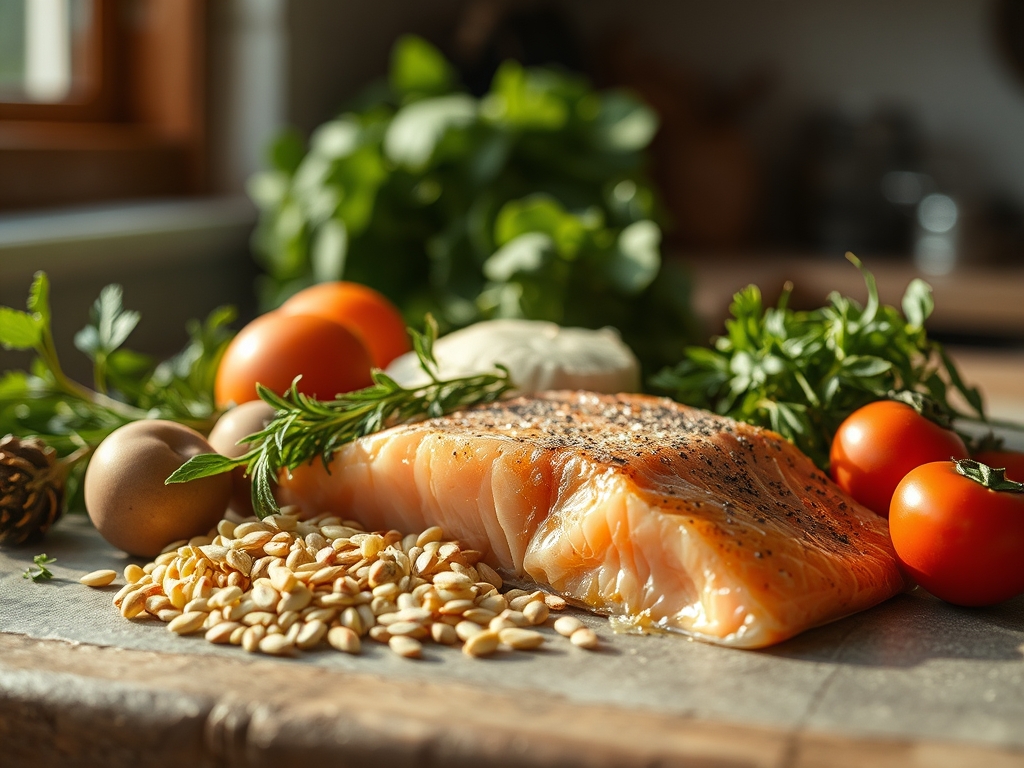
To execute these martha stewart salmon recipes with precision, your mise en place must be impeccable. Start with the centerpiece: four six ounce center cut fillets. Look for vibrant color and a firm texture that springs back when pressed. You will need a high smoke point oil, such as grapeseed or avocado oil, to facilitate the Maillard reaction without scorching. For the aromatic profile, gather a bunch of fresh dill, flat leaf parsley, and a single shallot.
Your pantry staples should include flaky sea salt, black peppercorns for fresh grinding, and unsalted European style butter. This butter has a higher fat content and lower water percentage, which is crucial for achieving a viscous, glossy pan sauce. You will also need a piquant element; think brined capers or a bright Meyer lemon. Use a microplane to zest the citrus, ensuring you only capture the oil rich flavedo and none of the bitter white pith.
Smart Substitutions: If you cannot find fresh dill, use tarragon for a sophisticated, anise forward profile. For those avoiding dairy, a high quality ghee provides the same nutty depth through Maillard browning of the milk solids but remains stable at higher temperatures. If you are out of shallots, the white parts of green onions offer a similar, though slightly more aggressive, sulfurous bite.
The Clock
Efficiency in the kitchen is about the Chef's Flow. This is the rhythmic sequence of tasks that ensures no component sits idle while another overcooks. For these salmon preparations, expect a total time of 25 minutes. Prep takes exactly 10 minutes; this includes patting the fish dry to remove surface moisture and finely mincing your aromatics. The actual cook time ranges from 8 to 12 minutes depending on your preferred level of doneness.
The "Flow" dictates that you preheat your skillet or oven first. While the metal absorbs thermal energy, you season the fish. By the time the oil is shimmering, the salt has begun to break down the surface proteins, creating a tacky texture that aids in crust formation. Never rush the preheat; a cold pan is the primary cause of protein sticking.
The Masterclass
1. The Surface Preparation
The first step is moisture management. Use a paper towel to aggressively pat the skin side of the salmon until it is bone dry. Moisture is the enemy of a crisp sear because it creates a layer of steam between the fish and the pan, preventing the temperature from rising above 212 degrees Fahrenheit.
Pro Tip: This is known as preventing evaporative cooling. If the surface is wet, the energy goes into boiling the water rather than browning the fish. A dry surface allows for immediate caramelization.
2. The Seasoning Bridge
Generously season the fillets with flaky salt from a height of about twelve inches. This ensures an even distribution of crystals. Do not season too early, or the salt will draw out internal moisture through osmosis, making the surface wet again.
Pro Tip: Salt acts as a denaturant. It begins to uncoil the protein strands on the surface, which allows them to reconnect more tightly when they hit the heat, creating a sturdier crust.
3. The Initial Sear
Heat your heavy bottomed skillet over medium high heat until the oil ripples. Lay the salmon in the pan away from you to avoid oil splatter. Press down firmly with a flexible fish spatula for the first 30 seconds. This prevents the skin from curling as the collagen fibers contract.
Pro Tip: This physical pressure ensures maximum contact between the skin and the hot metal, facilitating a uniform thermal transfer across the entire surface.
4. The Butter Baste
Once the skin is shatteringly crisp, flip the fish. Add a knob of butter, a smashed garlic clove, and your herbs to the pan. As the butter foams, use a large spoon to continuously drench the salmon in the hot, flavored fat. This is the "Arrosage" technique.
Pro Tip: Basting creates a convective heat environment. The hot fat carries the aromatic oils from the garlic and herbs into the crevices of the fish, while gently finishing the top side.
5. The Deglaze and Emulsify
Remove the fish and set it on a warm plate. Lower the heat and add a splash of dry white wine or lemon juice to the pan. Use a whisk to scrape up the fond, those delicious browned bits stuck to the bottom. Whisk in a final cold pat of butter to create an emulsion.
Pro Tip: This is the science of pan sauce emulsification. The cold butter contains lecithin, a natural emulsifier that binds the fat and the acidic liquid into a smooth, velvety coating.
6. The Carryover Rest
Let the salmon rest for three minutes before serving. This allows the internal juices, which have been pushed toward the center by the heat, to redistribute throughout the fillet.
Pro Tip: Thermal carryover will cause the internal temperature to rise by another 5 degrees after the fish leaves the pan. Pulling the fish at 125 degrees ensures a perfect medium rare 130 degrees after the rest.
7. The Zest Finish
Just before serving, use your microplane to grate fresh lemon zest directly over the fish. The volatile oils in the zest are highly aromatic but evaporate quickly when heated, so a raw finish provides the maximum sensory impact.
Pro Tip: This adds "top notes" to the dish. While the sear provides the "base notes" of savory depth, the fresh zest provides the high frequency aromatic lift that balances the fat.
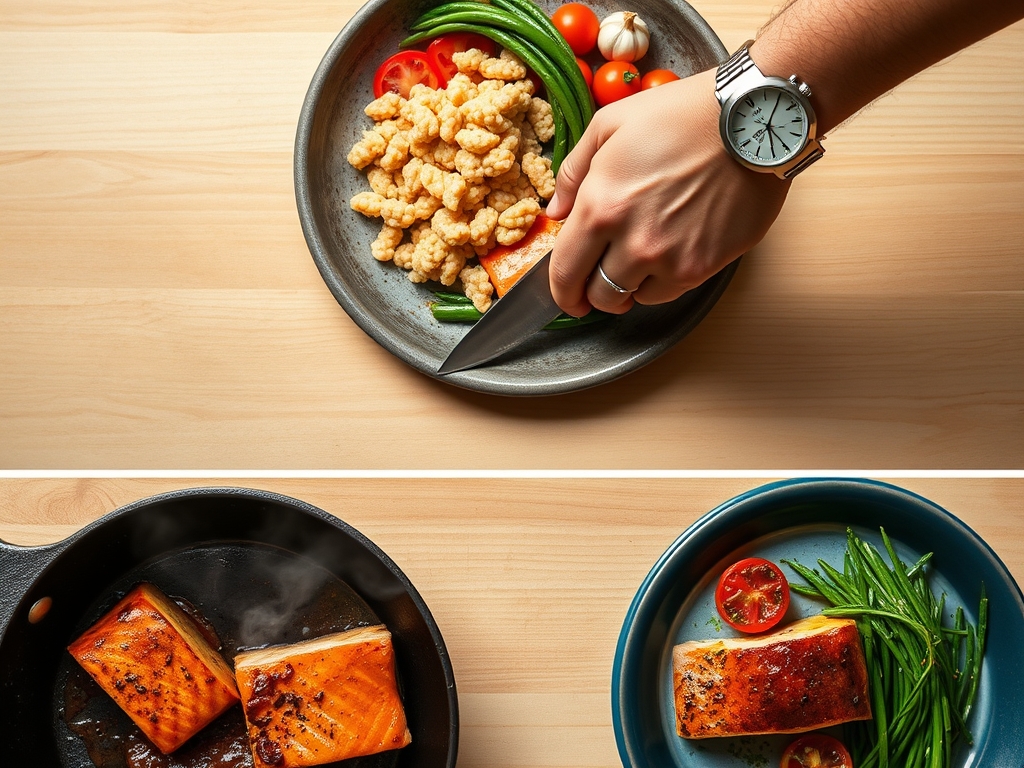
8. The Plating Precision
Place the salmon atop a bed of lightly dressed greens or a grain pilaf. Spoon the pan sauce over the center, leaving the edges of the crispy skin exposed. Note the texture in the step-by-step photos below for the ideal contrast between the flake and the crust.
Pro Tip: Plating on a warmed dish prevents the fat in the sauce from congealing, maintaining the silky mouthfeel until the very last bite.
The Deep Dive
When we look at the macro nutrition of these martha stewart salmon recipes, we are looking at a powerhouse of Omega 3 fatty acids, specifically EPA and DHA. A standard six ounce serving provides roughly 34 grams of high quality protein and 20 grams of healthy fats. It is naturally low in carbohydrates, making it a staple for various lifestyle diets.
For Dietary Swaps, the transitions are seamless. To make this Keto, simply serve alongside roasted asparagus or a cauliflower puree. For a Vegan alternative, use the same searing technique on a "steak" of King Oyster mushroom or extra firm tofu that has been pressed for two hours. For Gluten Free diners, ensure your pan sauce is thickened through reduction rather than a flour based roux.
The Fix-It:
- The Skin is Sogg: This happens if the pan wasn't hot enough or you didn't press down. Fix: Peel the skin off, pop it under the broiler for 60 seconds until it crisps like a cracker, and serve it as a garnish.
- Albumin Bleed: Those white bubbles are coagulated protein. It happens when salmon is cooked too fast at too high a heat. Fix: Brush on a little extra sauce or herbs to mask the appearance; it is still safe to eat!
- Sticking to the Pan: You likely tried to flip it too early. Fix: Turn off the heat and wait 60 seconds. As the metal cools slightly, the protein will often "release" itself.
Meal Prep: To reheat salmon without it turning into a rubbery mess, avoid the microwave. Use the "Low and Slow" method. Place the fillet in a 275 degree oven with a teaspoon of water and cover tightly with foil. This creates a gentle steam chamber that rehydrates the proteins without overcooking them.
The Wrap-Up
Mastering martha stewart salmon recipes is about embracing the chemistry of the kitchen. It is the marriage of a screaming hot skillet and the delicate, fat marbled flesh of the sea. By focusing on moisture control, thermal carryover, and the art of the emulsion, you transform a simple piece of protein into a restaurant quality experience. Now, grab your tongs, fire up that burner, and let the Maillard reaction work its magic. Your kitchen is about to smell like a five star bistro!
The Kitchen Table
How do I prevent salmon from smelling "fishy"?
Always buy fresh, never "fishy" smelling fillets. Rinse them in cold water and pat them completely dry. The odor comes from Trimethylamine Oxide breaking down; an acidic soak in lemon juice or milk for ten minutes can neutralize these compounds effectively.
What is the best internal temperature for salmon?
For a buttery, translucent texture, aim for an internal temperature of 125 to 130 degrees Fahrenheit. This is considered medium rare. Use a digital thermometer inserted into the thickest part of the fillet to ensure precision and prevent protein over coagulation.
Can I cook salmon straight from the freezer?
It is not recommended for searing. Thaw the salmon overnight in the refrigerator to maintain the integrity of the cell walls. Cooking from frozen results in an uneven temperature gradient, leaving the outside overcooked while the center remains icy and raw.
Why does my salmon have white stuff on it?
That white substance is albumin, a liquid protein that leaches out and coagulates when the muscle fibers contract too quickly. To minimize this, cook the fish at a slightly lower temperature or brine it briefly in salt water before searing.
Which pan is best for searing salmon?
A heavy bottomed stainless steel or cast iron skillet is ideal. These materials have high thermal mass, meaning they hold heat consistently when the cold fish hits the surface, ensuring a superior, even crust through efficient conductive heat transfer.