
Picture the moment your fork breaks through a crust so shattered and crisp it sounds like parchment; only to find a center as velvety as a French buttercream. This is the ultimate redemption arc for the humble tuber. While traditional smashed sweet potato recipes often yield a soggy; lackluster pile of orange mush; we are pivoting toward a high-heat culinary transformation. We are not just cooking; we are engineering a contrast of textures that defies the standard holiday side dish. By leveraging the natural sugars of the Beauregard or Jewel variety; we can achieve a structural integrity that holds up against bold; savory fats. This process relies on a precise two stage cooking method that turns starches into a caramelized lattice. Forget what you know about the cloying sweetness of marshmallows and brown sugar. Today; we are leaning into the piquant; the salty; and the deeply savory. Grab your heaviest sheet pan and a sturdy glass bottom; because we are about to turn a simple root vegetable into a masterpiece of molecular gastronomy that will leave your guests questioning everything they thought they knew about dinner.
The Gathers:
Before we ignite the burners; we must assemble a mise-en-place that respects the chemistry of the potato. You will need roughly two pounds of small to medium sweet potatoes; ideally uniform in size to ensure a synchronized cook time. Look for specimens with smooth; taut skin; as any shriveling indicates a loss of internal moisture that will affect the final viscous texture.
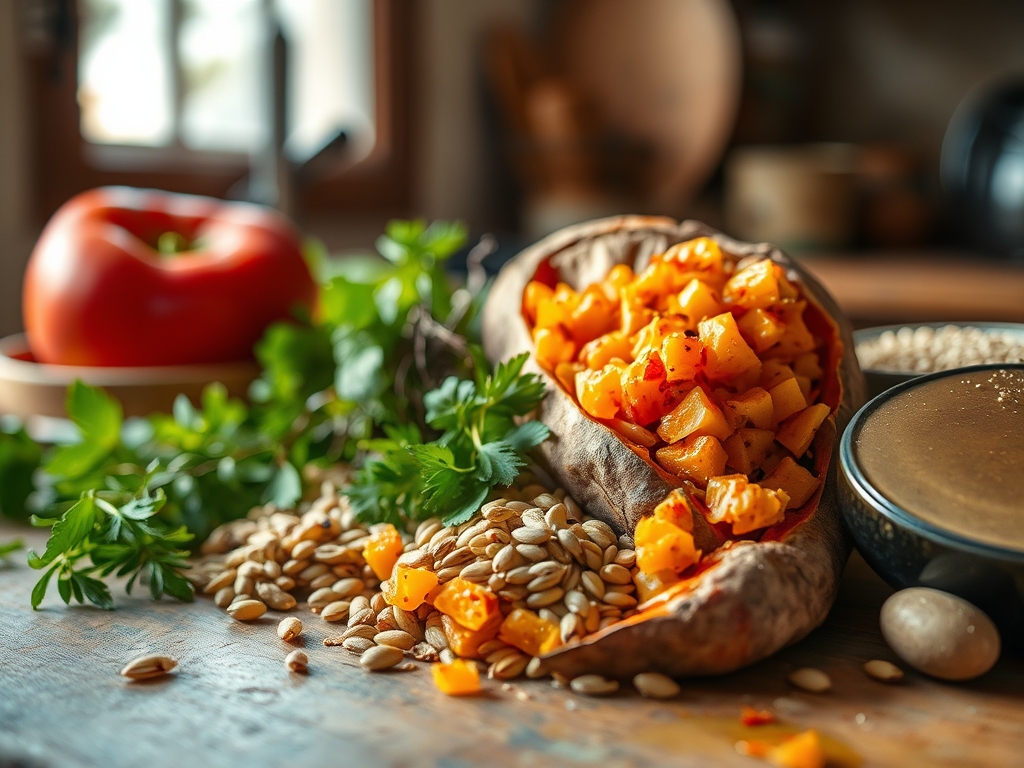
For the fat profile; we are using a combination of clarified butter (ghee) and a high-smoke-point oil like avocado oil. Clarified butter allows us to reach the high temperatures necessary for the Maillard reaction without burning the milk solids. Your aromatics should include fresh rosemary; three cloves of garlic; and a pinch of smoked paprika to provide an earthy base note. A microplane is essential here for grating the garlic into a fine paste that will infuse the oil without leaving bitter; burnt chunks on the skin.
Smart Substitutions: If you are catering to a vegan palate; swap the ghee for a refined coconut oil or a high-quality vegan butter alternative that contains lecithin for better browning. For a flavor pivot; replace the rosemary with fresh thyme or even a dash of cumin and lime zest for a bright; acidic finish. Always use a digital scale to measure your potatoes; as this ensures your seasoning ratios remain perfectly balanced across the batch.
The Clock:
Mastering the "Chef's Flow" is about managing heat and humidity. The total active time is roughly 15 minutes; but the process spans about 55 minutes from start to finish.
- The Parboil (20-25 minutes): This is the foundational stage where we soften the internal cell walls.
- The Steam Dry (5 minutes): A critical; often ignored step to remove surface moisture.
- The Smash and Roast (25 minutes): This is where the magic happens at 425 degrees Fahrenheit.
By the time the potatoes are in the oven; your kitchen should already be clean. Use the roasting window to prepare your finishing salts or a quick herb oil in a saucier. This timing ensures that the potatoes hit the table at their peak crispness; before the internal steam begins to soften the crust.
The Masterclass:
1. The Precision Parboil
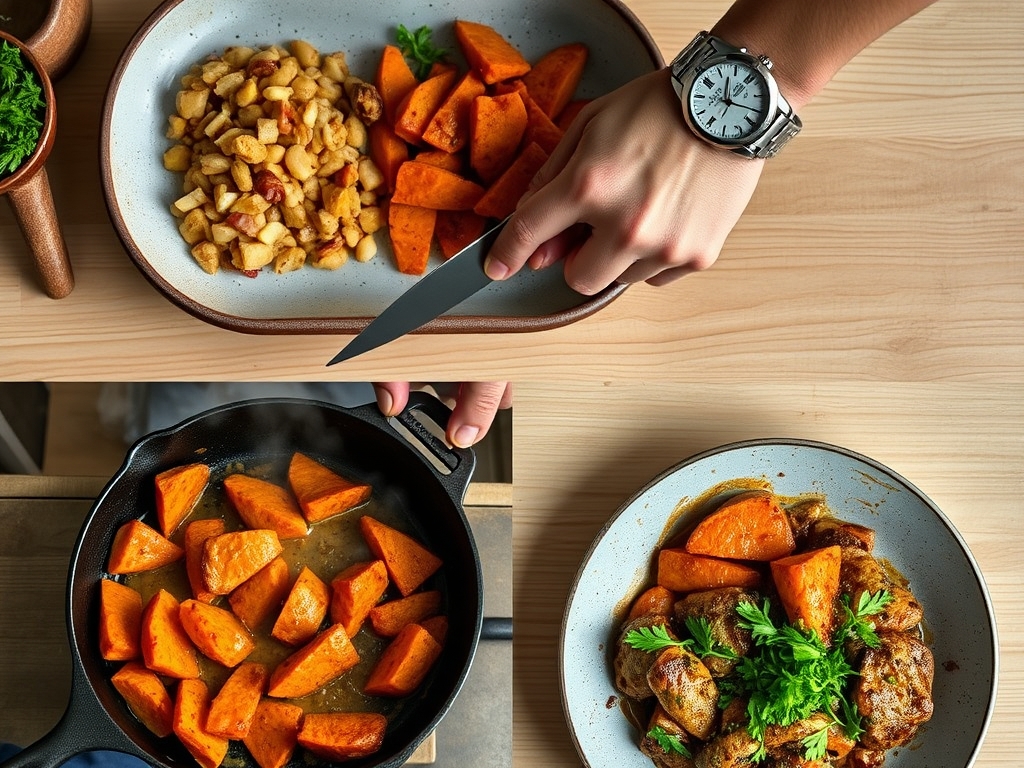
Place your scrubbed potatoes in a large pot of cold; heavily salted water. Bring to a boil and then simmer until they are fork-tender but not falling apart.
Pro Tip: Starting with cold water prevents the outside from becoming overcooked and mealy before the center reaches the proper temperature. This is known as thermal equilibrium; ensuring a consistent density from skin to core.
2. The Essential Evaporation
Once tender; drain the potatoes and let them sit in the hot pot for five minutes. This allows the residual heat to evaporate surface moisture.
Pro Tip: Surface moisture is the enemy of the crunch. If the skin is wet; the potato will steam in the oven rather than fry. This step prevents enzymatic browning from being masked by a soggy exterior.
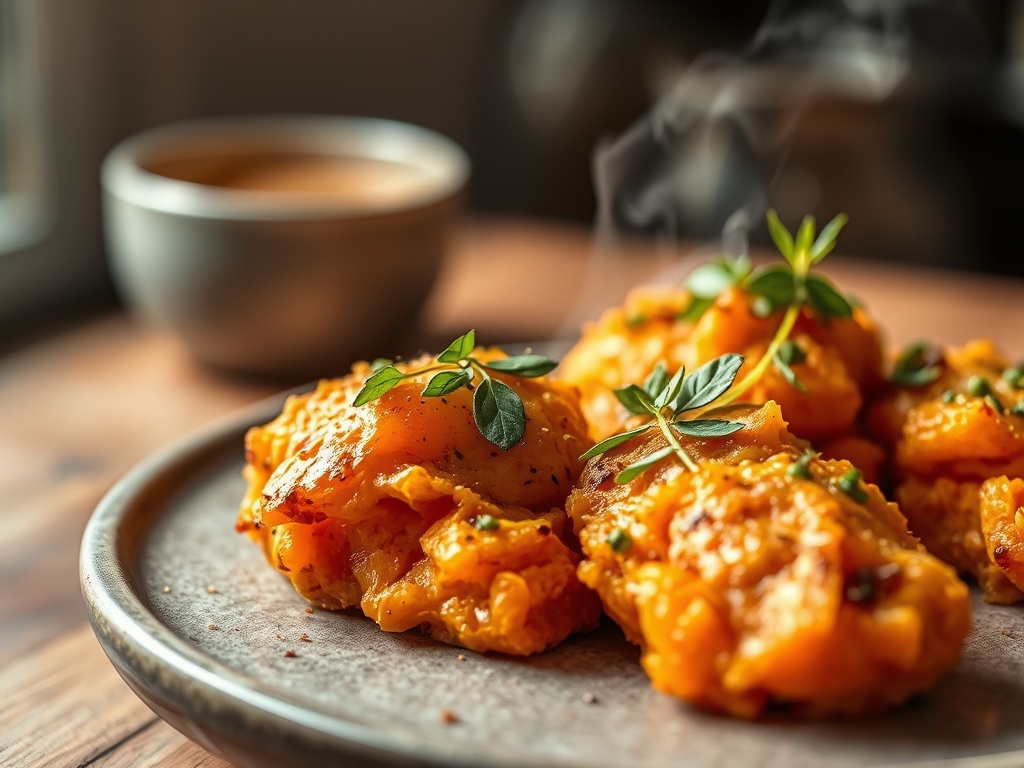
3. The Structural Smash
Place the potatoes on a parchment-lined baking sheet. Use the bottom of a heavy glass or a bench scraper to press down firmly until they are about half an inch thick.
Pro Tip: You want to create "craggy" edges. These increased surface areas are where the sugars will concentrate and caramelize. Increasing the surface-area-to-volume ratio is the secret to maximum crunch.
4. The Lipid Infusion
Whisk your melted ghee; oil; grated garlic; and herbs together. Generously brush this mixture over both sides of the smashed potatoes.
Pro Tip: Using a pastry brush ensures the fat gets into every nook and cranny. Fat acts as a heat conductor; transferring the oven's energy directly into the potato's starch molecules to render them crisp.
5. The High-Heat Roast
Slide the tray into a preheated 425 degree oven. Roast for 20 to 25 minutes; flipping halfway through with tongs to ensure even browning.
Pro Tip: Flipping the potatoes halfway through utilizes the direct heat of the baking sheet to sear the "bottom" side. This prevents one side from becoming "leathery" while the other stays soft.
6. The Finishing Touch
Remove from the oven and immediately sprinkle with flaky sea salt and a squeeze of lemon juice.
Pro Tip: Adding acid at the end provides a "bright" contrast to the heavy fats. The salt should be added while the potatoes are still glistening with oil so it adheres to the surface.
The Deep Dive:
When we look at the macro nutrition of smashed sweet potato recipes; we see a powerhouse of Vitamin A and fiber. A single serving provides over 100 percent of your daily recommended intake of beta-carotene. To keep this Keto-friendly; one would have to limit portions significantly due to the natural starch content; but for a Paleo or Gluten-Free lifestyle; this is the gold standard of "clean" carbohydrates.
The Fix-It:
- Problem: The potatoes are falling apart when smashed. Fix: You overboiled them. Next time; pull them when a knife meets slight resistance in the center.
- Problem: They are not getting crispy. Fix: Your oven temperature is too low or you crowded the pan. Give them space so the air can aerate the edges.
- Problem: The garlic is bitter. Fix: You used minced garlic from a jar or chopped it too large. Use a microplane to create a paste that melts into the oil.
Meal Prep: To reheat these while maintaining "day-one" quality; avoid the microwave at all costs. The microwave vibrates water molecules; which will turn your crisp crust into a rubbery mess. Instead; use an air fryer at 370 degrees for 4 minutes or a heavy-bottomed skillet with a touch of oil to re-crisp the bottom.
The Wrap-Up:
There you have it; the definitive guide to conquering smashed sweet potato recipes with scientific precision and a bit of kitchen swagger. By focusing on moisture control and high-heat fats; you have elevated a basic root vegetable into a side dish that steals the spotlight. Whether you are serving these alongside a seared ribeye or a bright kale salad; the contrast of the caramelized exterior and the pillowy center is a culinary win every single time. Now; go forth and smash with confidence!
The Kitchen Table:
Why are my smashed sweet potatoes soggy?
Sogginess usually results from excess moisture. Ensure you steam-dry the potatoes after boiling and avoid crowding the baking sheet. High heat (425F) is essential to evaporate water quickly and create a crisp; caramelized crust through the Maillard reaction.
Can I make these ahead of time?
Yes. You can parboil and smash the potatoes up to 24 hours in advance. Store them in the fridge on a tray. When ready to serve; brush with oil and roast at high heat to ensure a fresh; crunchy texture.
What is the best potato for smashing?
Choose medium-sized Jewel or Beauregard sweet potatoes. They have a higher sugar content than white potatoes; which aids in caramelization. Their skins are also thin enough to become pleasantly crisp without becoming tough or leathery during the roasting process.
Do I need to peel the potatoes?
No; keep the skins on! The skin provides the structural integrity needed to hold the potato together after smashing. It also contains the majority of the fiber and becomes incredibly crispy when roasted with clarified butter or oil.