
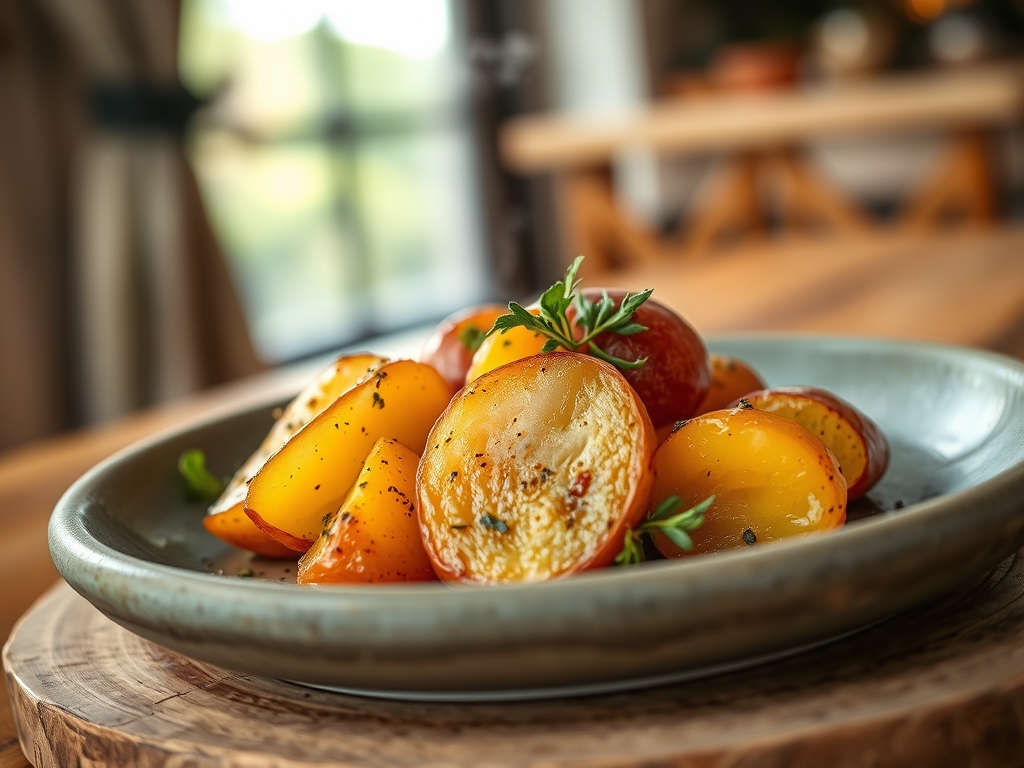
Picture the steam rising from a heavy-bottomed pot; it carries that earthy, sweet aroma that only a waxy tuber can provide. We have all been there, staring at a plate of mealy, waterlogged spuds that crumble under the slightest pressure of a fork. It is a culinary tragedy because the perfect boiled red potato recipes should offer a snappy, thin skin that yields to a creamy, buttery interior. Red potatoes are low in starch and high in moisture, making them the undisputed champions of the boiling pot. They hold their structural integrity through the heat, unlike their russet cousins which dissolve into mush.
We are going to master the art of the simmer today. Whether you are prepping for a piquant German potato salad or a simple herb-flecked side dish, the secret lies in the chemistry of the cell wall. We are aiming for a texture that is dense yet velvet-smooth. By the time we finish, you will be treating these crimson gems with the same respect a pastry chef gives a delicate macaron. Grab your favorite apron and let us turn these humble roots into a masterpiece of texture and flavor.
The Gathers:
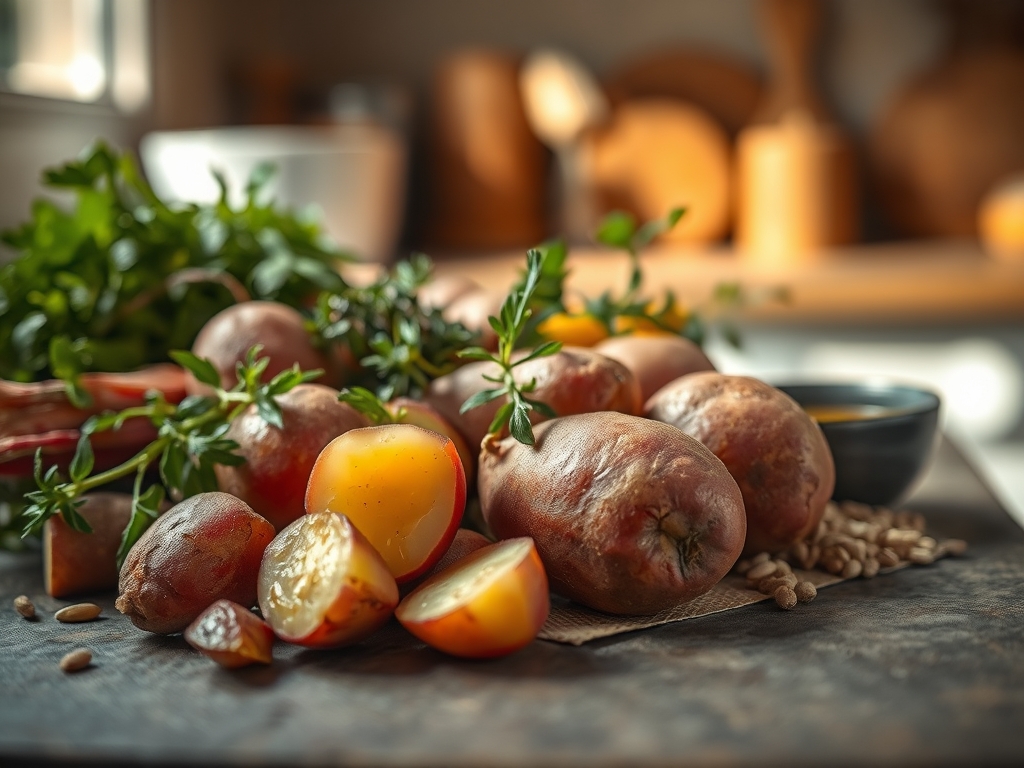
The mise-en-place for boiled red potato recipes is deceptively simple, but every component serves a structural purpose. Start with two pounds of small to medium red potatoes; look for skins that are taut and free of "eyes" or soft spots. You will need high-quality sea salt; do not be shy here. We need enough to create a saline environment that seasons the potato from the inside out through osmotic pressure.
For the aromatics, gather fresh rosemary sprigs, smashed garlic cloves, and a bay leaf. These will infuse the cooking water, transferring volatile oils into the potato flesh as it expands. For the finishing touch, you will need high-fat European butter or a viscous extra virgin olive oil to emulsify with the residual heat.
Smart Substitutions: If you are out of red potatoes, New Potatoes or Yukon Golds are the only acceptable pivots due to their similar waxy profile. If you want a piquant kick without the dairy, swap butter for a splash of white balsamic vinegar and a teaspoon of Dijon mustard. Use a digital scale to ensure your potato sizes are uniform; this is the only way to guarantee they all reach the finish line at the exact same moment.
The Clock
The "Chef's Flow" is all about overlapping tasks so you are never standing idle. Prep time takes roughly 10 minutes, mostly consisting of scrubbing the skins and halving the larger tubers. The cook time ranges from 15 to 25 minutes depending on the size.
The real secret is the 5-minute "Steam Dry" phase after draining. This is the transition period where excess moisture evaporates, preventing a soggy final product. Total time from pantry to plate is approximately 40 minutes. While the water comes to a boil, use your bench scraper to clear your workstation and prep your herb garnishes with a sharp chef's knife. Efficiency is the hallmark of a professional kitchen.
The Masterclass
1. The Cold Start
Place your cleaned, uniform potato pieces into a large pot and cover them with cold, filtered water. Never drop potatoes into boiling water; the exterior will overcook and slough off before the center reaches the proper temperature.
Pro Tip: Starting in cold water allows the pectin in the cell walls to strengthen gradually. This thermal regulation ensures a uniform texture from the skin to the core, preventing the "shattering" effect often seen in rushed boiling.
2. The Saline Infusion
Add a generous tablespoon of salt once the water is in the pot. The water should taste like the ocean. This is your only chance to season the interior of the potato.
Pro Tip: Salt raises the boiling point of water slightly, but more importantly, it prevents the potatoes from absorbing too much water. This maintains a viscous internal texture rather than a watery one.
3. The Gentle Simmer
Bring the pot to a boil, then immediately reduce the heat to a steady simmer. Aggressive boiling will cause the potatoes to knock against each other, damaging the delicate skins.
Pro Tip: High heat triggers rapid starch gelatinization. By keeping the temperature just below a rolling boil, you control the rate at which the starch granules swell, ensuring they do not burst and create a gummy mouthfeel.
4. The Tenderness Test
Use a paring knife or a metal skewer to test for doneness. The blade should slide in and out with zero resistance. If the potato clings to the knife, it needs three more minutes.
Pro Tip: This is the "Fork Tender" stage. Science calls it the point of intercellular cleavage, where the middle lamella (the "glue" between cells) has softened enough for the cells to slide past one another.
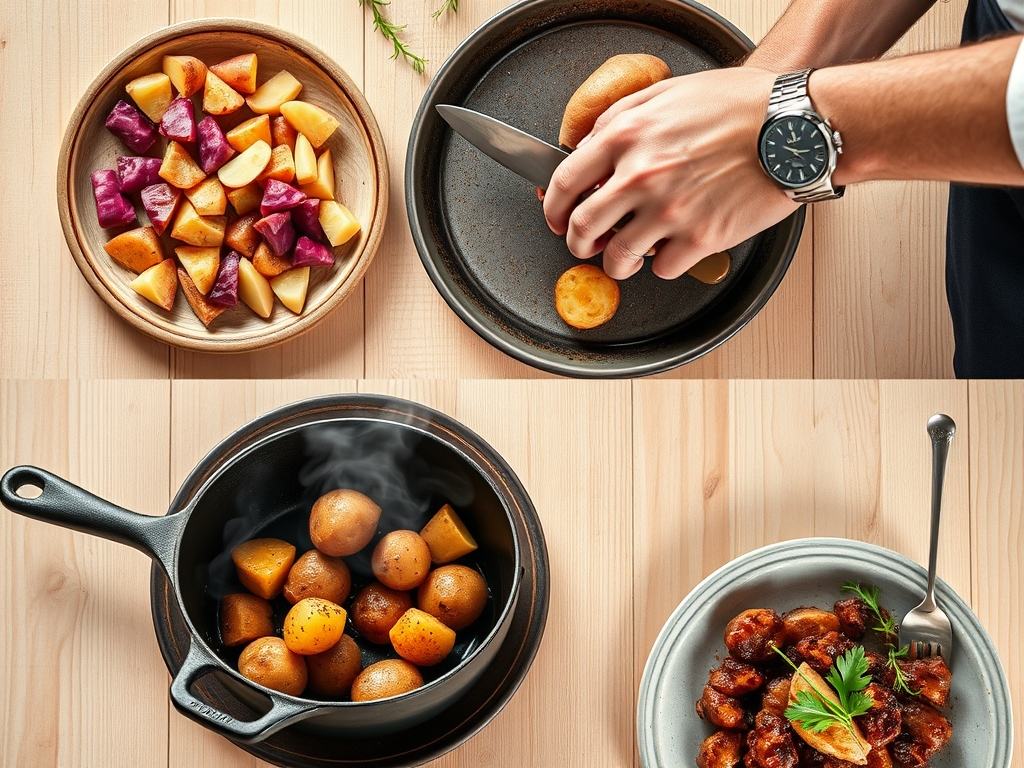
5. The Great Drain
Once tender, use a colander to drain the potatoes immediately. Do not let them sit in the cooling water, or they will begin to reabsorb the starchy liquid.
Pro Tip: Use tongs to handle the potatoes gently during this stage. Any bruising at this high temperature will lead to oxidative browning and a loss of aesthetic appeal.
6. The Steam Dry
Return the drained potatoes to the warm pot (off the heat) and let them sit uncovered for five minutes. You will see steam billowing off them; this is exactly what we want.
Pro Tip: This process utilizes evaporative cooling. Removing surface moisture is essential if you plan to toss them in oil or butter later, as it allows the fats to adhere to the skin rather than sliding off.
7. The Herb Mincing
While the potatoes dry, use a microplane to zest a lemon and finely mince your parsley and chives. The smaller the cut, the more surface area you create for flavor release.
Pro Tip: Cutting herbs releases enzymes that begin to degrade flavor quickly. By mincing them at the very last second, you ensure the brightest, most piquant aromatic profile.
8. The Emulsification
Add your butter, oils, and herbs to the warm pot. Gently toss the potatoes using a wooden spoon or by shaking the pot with a circular motion.
Pro Tip: The residual heat of the potatoes will render the butter. As you toss them, the starch on the surface of the potatoes mixes with the fat to create a light, natural emulsion that coats each piece perfectly.
9. The Final Seasoning
Taste one potato. Add a final pinch of flaky sea salt and a crack of black pepper. The heat should still be high enough to make the salt crystals "stick" without dissolving completely.
Pro Tip: This final layer provides a textural contrast. The flaky salt offers a crunch that highlights the creamy interior, a phenomenon known as sensory contrast which makes food more addictive.
The Deep Dive
When we look at the macro nutrition of boiled red potato recipes, we find a powerhouse of potassium and Vitamin C. One medium red potato contains about 150 calories and zero fat, provided you are light on the butter. For my Keto friends, potatoes are a "no-go" due to the carb count, but for those on a Gluten-Free or Vegan diet, these are a staple. Just swap the butter for a high-quality avocado oil or vegan ghee.
The Fix-It:
- Soggy Potatoes: You skipped the Steam Dry phase. Fix it by placing them on a baking sheet in a 300-degree oven for five minutes to draw out the moisture.
- Uneven Cooking: Your pieces were different sizes. Next time, use a digital scale or a ruler to ensure every piece is a 1.5-inch cube.
- Bland Flavor: You under-salted the water. Fix it by tossing the finished potatoes in a splash of chicken bone broth or a hit of lemon juice to brighten the existing flavors.
Meal Prep Science: To reheat and maintain "day-one" quality, avoid the microwave. The microwave agitates water molecules, making the potato rubbery. Instead, use a saucier or a small skillet with a teaspoon of water and a lid. The steam will gently penetrate the potato without ruining the texture.
The Wrap-Up
Mastering boiled red potato recipes is a foundational skill that elevates every meal from a Tuesday night dinner to a holiday feast. By understanding the chemistry of the cold start and the importance of the steam dry, you have moved beyond "just cooking" into the realm of culinary precision. These potatoes are creamy, flavorful, and structurally perfect. Now, go forth and flex those new skills; your dinner guests will definitely notice the difference that a little science makes.
The Kitchen Table
Why do my red potatoes always fall apart?
You likely started them in boiling water or cooked them at too high a temperature. Start in cold water and maintain a gentle simmer to keep the cell-wall pectin intact and prevent the tubers from shattering.
Should I peel red potatoes before boiling?
Keep the skins on! The skin of a red potato is incredibly thin and contains most of the nutrients. It also acts as a protective barrier that prevents the potato from absorbing excess water and becoming mushy.
How long do boiled red potatoes last in the fridge?
Stored in an airtight container, they stay fresh for three to five days. For the best texture, reheat them in a skillet with a little butter rather than using a microwave to avoid a rubbery consistency.
Can I overcook red potatoes?
Yes. Overcooking breaks down the intercellular bonds completely, turning the potato into a grainy mash. Always use a paring knife to check for tenderness at the 15-minute mark to ensure they remain firm yet creamy.