

Imagine the sound of a cold, marbled fillet hitting a searing hot griddle. That sharp, rhythmic hiss is the sound of moisture rapidly evaporating to make room for a golden crust. When you dive into the world of blackstone salmon recipes, you are not just cooking dinner; you are managing a high stakes thermal exchange. The outdoor griddle offers a massive surface area that a standard skillet simply cannot match. This allows for a consistent, edge to edge sear that locks in the fatty acids while the interior remains buttery and translucent. We are chasing that perfect contrast between a shatteringly crisp skin and a melt in your mouth center. It is time to turn your patio into a five star bistro by mastering the physics of the flat top.
The Gathers:
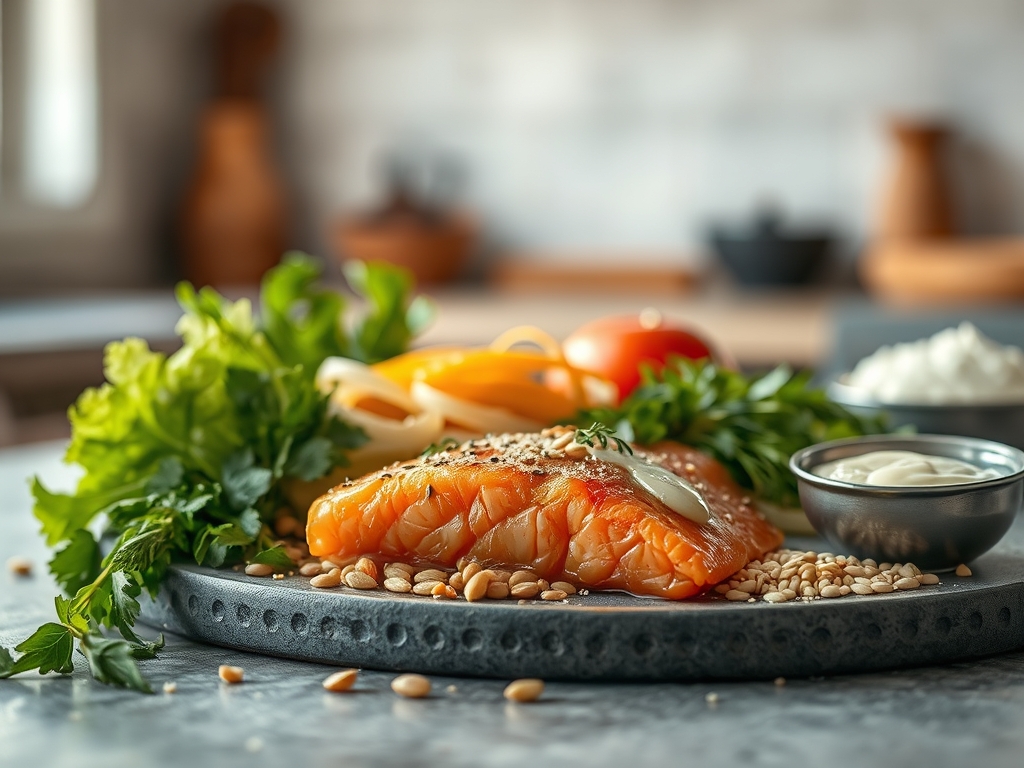
Before we ignite the burners, we must assemble our mise-en-place with clinical precision. You will need center cut Atlantic or King salmon fillets, ideally 1.5 inches thick to withstand the intense conductive heat. For the fat, skip the butter initially; its milk solids will scorch. Instead, reach for avocado oil or clarified butter (ghee) because of their high smoke points. You will also need coarse kosher salt to draw out surface proteins and a piquant finishing element like fresh lemon zest or microplaned horseradish.
Smart Substitutions:
If you are out of fresh citrus, a splash of verjus or a high quality white balsamic vinegar provides that necessary acid to cut through the fish's lipids. For those avoiding nightshades, swap paprika for ground sumac to achieve a similar deep red hue and a tart, earthy profile. Always keep a bench scraper nearby; it is the most underrated tool for keeping your cooking surface pristine between batches.
The Clock:
Mastering the "Chef's Flow" is about synchronizing your prep with the thermal momentum of the griddle.
- Prep Time: 15 minutes. This includes tempering the fish. Cold fish on a hot griddle causes the muscle fibers to contract violently, squeezing out moisture.
- Cook Time: 8 to 10 minutes.
- Total Time: 25 minutes.
The flow begins by patting the fish bone-dry. While the Blackstone preheats to a steady 400 degrees Fahrenheit, use this time to emulsify your finishing glaze in a saucier. Once the fish hits the metal, your focus shifts entirely to the "press and hold" technique to ensure maximum surface contact.
The Masterclass:
1. The Tempering Ritual
Take your salmon out of the refrigerator at least 20 minutes before cooking. Use a digital scale to ensure your fillets are uniform in weight, which guarantees they finish at the same time.
Pro Tip: This prevents "thermal shock." When the internal temperature of the fish is closer to the ambient air, the heat penetrates the center more evenly without overcooking the exterior layers.
2. The Desiccation Phase
Use paper towels to press every drop of moisture from the skin. A damp fillet will steam rather than sear, resulting in a rubbery texture instead of a crisp one.
Pro Tip: This facilitates the Maillard reaction. By removing water, you allow the heat to immediately begin rearranging amino acids and sugars into that savory, browned crust we crave.
3. Calibrating the Heat
Set your Blackstone to medium-high. You want the oil to be shimmering and just below its smoke point. Use an infrared thermometer to verify the surface is between 375 and 400 degrees Fahrenheit.
Pro Tip: High heat causes the viscous oils in the fish to render out quickly. This "self-basting" mechanism keeps the flesh moist while the skin becomes a protective heat shield.
4. The Initial Contact
Place the fillets skin-side down. Use a heavy bench scraper or a wide spatula to press down firmly for the first 30 seconds. This prevents the skin from curling as the proteins denature.
Pro Tip: This ensures total conduction. Without manual pressure, the skin often bows upward, leaving a "cold spot" in the center of the fillet that stays soggy.
5. Managing the Render
Do not touch the fish for at least 5 minutes. You will see the opaque color creep up the sides of the fillet. This is the visual indicator of heat transfer.
Pro Tip: This is known as albumin management. Moving the fish too early ruptures the delicate cell walls, causing that white protein (albumin) to leak out and clutter the presentation.
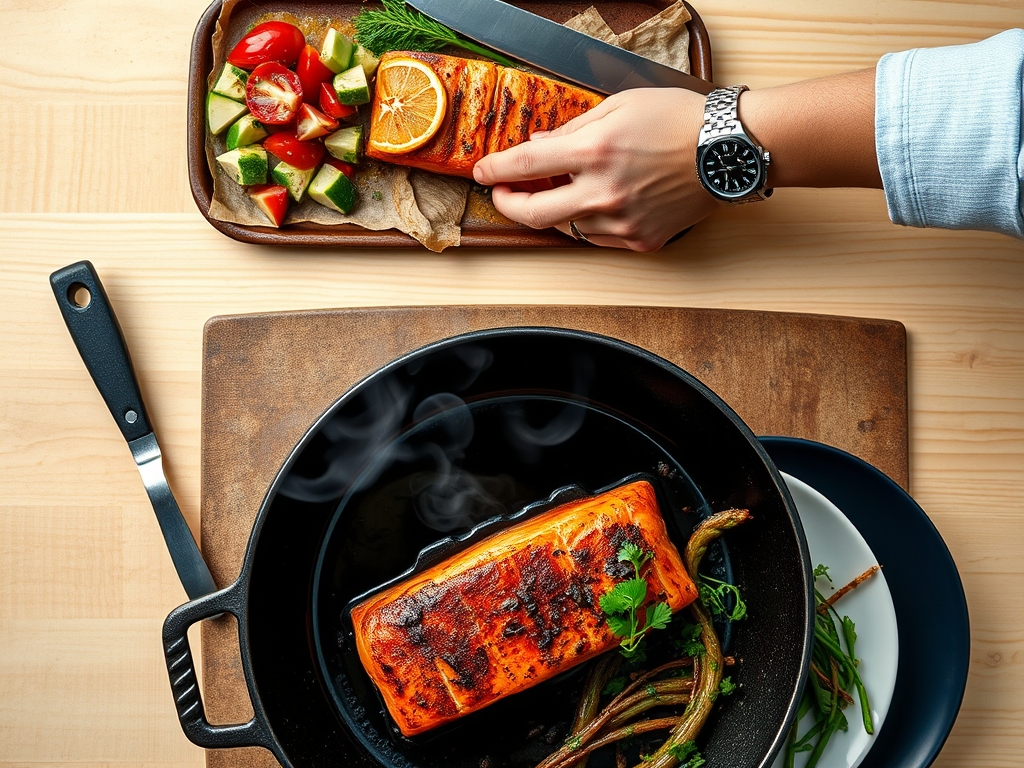
6. The Flip and Kiss
Once the skin is golden and releases easily from the griddle, flip the fish using long tongs. Sear the flesh side for only 1 to 2 minutes to create a light crust.
Pro Tip: The flesh side lacks the protective barrier of skin. Short exposure prevents the delicate fats from oxidizing and becoming "fishy" in flavor.
7. The Butter Baste
In the final 60 seconds, drop a knob of butter and crushed garlic onto the griddle next to the fish. Use your spatula to pool the melted fat and spoon it over the salmon.
Pro Tip: This adds a layer of aromatic infusion. The butter solids toast instantly, adding a nutty complexity that balances the salt and acid.
8. The Carryover Rest
Remove the salmon when the internal temperature hits 125 degrees Fahrenheit. Place it on a wire rack, not a flat plate, to rest for 3 minutes.
Pro Tip: This accounts for thermal carryover. The internal temperature will rise another 5 degrees while resting. The wire rack prevents steam from softening the bottom, keeping the skin crisp.
The Deep Dive:
From a nutritional standpoint, salmon is a powerhouse of Omega-3 fatty acids and high quality protein. A 6 ounce portion typically contains 34 grams of protein and 18 grams of healthy fats.
Dietary Swaps:
- Keto: This recipe is naturally keto-compliant. Increase the fat by serving with a lemon-chive compound butter.
- Vegan: Swap the salmon for thick slabs of "Lion's Mane" mushrooms. Use the same searing technique to achieve a meaty texture.
- Gluten-Free: Ensure your seasoning blends do not contain anti-caking agents derived from grain.
The Fix-It:
- Skin sticking? Your griddle wasn't hot enough or wasn't properly seasoned. Next time, wait for the oil to "shimmer" before adding the fish.
- Dry interior? You likely missed the carryover window. Pull the fish at 120-125 degrees Fahrenheit next time.
- Burnt exterior? Your spice rub might contain too much sugar. Save honey or maple glazes for the final 30 seconds of cooking.
Meal Prep:
To reheat salmon without it turning into cardboard, avoid the microwave. Use a low oven (275 degrees) with a splash of water in the pan, covered tightly with foil. This creates a gentle steam environment that rehydrates the proteins.
The Wrap-Up:
You have officially graduated from "griddle amateur" to a "salmon specialist." By understanding the science of moisture control and thermal conductivity, you have turned a simple piece of protein into a culinary masterpiece. Remember that the Blackstone is an extension of your kitchen; treat it with the same respect as your finest heavy-bottomed skillet. Now, grab your microplane, zest some lemon over those fillets, and enjoy the best salmon of your life!
The Kitchen Table:
How do I stop salmon from sticking to the Blackstone?
Ensure the griddle is preheated to 400 degrees and the fish is bone-dry. Use a high-smoke point oil and do not attempt to flip the fish until the skin naturally releases from the surface.
What is the best temperature for Blackstone salmon?
Aim for a griddle surface temperature of 375 to 400 degrees Fahrenheit. Pull the salmon off the heat when the internal temperature reaches 125 degrees for a perfect medium-rare finish after resting.
Should I cook salmon with the skin on?
Yes, always cook skin-side down first. The skin acts as an insulator, protecting the delicate flesh from the intense heat while providing a crispy, flavorful texture that enhances the overall dish.
How long does salmon take on the griddle?
Typically, salmon takes 8 to 10 minutes total. Spend about 6 to 7 minutes on the skin side to ensure maximum crispness, and only 1 to 2 minutes on the flesh side to finish.