
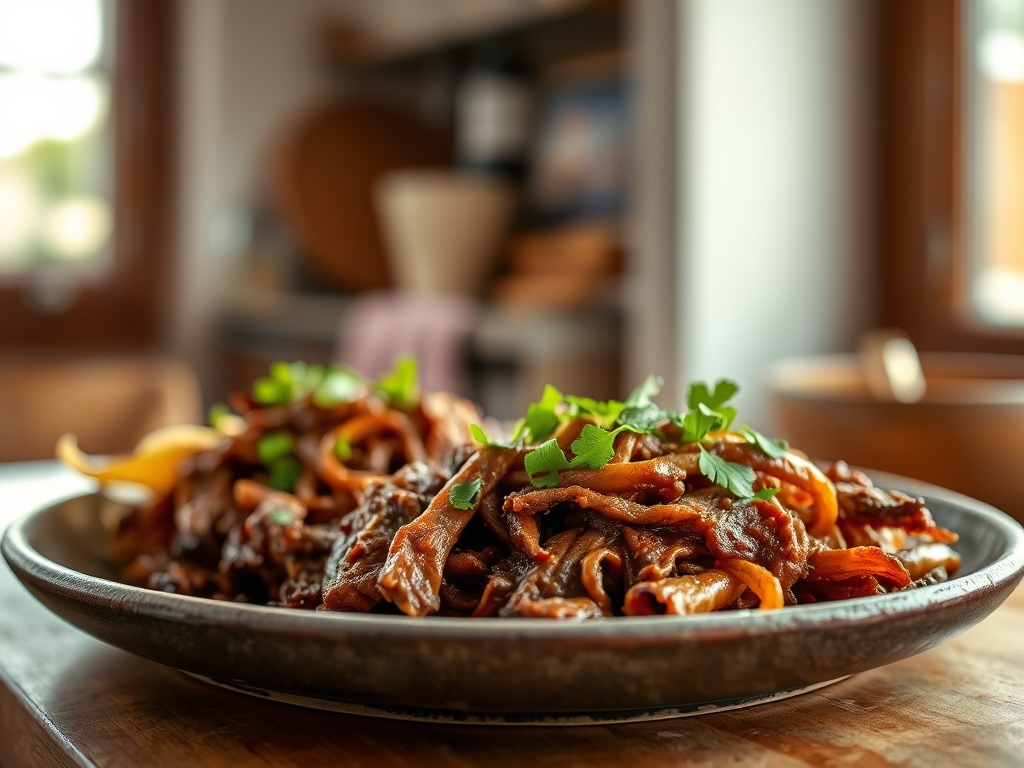
Picture this: you are standing in a kitchen where the air is thick with the scent of toasted cumin and slow-rendered fat. There is a specific, primal joy in watching a heavy-bottomed skillet transform a humble chuck roast into something legendary. If you are hunting for the ultimate collection of mexican pulled beef recipes, you have officially found your home base. We are not just talking about throwing meat in a pot; we are talking about the molecular magic that happens when collagen breaks down into silky gelatin. It is the difference between a dry, stringy mess and a piquant, melt-in-your-mouth masterpiece that coats the back of a spoon. Whether you are prepping for a rowdy taco Tuesday or a sophisticated weekend dinner, these techniques will turn you into the smartest cook in the room. We are going to dive deep into the chemistry of the sear, the patience of the braise, and the art of the shred to ensure every bite is a revelation of flavor and texture.
The Gathers:
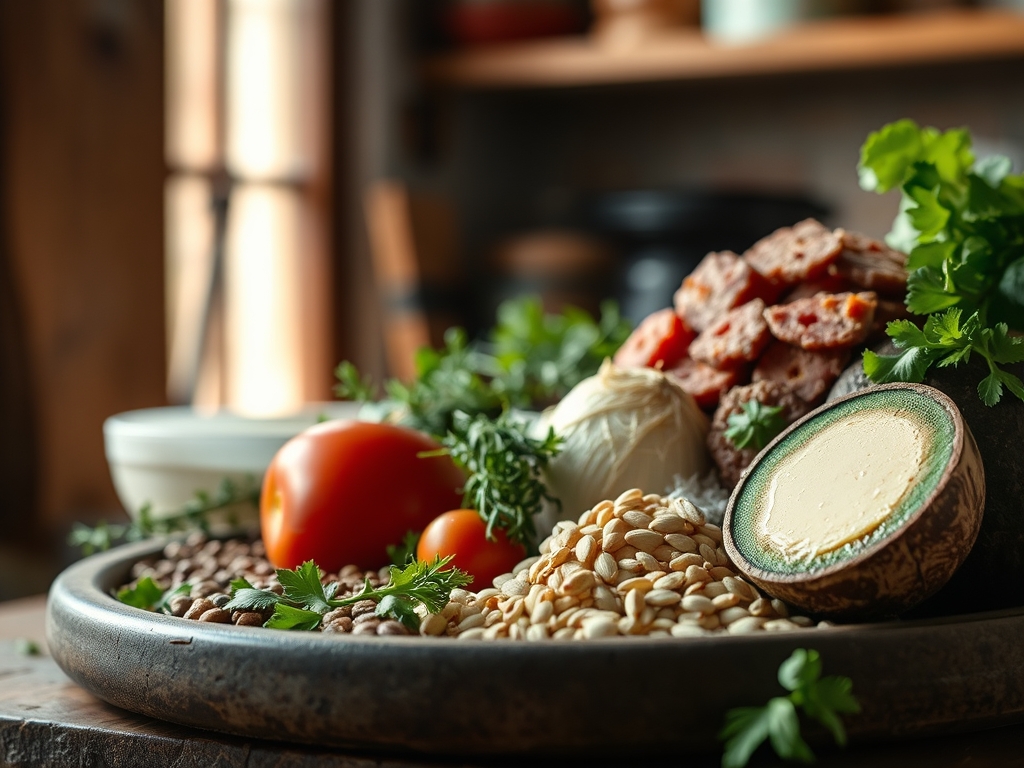
To master these mexican pulled beef recipes, your mise-en-place must be precise. Start with the protein: look for a well-marbled chuck roast or brisket. You want a high ratio of intramuscular fat and connective tissue. When you apply heat, these long-chain proteins undergo denaturing, eventually turning into a viscous liquid that provides that signature "juicy" mouthfeel. Grab your digital scale to ensure your spice ratios are consistent. You will need dried chiles like Ancho for sweetness and Guajillo for a subtle, earthy heat. Use a microplane to zest your citrus and grate fresh garlic into a fine paste; this increases the surface area for maximum flavor infusion.
For your liquids, skip the plain water. Reach for a rich beef bone broth or a dark Mexican lager to deglaze your pan. The acidity in the beer helps tenderize the muscle fibers while the sugars contribute to a deeper color. Smart Substitutions: If you are out of apple cider vinegar, use fresh lime juice to provide the necessary acid to cut through the richness. No dried chiles? A high-quality chipotle in adobo provides that smoky, piquant punch with half the effort. Always keep a bench scraper handy to organize your chopped aromatics like white onions and cilantro stems, which hold more flavor than the leaves.
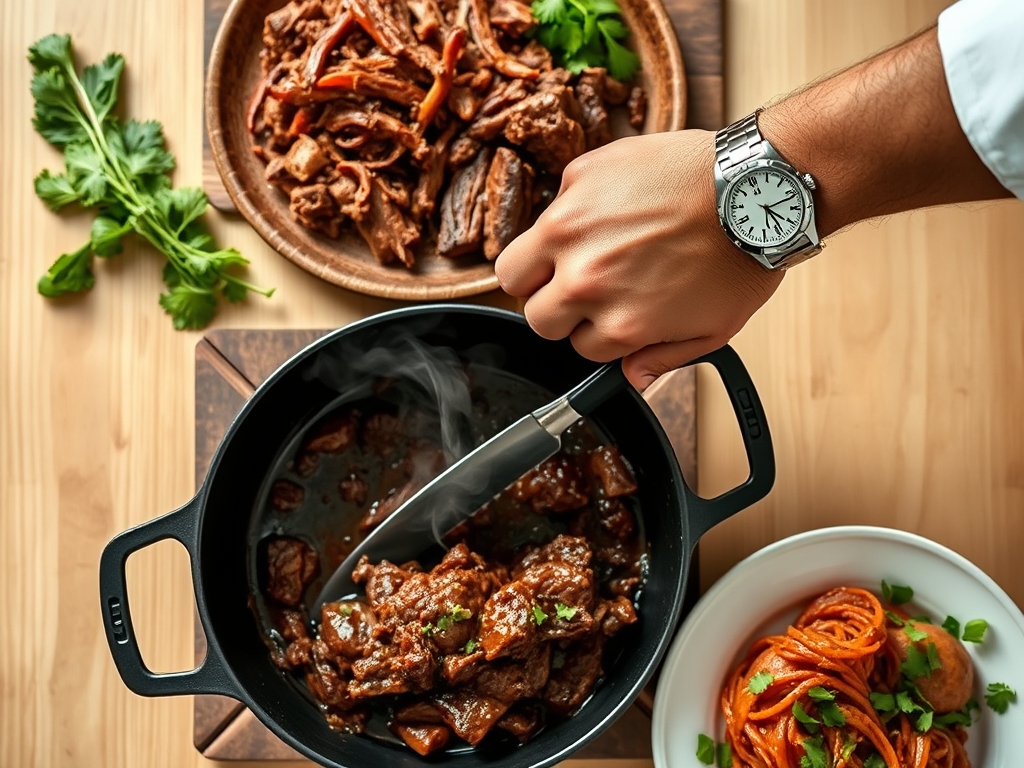
The Clock:
The "Chef's Flow" is all about managing your kinetic energy in the kitchen. For these mexican pulled beef recipes, expect about 30 minutes of active prep time. This includes trimming the silver skin, searing the meat, and blooming your spices. The real magic happens during the passive phase. A traditional braise in a Dutch oven will take roughly 3 to 4 hours at 300 degrees Fahrenheit. If you are using a pressure cooker, you can slash that to 60 minutes, though you sacrifice a bit of the complex flavor development that comes with slow evaporation.
Plan to let the meat rest for at least 20 minutes after cooking. This is not just a suggestion; it is a thermal necessity. If you shred the beef while it is screaming hot, the internal steam escapes instantly, leaving the fibers dry. By waiting, you allow the juices to redistribute and the gelatin to set slightly, ensuring every strand of beef is perfectly lubricated.
The Masterclass:
1. The Maillard Sear
Pat your beef bone-dry with paper towels before hitting the pan. Use a heavy-bottomed skillet and high-heat oil to achieve a deep, mahogany crust on all sides. Do not crowd the pan, as this causes the meat to steam rather than sear.
Pro Tip: This process is called the Maillard Reaction, where amino acids and reducing sugars rearrange to create hundreds of new flavor compounds. A proper sear is the foundation of a savory, "umami" profile.
2. Blooming the Aromatics
After removing the meat, toss in your onions and spices. Use a wooden spoon to deglaze the bottom of the pan, scraping up the browned bits known as "fond."
Pro Tip: Heat-sensitive volatile oils in spices like cumin and oregano are fat-soluble. "Blooming" them in the rendered beef fat for 60 seconds awakens their potency and ensures the flavor is distributed evenly throughout the sauce.
3. The Low and Slow Submerge
Return the beef to the pot and add your liquid until the meat is two-thirds submerged. Cover tightly to create a pressurized environment that prevents moisture loss.
Pro Tip: Maintaining a gentle simmer (around 190 to 200 degrees Fahrenheit) is crucial. This temperature is the "sweet spot" where collagen conversion occurs without tightening the muscle fibers into a rubbery texture.
4. The Rest and Shred
Once the beef is fork-tender, remove it from the liquid and let it sit on a cutting board. While it rests, use a saucier to reduce the remaining braising liquid by half until it is thick and glossy.
Pro Tip: This utilizes thermal carryover. The internal temperature will continue to rise slightly, finishing the softening process. Shredding the meat into the reduced "jus" ensures every fiber is coated in a concentrated flavor emulsion.
The Deep Dive:
When we look at the macro profile of mexican pulled beef recipes, we are looking at a high-protein, moderate-fat powerhouse. A standard 4-ounce serving typically contains 25g of protein and 12g of fat. For a Keto version, serve the beef in lettuce cups with extra avocado. For a Vegan swap, use king oyster mushrooms shredded with a fork; they mimic the texture of beef and soak up the chile sauce beautifully. Gluten-Free diners just need to ensure their beef broth and canned chiles are certified GF.
The Fix-It:
- Beef is tough: You likely pulled it too early. Put it back in the heat; collagen needs time to melt.
- Sauce is greasy: Use a fat separator or a cold spoon to skim the yellow oil off the top of the liquid.
- Flavor is flat: Add a splash of lime juice or a pinch of salt. Acid and sodium act as "volume knobs" for flavor.
Meal Prep: To maintain "day-one" quality, store the beef in its own juices. When reheating, do it slowly on the stovetop with a splash of water to rehydrate the proteins. Avoid the microwave if possible, as it can cause the fats to turn acrid and the meat to become chewy.
The Wrap-Up:
Mastering mexican pulled beef recipes is like learning a secret language of flavor. Once you understand how to balance the heat of the chiles with the richness of the beef and the brightness of the acid, you can conquer any kitchen challenge. This is more than just a meal; it is a versatile tool in your culinary arsenal that works for everything from nachos to high-end plated entrees. So, grab your tongs, fire up that stove, and let the intoxicating aroma of slow-cooked beef fill your home. You have got the science, the steps, and the spirit to make something truly incredible.
The Kitchen Table:
What is the best cut of meat for Mexican pulled beef?
Chuck roast is the gold standard because of its high fat and connective tissue content. These elements break down during slow cooking to create a moist, tender texture that brisket or round roast cannot easily replicate.
Can I make pulled beef in a slow cooker?
Yes, you can use a slow cooker on the low setting for 8 hours. However, always sear the meat in a skillet first to develop the Maillard crust, as slow cookers cannot reach browning temperatures.
How do I make my pulled beef more spicy?
Incorporate the seeds from your dried chiles or add two finely minced habaneros to the braising liquid. For a smoky heat, increase the amount of chipotle peppers in adobo sauce during the blooming stage.
Why is my pulled beef dry even though it is in liquid?
If the heat is too high, the muscle fibers contract and squeeze out their internal moisture. Always keep the braise at a gentle simmer rather than a rolling boil to keep the fibers relaxed and juicy.