
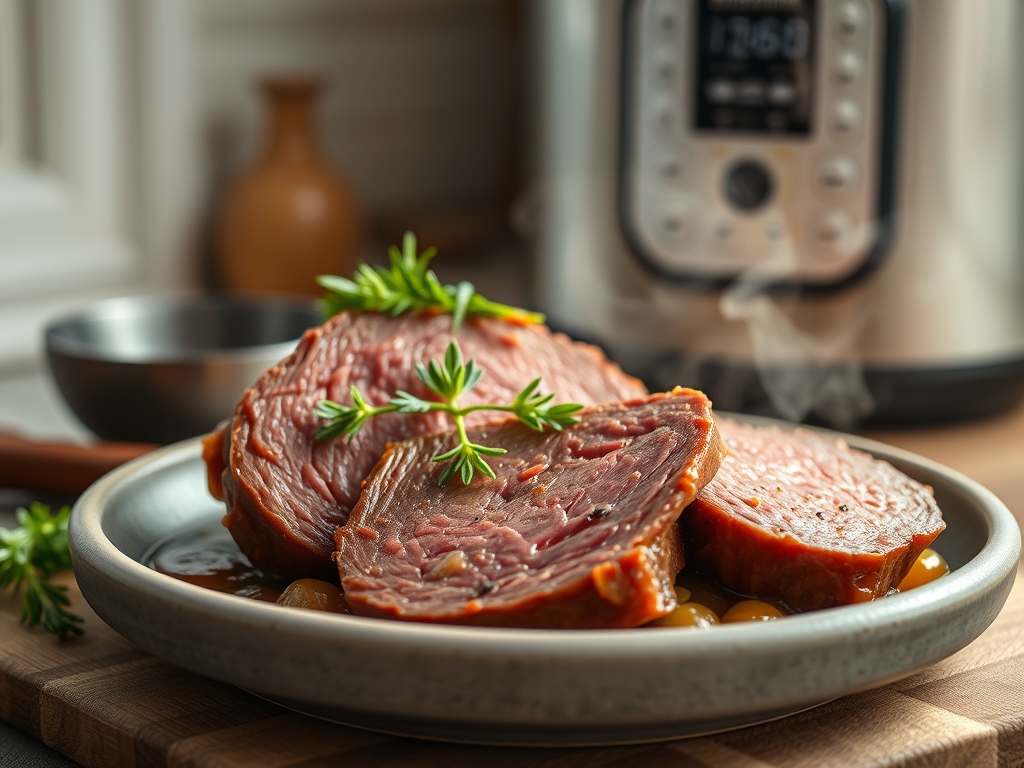
Picture this: a kitchen filled with the scent of toasted peppercorns and slow-rendered fat, all while the rain taps rhythmically against your window. Most people think of St. Patrick's Day as the only time to break out the brisket, but once you master the nuances of instant pot corned beef recipes, it becomes a year-round obsession. We are looking for that specific, melt-in-your-mouth texture where the muscle fibers give way at the mere suggestion of a fork. It is a delicate balance of heat, pressure, and chemistry. We are not just boiling meat; we are orchestrating a high-pressure environment where collagen transforms into silky gelatin. This is the ultimate comfort food, reimagined for the modern, fast-paced kitchen. We are going to take a tough, salt-cured cut and turn it into something buttery, piquant, and utterly unforgettable. Grab your pressure cooker and a cold drink; we are about to turn you into the neighborhood brisket whisperer.
The Gathers:
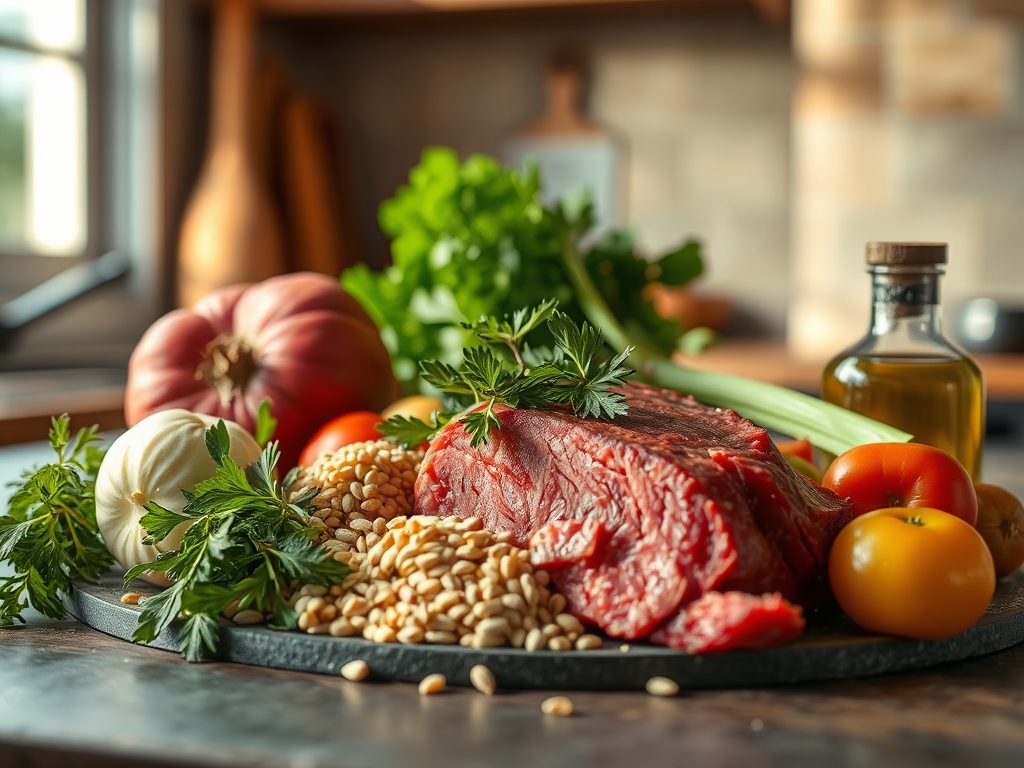
Setting your mise-en-place is the difference between a frantic kitchen and a culinary masterpiece. You will need a three to four pound corned beef brisket, preferably the point cut for its higher fat content which ensures a more viscous mouthfeel. Lay out your aromatics: a head of garlic sliced crosswise to expose the cloves, two large yellow onions quartered to provide a structural base, and three stalks of celery cut into large batons. For the liquid gold, you need twelve ounces of a dry Irish stout; the malt profile adds a deep, toasted complexity that water simply cannot mimic.
Your spice cabinet is your best friend here. If your brisket came with a tiny packet, supplement it with a tablespoon of whole black peppercorns, four bay leaves, and a teaspoon of mustard seeds. To elevate the acidity, grab a bottle of apple cider vinegar. Smart Substitutions: If you are avoiding alcohol, a high-quality beef bone broth mixed with a tablespoon of Worcestershire sauce works beautifully. If you cannot find a point cut, a flat cut works, but you must be more vigilant about your slicing technique to avoid a stringy texture. Ensure you have your digital scale ready to weigh the meat, as timing is dependent on mass.
The Clock
Efficiency in the kitchen is all about the Chef's Flow. You should plan for fifteen minutes of active prep time. This involves rinsing the brine off the meat and prepping your vegetables. The actual pressurized cook time sits between 70 and 90 minutes, depending on the thickness of your brisket. However, the most critical part of the clock is the 20-minute natural pressure release. Total time from counter to table is roughly two hours. While the pot is hissed and locked, use that time to prep your side dishes or clean your bench scraper and cutting boards. Never rush the release; force-venting the steam causes the muscle fibers to seize, resulting in a tough, dry product.
The Masterclass
1. The Desalination Rinse
Remove the brisket from its packaging and rinse it thoroughly under cold running water. Use your fingers to rub away the excess surface salt and residual brine. Pat the meat bone-dry with paper towels before proceeding.
Pro Tip: This step is vital because it prevents the final sauce from becoming overly saline. By removing surface salts, you allow the deeper, infused spices to shine without overwhelming the palate.
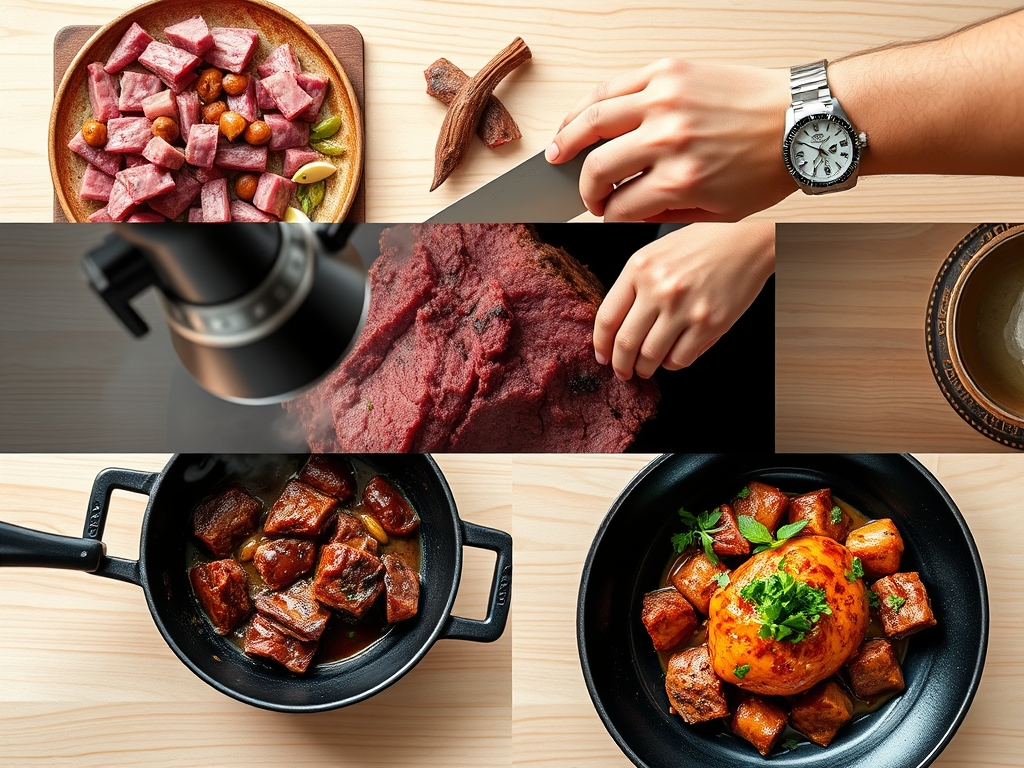
2. The Searing Phase
Set your device to the "Sauté" function and wait for it to get screaming hot. Add a tablespoon of high-smoke-point oil. Using heavy-duty tongs, sear the fat cap of the brisket for three to four minutes until it is golden brown.
Pro Tip: This initiates the Maillard reaction, a chemical reaction between amino acids and reducing sugars that gives browned food its distinctive flavor. This adds a layer of savory complexity that "boil-only" methods lack.
3. Deglazing the Fond
Remove the meat and pour in your stout or broth. Use a wooden spoon to scrape the brown bits (the fond) off the bottom of the inner pot.
Pro Tip: Deglazing prevents the "Burn" notice and incorporates those concentrated flavor compounds back into the cooking liquid. This creates a more viscous and flavorful braising medium.
4. Layering the Aromatics
Place the onion quarters, garlic, and celery at the bottom of the pot to act as a natural trivet. Place the brisket on top of the vegetables, fat-side up. Sprinkle your extra spices over the top.
Pro Tip: Elevating the meat prevents the bottom from overcooking via direct contact with the heating element. It allows the steam to circulate evenly around the entire cut.
5. The Pressure Phase
Secure the lid and set the valve to "Sealing." Cook on High Pressure for 85 minutes for a three-pound brisket.
Pro Tip: High pressure raises the boiling point of water, which accelerates the breakdown of tough connective tissues like collagen into gelatin. This happens much faster than a traditional stovetop simmer.
6. The Natural Release
Once the timer beeps, do nothing. Let the pot sit for 20 minutes before manually releasing the remaining steam.
Pro Tip: A slow drop in pressure allows the internal juices to redistribute. If you vent immediately, the rapid pressure change forces the moisture out of the cells, leaving the meat dry.
7. The Vegetable Interval
Remove the meat and tent it with foil. Add your cabbage wedges, carrots, and potatoes to the remaining liquid. Pressure cook on high for 3 to 5 minutes.
Pro Tip: Cooking vegetables separately prevents them from turning into a flavorless mush. The residual heat in the meat, known as thermal carryover, will keep it at the perfect serving temperature.
8. The Glaze Application (Optional)
For a gourmet finish, brush the fat cap with a mixture of honey and grainy mustard. Place it under a broiler for 3 minutes until bubbling.
Pro Tip: This creates a contrast in texture. The sugars in the honey undergo caramelization, providing a sweet counterpoint to the salty, savory meat.
9. The Precision Slice
Transfer the brisket to a large cutting board. Locate the grain of the meat and use a sharp carving knife to slice against the grain into thin ribbons.
Pro Tip: Slicing against the grain shortens the muscle fibers. This mechanical intervention ensures that every bite is tender rather than chewy.
The Deep Dive
From a macro perspective, corned beef is a powerhouse of protein and fats, though it is high in sodium. To make this Keto-friendly, simply swap the potatoes for radishes or extra cabbage; radishes lose their peppery bite and mimic a potato texture when pressure-cooked. For a Vegan alternative, use large "steaks" of head cabbage or lion's mane mushrooms, reducing the cook time to 10 minutes.
The Fix-It: If your meat is still tough, it likely needs more time; return it to the pot for another 15 minutes of pressure. If it is too salty, add a peeled, halved raw potato to the liquid and simmer for ten minutes; the potato acts as a sponge for salt. If the meat is falling apart too much to slice, let it cool completely in the fridge before slicing, then reheat.
Meal Prep: To reheat, place slices in a saucier with a splash of the leftover cooking liquid. Cover and heat on low. This uses steam to gently re-moisturize the fibers without overcooking the proteins, maintaining that day-one quality.
The Wrap-Up
Mastering instant pot corned beef recipes is about more than just a holiday meal; it is about understanding the intersection of pressure, time, and flavor. By following these nine secrets, you have moved beyond the basic "set it and forget it" mentality into the realm of true culinary technique. You have managed the Maillard reaction, respected the cooling phase, and treated your aromatics with the respect they deserve. Now, serve it up with a dollop of horseradish cream and enjoy the fruits of your scientific labor.
The Kitchen Table
How do I prevent my corned beef from being tough?
Always use a natural pressure release for at least 20 minutes. Rapidly venting the steam causes the muscle fibers to contract violently, squeezing out the moisture and leaving the meat rubbery and dry.
Can I cook the cabbage and meat at the same time?
It is not recommended. The meat requires nearly 90 minutes to tenderize, while cabbage turns to a bitter, sulfurous mush in under five minutes. Always cook the vegetables in the residual liquid after removing the meat.
Should I use the flat cut or the point cut?
The point cut is more marbled with fat and yields a more succulent, shreddable result. The flat cut is leaner and easier to slice into neat, uniform pieces for sandwiches. Both work beautifully with the right timing.
How do I store and reheat leftovers?
Store slices submerged in their cooking liquid in an airtight container. Reheat gently on the stovetop in the same liquid to prevent the meat from drying out and to preserve the delicate texture.