
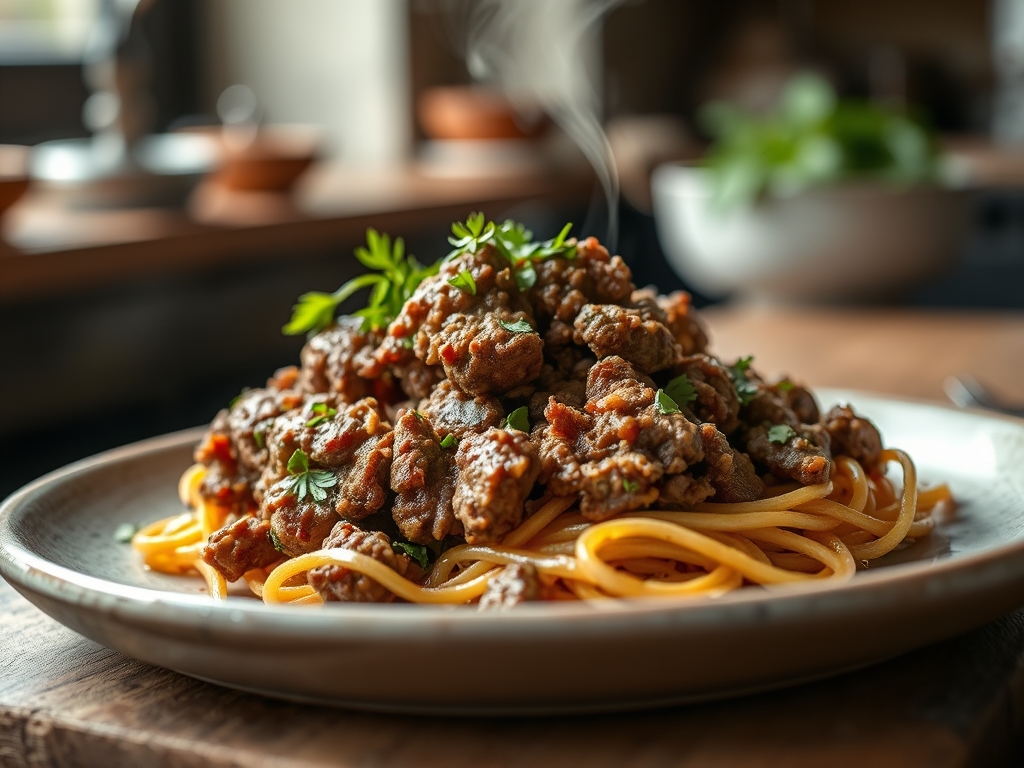
Imagine the sound of a heavy bottomed skillet meeting a flame; that sharp, metallic ring that signals the start of something delicious. As the heat rises, you drop in the protein and the air fills with the intoxicating scent of rendering fat and caramelizing amino acids. Finding the perfect ground beef recipes for dogs is about more than just filling a bowl. It is a sensory journey that combines high quality nutrition with the visceral joy of watching your best friend do their happy dance in the kitchen. We are moving beyond the brown mush of commercial kibble and stepping into a world where mealtime is a gourmet event.
The magic of ground beef lies in its versatility and its nutrient density. It provides the essential amino acids required for muscle maintenance and the healthy fats that keep a coat shimmering under the sun. When we cook for our dogs, we are essentially acting as their personal chemists. We are balancing phosphorus with calcium and ensuring that every bite is as bioavailable as possible. This is not just a chore; it is an act of love backed by molecular biology. Get ready to transform your kitchen into a five star canine bistro where the ingredients are fresh and the results are wag worthy.
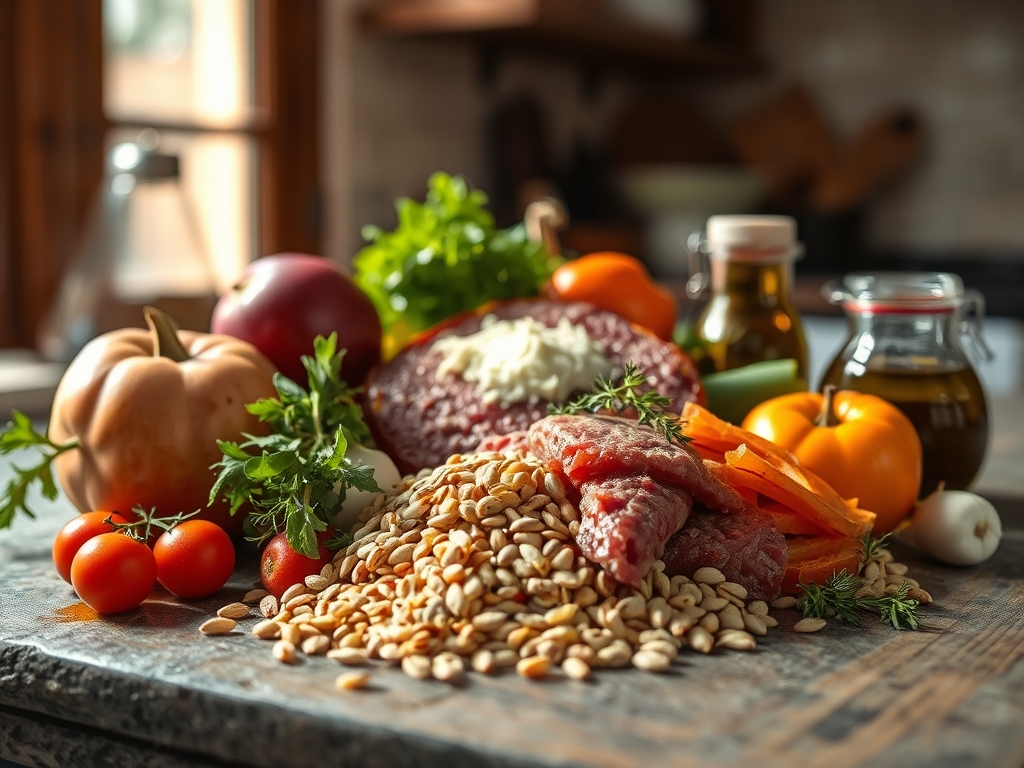
The Gathers:
To execute these ground beef recipes for dogs with precision, your mise en place must be impeccable. We start with lean ground beef, ideally a 90/10 blend to prevent digestive upset from excessive lipids. You will also need a colorful array of antioxidants: vibrant blueberries, crisp spinach, and orange carrots rich in beta carotene. For texture and fiber, gather steel cut oats or brown rice. These complex carbohydrates provide the steady glucose release needed for long afternoon walks.
Your tool kit is just as vital as your ingredients. Reach for a digital scale to ensure macro accuracy; precision is the difference between a balanced meal and a nutritional deficit. A microplane is essential for zesting ginger or finely grating garlic substitutes like ceylon cinnamon. You will also want a bench scraper to move your chopped produce efficiently from the cutting board to the pan.
Smart Substitutions: If your dog has a sensitivity to grains, swap the oats for steamed cauliflower rice or pureed pumpkin. If you cannot find lean beef, you can render the fat out of a fattier grind by browning it and then rinsing the meat under warm water in a fine mesh strainer. This process removes excess saturated fats while retaining the protein structure.
The Clock
Efficiency in the kitchen is all about "Chef's Flow." For these eight variations, expect a total prep time of 20 minutes and a collective cook time of 30 minutes. By using a large saucier or a wide heavy bottomed skillet, you maximize surface area, which speeds up the evaporation of moisture and accelerates the cooking process.
The flow works like this: start your grains first, as they require the longest duration to hydrate and soften. While the grains simmer, perform all knife work. By the time your vegetables are diced, the pan is hot and ready for the beef. This overlapping schedule ensures that you are never standing idle. You are not just cooking; you are managing a high performance production line.
The Masterclass
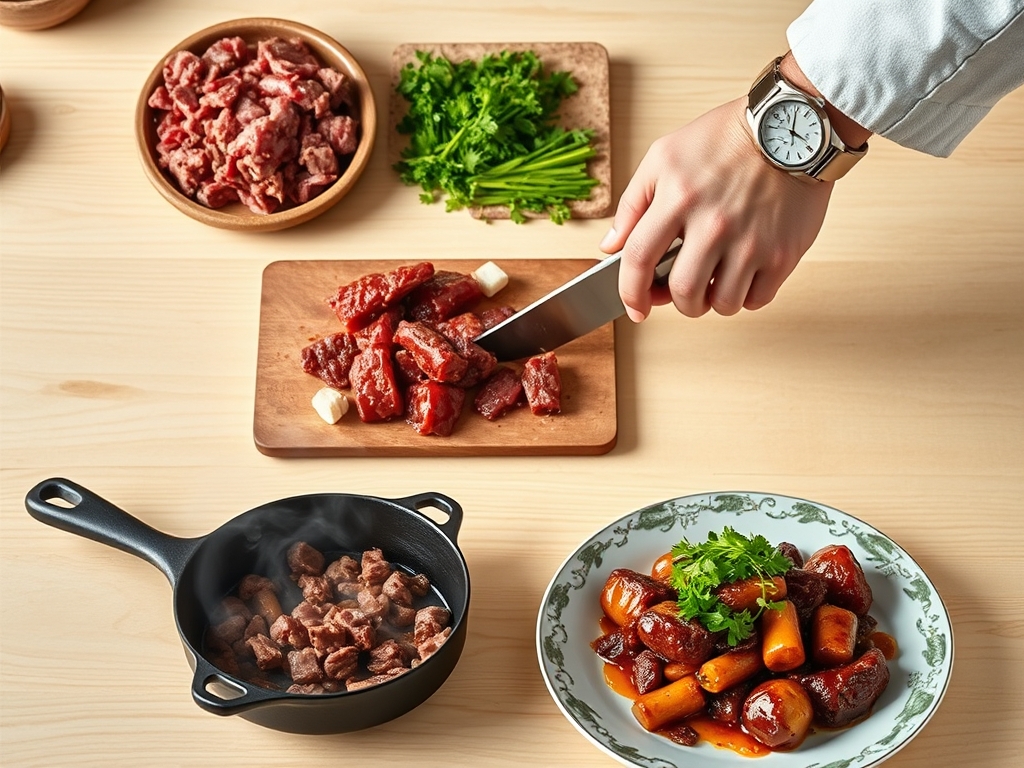
1. The Foundation Sear
Place your skillet over medium heat and add the beef. Use a stiff spatula to break the meat into small, uniform crumbles. This increases the surface area exposed to heat, ensuring even cooking throughout the batch.
Pro Tip: This stage initiates the Maillard reaction, a chemical reaction between amino acids and reducing sugars that gives browned food its distinctive flavor. Even for dogs, these aromatic compounds increase palatability and interest.
2. Vegetable Integration
Once the meat is no longer pink, add your harder vegetables like carrots and squash. These require more time to break down their cellulose walls, making the nutrients inside more accessible to your dog's shorter digestive tract.
Pro Tip: Adding vegetables directly to the beef allows them to infuse with the natural juices. This process, known as osmosis, draws flavor into the vegetables while softening them without the need for added oils.
3. The Deglaze
As bits of protein stick to the bottom of the pan, add a splash of water or unsalted beef bone broth. Use your spatula to scrape the bottom of the pan, lifting those flavorful bits back into the mix.
Pro Tip: This is called deglazing. Those stuck bits, or "fond," contain concentrated flavor and minerals that would otherwise be lost. It creates a light, savory sauce that coats the entire meal.
4. Hydration and Grains
Fold in your pre cooked grains or starches. Ensure they are thoroughly incorporated so that every bite contains a balance of protein, fat, and carbohydrates. This prevents "picky eating" where a dog might sort through the bowl for just the meat.
Pro Tip: Grains act as a sponge for the viscous liquids in the pan. This ensures that water soluble vitamins (like B-complex) are trapped within the food rather than left behind in the skillet.
5. The Cooling Phase
Spread the finished mixture onto a large baking sheet in a thin layer. This increases the surface area and allows the heat to dissipate rapidly, preventing the growth of unwanted bacteria.
Pro Tip: This utilizes evaporative cooling. By stopping the cooking process quickly, you prevent "carryover cooking," which can turn tender vegetables into a mushy, unappealing texture that loses nutritional integrity.
The Deep Dive
When analyzing ground beef recipes for dogs, we must look at the macro profile. A standard serving of these recipes typically contains 25% protein, 15% fat, and 60% carbohydrates and fiber. This ratio supports energy levels while remaining gentle on the kidneys.
For dogs with specific needs, dietary swaps are simple. For a Keto-friendly version, replace all grains with high fiber greens and increase the fat content slightly with a touch of fish oil. For a Gluten-Free approach, stick to quinoa or sweet potatoes.
The Fix-It:
- The Meat is Too Dry: This usually happens if you overcook the beef. Fix it by stirring in a tablespoon of unsalted pumpkin puree to restore moisture.
- Excessive Liquid: If the mix is "soupy," add a teaspoon of ground flaxseed. It will absorb the moisture and turn it into a nutritious gel.
- Vegetables are Too Hard: If you forgot to dice them finely, use an immersion blender to pulse the mixture slightly. This breaks down the fibers without turning the whole meal into a liquid.
Meal Prep Science: To maintain "day one" quality, store portions in airtight glass containers. When reheating, add a teaspoon of water and cover the dish. This creates a steam chamber that rehydrates the proteins, preventing the meat from becoming "rubbery" due to protein denaturation in the microwave.
The Wrap-Up
Cooking ground beef recipes for dogs is a transformative experience for both the owner and the pet. You gain the peace of mind that comes from knowing exactly what goes into the bowl; no fillers, no "mystery meals," and no artificial preservatives. Your dog gains a diet that is biologically appropriate and incredibly delicious. By using professional techniques like deglazing and proper cooling, you are elevating canine nutrition to a culinary art form. Put on your apron, grab that skillet, and let the searing begin.
The Kitchen Table
Can I feed my dog ground beef every day?
Yes, as long as it is balanced with appropriate vitamins, minerals, and fiber. Ground beef is an excellent primary protein source, but it must be part of a complete nutritional profile to prevent long term deficiencies.
Should I drain the fat from the beef?
For most dogs, it is best to drain the fat. Excessive lipids can lead to weight gain or even pancreatitis. Draining the fat while keeping the juices ensures a lean, heart healthy meal for your companion.
Can I add seasoning to these recipes?
Avoid salt, onions, and garlic, which are toxic. Instead, use "dog safe" aromatics like fresh parsley, which freshens breath, or turmeric, which acts as a natural anti inflammatory agent to support joint health.
How long does homemade dog food last?
Freshly cooked ground beef meals last up to four days in the refrigerator. For longer storage, freeze individual portions in airtight bags for up to three months to preserve the nutritional integrity of the ingredients.