
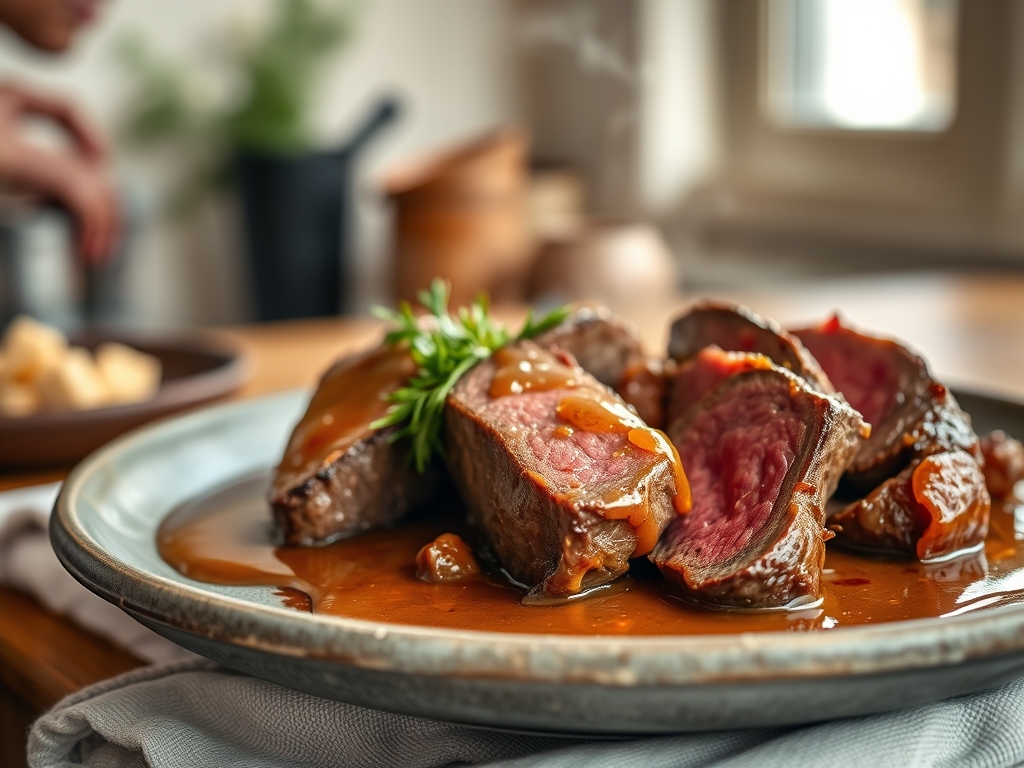
Imagine the scent of slow-rendered fat and toasted peppercorns drifting through your hallway; it is the universal signal that Sunday has officially arrived. When it comes to mastering roast beef recipes with gravy, we are moving beyond basic sustenance into the realm of edible architecture. This is about building layers of flavor that feel like a warm hug.
The secret to a truly transformative roast lies in the tension between a crusty, salt-cured exterior and a center so tender it practically sighs under the knife. Most people treat gravy as an afterthought, but we are going to treat it as the velvet cape that completes the ensemble. We are looking for a deep mahogany hue and a silkiness that only comes from a perfect emulsion. Grab your favorite apron and a glass of something bold; we are about to turn your kitchen into the best bistro in town.
The Gathers:
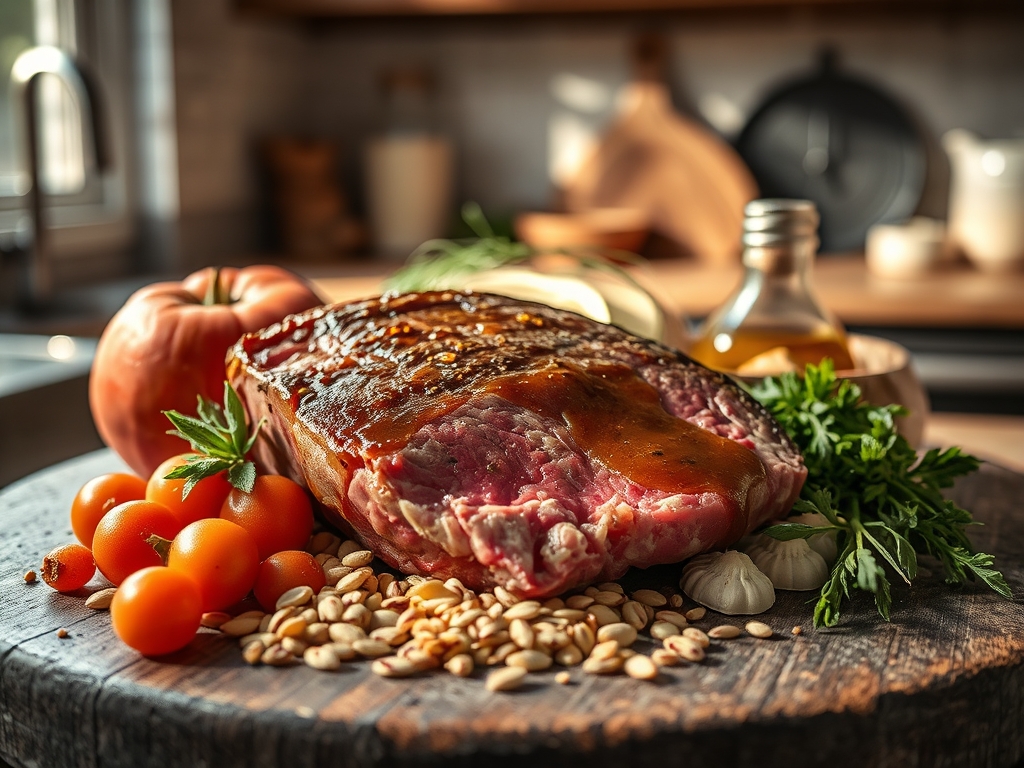
Before we apply heat, we must respect the mise-en-place. Start with a three to four pound roast; preferably a top round or a chuck eye for optimal connective tissue breakdown. You will need coarse kosher salt for its jagged surface area and freshly cracked black pepper. Use a microplane to grate four cloves of garlic into a fine paste; this ensures the flavor integrates without burning into bitter acrid bits.
For the aromatics, gather sprigs of rosemary and thyme. The woodiness of these herbs contains essential oils like eucalyptol which thrive under high heat. For the gravy, you need high-quality beef stock, unsalted butter, and all-purpose flour. Smart Substitutions: If you are out of fresh herbs, a teaspoon of dried herbes de Provence works, but rehydrate them in a tablespoon of oil first. No beef stock? Use a combination of mushroom broth and a dash of Worcestershire sauce to mimic that deep umami profile.
The Clock
Efficiency in the kitchen is all about the Chef's Flow. Expect about 20 minutes of active prep time to trim and season the meat. The roasting itself will take anywhere from 60 to 90 minutes depending on your desired level of doneness. However, the most critical window is the 20-minute rest period after the meat leaves the oven.
While the beef rests, you have the perfect "dead time" to execute your gravy. This 15-minute window allows you to deglaze the pan and build your sauce while the meat fibers relax. Total time from fridge to table is roughly two hours. Do not rush the process; temperature is a measurement of energy, and we want that energy to distribute evenly.
The Masterclass
1. The Salt Cure and Tempering
Pat your beef dry with paper towels until it is bone-dry. Rub the salt and garlic paste over every inch. Let the meat sit on the counter for at least 45 minutes before it touches a pan.
Pro Tip: This is known as dry-brining. Salt draws moisture out, dissolves into a brine, and is then reabsorbed into the muscle fibers. This seasons the meat deeply while the surface remains dry for a better sear.
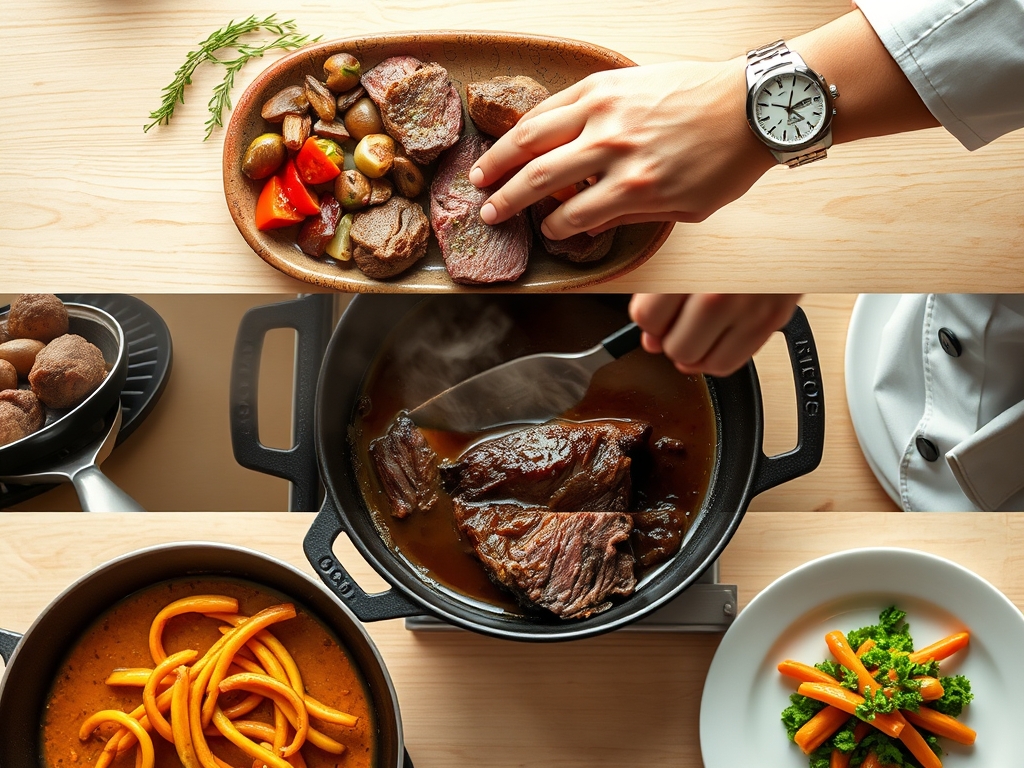
2. The Hard Sear
Heat a heavy-bottomed skillet or cast iron pan until it is shimmering. Use tongs to press the beef into the pan, searing each side for three minutes until a dark brown crust forms.
Pro Tip: This triggers the Maillard reaction, a chemical reaction between amino acids and reducing sugars. It creates hundreds of different flavor compounds that simply do not exist in boiled or steamed meat.
3. The Low and Slow Roast
Place the meat on a wire rack inside a roasting pan. This allows hot air to circulate under the beef, preventing a soggy bottom. Roast at 325 degrees Fahrenheit until your digital thermometer hits 125 degrees for medium-rare.
Pro Tip: Aim for 5 to 10 degrees below your target final temperature. Thermal carryover means the internal temperature will continue to rise after the meat is removed from the heat source as the exterior heat moves inward.
4. The Fond Extraction
Once the meat is resting, place your roasting pan directly over a stovetop burner. Add a splash of red wine or stock and use a bench scraper or wooden spoon to scrape up the brown bits stuck to the bottom.
Pro Tip: Those brown bits are called fond. They are concentrated pockets of caramelized protein and sugars that provide the foundational "beefy" flavor for your gravy.
5. The Roux Evolution
In a saucier, melt butter and whisk in an equal amount of flour. Cook this mixture over medium heat for 3 to 5 minutes until it smells nutty and looks like peanut butter.
Pro Tip: Cooking the roux long enough denatures the flour proteins and toasts the starches. This removes the "raw flour" taste and ensures your gravy has a sophisticated, toasted undertone.
6. The Emulsion Finish
Slowly stream your deglazed pan juices and extra stock into the roux, whisking constantly. Bring to a simmer until the liquid becomes viscous and coats the back of a spoon.
Pro Tip: Starch granules swell and burst at approximately 175 degrees Fahrenheit, releasing amylose molecules that thicken the liquid. This is the point of gelatinization, giving your gravy its signature body.
The Deep Dive
Nutritionally, this dish is a powerhouse of iron, B12, and high-quality protein. A standard 6-ounce serving contains roughly 45 grams of protein and 350 calories, depending on the fat trim. To make this Keto-friendly, swap the flour roux for a pinch of xanthan gum or heavy cream reduction. For a Gluten-Free version, use a 1-to-1 GF flour blend or cornstarch slurry.
The Fix-It:
- Lumpy Gravy: If your gravy looks like a topographical map, pour it through a fine-mesh strainer or use an immersion blender to aerate and smooth the texture.
- Tough Meat: If you sliced it and it feels chewy, you likely cut with the grain. Always slice perpendicular to the muscle fibers to shorten them.
- Bland Sauce: Add a teaspoon of balsamic vinegar or soy sauce. The acid or fermented salt will brighten the heavy fats.
For Meal Prep, store the beef and gravy separately. To reheat without overcooking, place slices in a pan with a few spoonfuls of gravy, cover tightly with foil, and warm at 300 degrees. This creates a steam chamber that prevents the proteins from tightening and drying out.
The Wrap-Up
You now hold the keys to the kingdom of comfort food. Mastering roast beef recipes with gravy is less about following a script and more about understanding the physics of heat and the chemistry of fat. When you pull that glistening roast out of the oven and see that silky gravy swirling in the boat, you aren't just a cook; you are a culinary scientist with excellent taste. Now, gather your favorite people and let the feast begin.
The Kitchen Table
How do I prevent my roast beef from being dry?
Always use a digital thermometer to pull the meat at 125 degrees Fahrenheit. Resting the meat for 20 minutes is non-negotiable; it allows the muscle fibers to reabsorb juices rather than spilling them onto the cutting board.
What is the best cut for roast beef?
Top round, bottom round, or eye of round are classic, lean, and budget-friendly choices. For a richer, more tender experience, choose a chuck roast or a ribeye roast, which contains more intramuscular fat for self-basting during the cook.
Can I make the gravy ahead of time?
Yes, you can prepare a base gravy using beef stock and a roux up to two days early. When you finish your roast, simply whisk the fresh pan drippings into the reheated base to add that essential roasted depth.
Why is my gravy pale instead of dark brown?
A pale gravy usually means the roux wasn't cooked long enough or the meat wasn't seared sufficiently. To fix this, you can add a drop of Worcestershire sauce or kitchen bouquet to deepen the color and enhance the savory profile.