
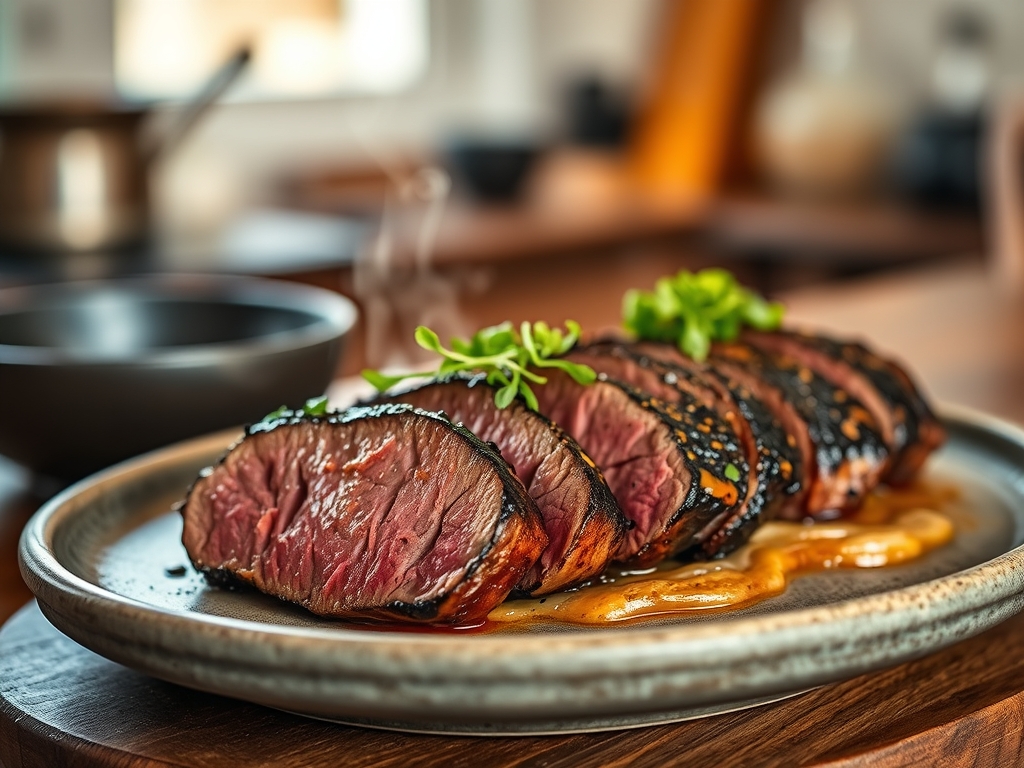
Imagine the scent of rendered fat hitting a blistering heavy-bottomed skillet; it is a primal, intoxicating aroma that instantly signals a five-star meal is underway. When you are hunting for the ultimate striploin beef recipes, you are not just looking for a meal; you are looking for that perfect intersection of lean muscle and buttery marbling. The striploin, also known as the New York Strip, is the darling of the culinary world because it offers a tighter grain than a ribeye but more flavor than a tenderloin. Achieving that crusty, mahogany exterior while maintaining a plush, ruby center is a feat of pure kitchen chemistry. It requires more than just heat; it requires an understanding of how proteins denature and how moisture behaves under pressure.
We are going to dive deep into the mechanics of the perfect sear. Forget everything you thought you knew about just tossing meat into a pan. We are going to talk about surface tension, thermal equilibrium, and why your digital scale is actually your best friend in the kitchen. By the time we are done, you will be navigating striploin beef recipes with the confidence of a head chef, ensuring every bite is a masterclass in texture and taste. Grab your apron and let us get technical.
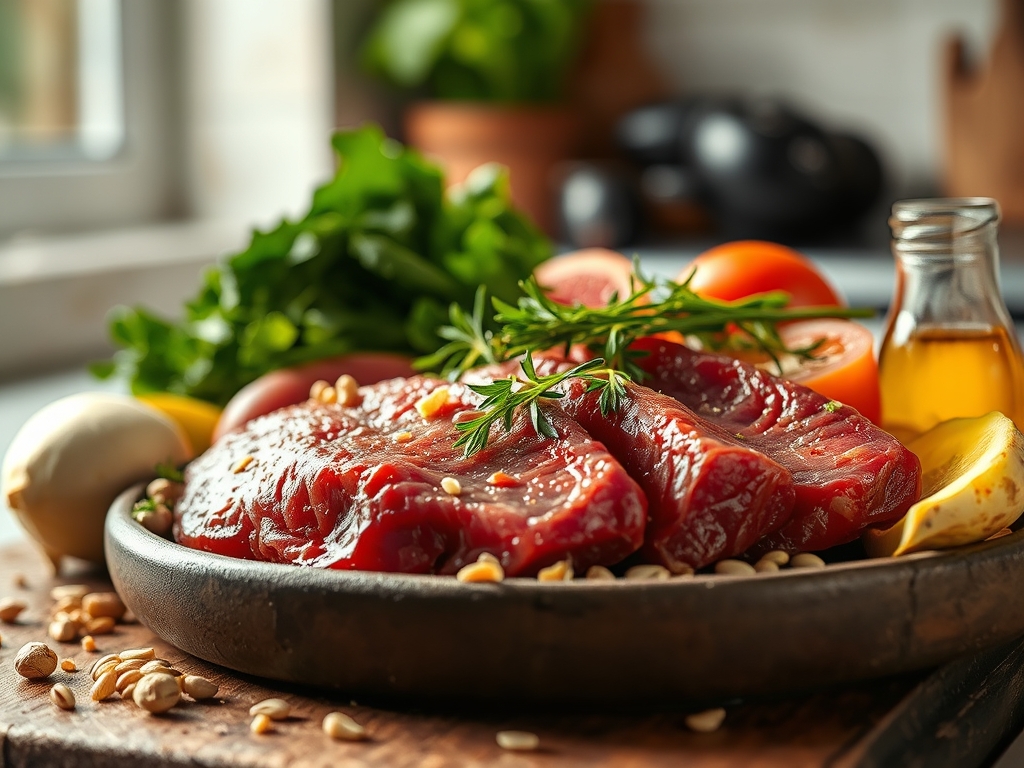
The Gathers:
To execute world-class striploin beef recipes, your mise-en-place must be precise. Start with a 12-ounce sub-primal cut, ideally dry-aged for at least 21 days to allow natural enzymes to break down connective tissue. You will need high-smoke-point fats like avocado oil or clarified butter (ghee); standard butter contains milk solids that will scorch at the temperatures required for a proper sear.
For the aromatics, gather fresh thyme sprigs, crushed garlic cloves, and flaky sea salt. Use a digital scale to measure your salt; for a standard steak, you want roughly 1.5 percent of the meat's weight in salt to ensure deep seasoning through osmosis. A microplane is essential if you plan to zest lemon or grate fresh horseradish into a finishing compound butter to add a piquant brightness to the rich fat.
Smart Substitutions:
If you cannot find a striploin, a top sirloin cap (Picanha) is a fantastic alternative with a similar fat cap. For a dairy-free version of the finishing baste, use a high-quality vegan butter enriched with nutritional yeast to mimic the savory, nutty profile of browned milk solids. If you are avoiding sodium, use a blend of potassium chloride and smoked paprika to provide that "charred" depth without the salt spike.
The Clock
Efficiency in the kitchen is all about the "Chef's Flow." This is the logical sequencing of tasks to ensure nothing is rushed and nothing goes cold.
Prep Time: 45 minutes. This includes the "tempering" phase where the meat sits at room temperature to reduce the thermal gap between the fridge and the pan.
Cook Time: 8 to 12 minutes. This varies based on the thickness of the cut and your desired level of doneness.
Rest Time: 10 minutes. This is non-negotiable. It allows the muscle fibers to relax and reabsorb the internal juices.
The "Flow" looks like this: While the steak tempers, prep your aromatics. While the pan preheats, pat the meat bone-dry with paper towels. While the steak rests, use that same pan to deglaze and create a pan sauce. This overlapping timeline ensures you are never standing idle while your steak loses its optimal temperature.
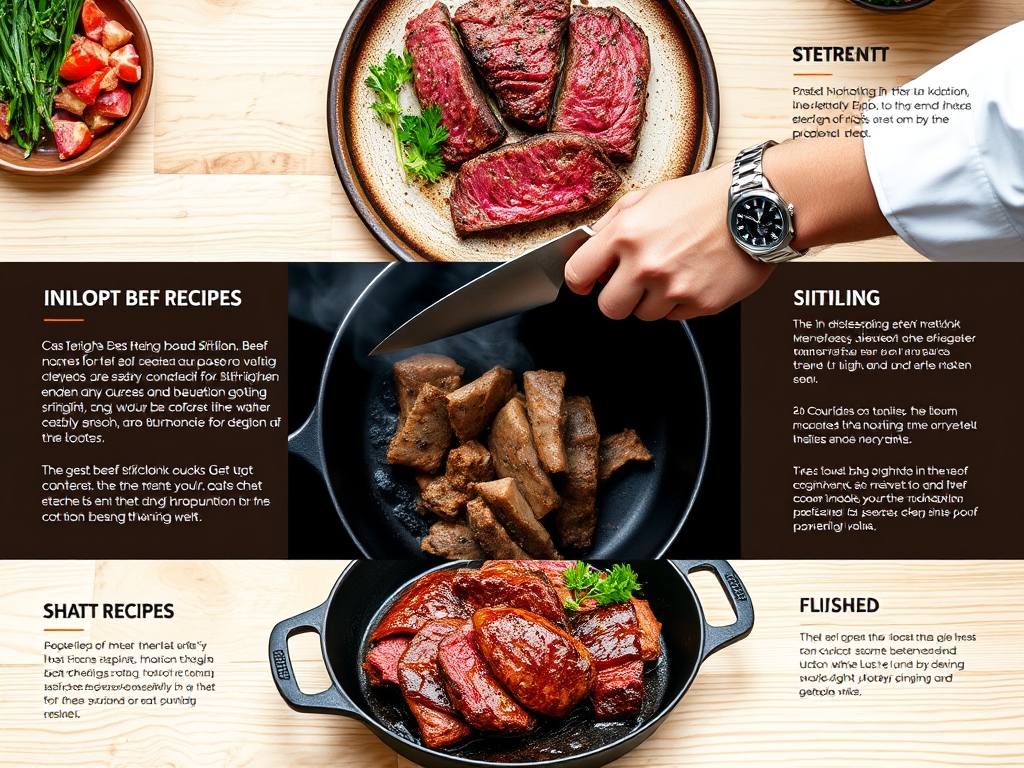
The Masterclass
1. The Dry Brine Technique
Generously salt your steak on all sides, including the fat cap, at least 40 minutes before cooking. Place it on a wire rack over a sheet tray to allow air to circulate around the entire surface.
Pro Tip: This process triggers osmosis, drawing moisture out, dissolving the salt, and then reabsorbing the seasoned brine back into the muscle fibers for internal seasoning.
2. Achieving the Perfect Dryness
Before the steak touches the pan, use a lint-free paper towel to blot every millimeter of the surface. It should feel tacky, not slippery.
Pro Tip: Moisture is the enemy of the Maillard reaction. If the surface is wet, the energy from the pan goes into evaporating water rather than browning the proteins, resulting in grey, steamed meat.
3. Rendering the Fat Cap
Hold the steak upright with tongs, pressing the thick strip of white fat against the hot skillet for 60 seconds before laying the steak flat.
Pro Tip: This renders the intramuscular fat, turning it into a liquid cooking medium that infuses the entire steak with flavor while crisping the "tail" of the cut.
4. The High-Heat Sear
Lay the steak away from you in a heavy-bottomed skillet (cast iron is king here). Do not touch it for at least 2 minutes. You are looking for a deep, mahogany crust.
Pro Tip: Constant movement prevents the formation of a continuous crust. You need sustained contact to create the complex flavor compounds associated with high-heat browning.
5. The Butter Baste (Arrosage)
Lower the heat slightly and add butter, garlic, and thyme. Tilt the pan so the foaming butter pools at the bottom, then use a large spoon to continuously douse the steak.
Pro Tip: This technique, known as arrosage, provides a gentle, convective heat that finishes the interior while the milk solids in the butter undergo further browning for a nutty finish.
6. Monitoring Internal Temperature
Use a digital probe thermometer to check the thickest part of the meat. Pull the steak when it is 5 degrees Fahrenheit below your target temperature.
Pro Tip: This accounts for thermal carryover. The residual heat on the surface continues to travel inward even after the meat is removed from the heat source.
7. The Rest Period
Transfer the steak to a warm plate or wooden board. Do not tent it tightly with foil, as this will steam the crust and make it soggy.
Pro Tip: Resting allows the viscous juices, which have been pushed to the center by heat, to redistribute evenly, ensuring a moist bite from edge to edge.
8. Slicing Against the Grain
Identify the direction of the muscle fibers and slice perpendicular to them using a sharp carving knife.
Pro Tip: Slicing against the grain shortens the protein fibers, making the meat significantly easier to chew and improving the overall mouthfeel.
The Deep Dive
Macro Nutrition:
A 6-ounce serving of striploin provides approximately 450 calories, 42 grams of protein, and 30 grams of fat. It is a powerhouse of Vitamin B12, zinc, and bioavailable iron. Because it is a "single ingredient" protein, it is naturally gluten-free and fits perfectly into Paleo and Keto lifestyles.
Dietary Swaps:
For a Vegan "Striploin," use a large Lion's Mane mushroom. Press it in a hot pan with a heavy weight to mimic the dense texture of beef, and use liquid aminos for that savory umami hit. For a Keto-focused meal, serve the steak with a side of marrow butter or a heavy cream-based peppercorn sauce.
The Fix-It: Troubleshooting Common Pitfalls
- The Grey Ring: If you see a thick grey band under the crust, your pan was too hot or you cooked it straight from the fridge. Fix: Temper the meat longer and flip more frequently.
- Tough Texture: This usually means the meat didn't rest long enough. Fix: If you've already sliced it, drizzle a little warm beef bone broth over the slices to rehydrate them.
- No Crust: This happens if the pan wasn't hot enough or was overcrowded. Fix: Use a bench scraper to clear the pan, reheat until the oil wisps with smoke, and sear the other side.
Meal Prep & Reheating:
To maintain "day-one" quality, do not microwave your steak. Instead, use a "reverse sear" method for reheating. Place the steak in a 250-degree oven until the internal temperature reaches 110 degrees, then flash-sear it in a hot pan for 30 seconds per side. This preserves the internal moisture without overcooking the center.
The Wrap-Up
Mastering striploin beef recipes is a rite of passage for any home cook looking to level up. It is a beautiful dance of physics and chemistry; from the osmotic pressure of the dry brine to the convective power of the butter baste. When you understand the "why" behind the sizzle, you stop following recipes and start creating experiences. So, grab that cast iron, trust your thermometer, and get ready to serve the best steak of your life. You have got the tools, the science, and the flair to make it happen!
The Kitchen Table
How do I get a restaurant-quality crust on my steak?
Ensure the steak surface is bone-dry and the pan is smoking hot. Use a heavy cast-iron skillet to maintain high thermal mass, and do not crowd the pan, which can drop the temperature and cause steaming.
What is the best oil for searing striploin?
Use oils with high smoke points like avocado oil, grapeseed oil, or clarified butter. Avoid extra virgin olive oil or regular butter for the initial sear, as they will burn and become bitter at high temperatures.
How long should I let my steak rest?
Rest your striploin for at least 8 to 10 minutes. This allows the internal muscle fibers to relax and reabsorb juices, ensuring the liquid stays in the meat rather than running out onto your cutting board.
Why is my steak tough even if it is medium-rare?
Toughness often results from skipping the tempering process or slicing with the grain. Always let the meat reach room temperature before cooking and slice perpendicular to the muscle fibers to ensure a tender, easy-to-chew texture.