
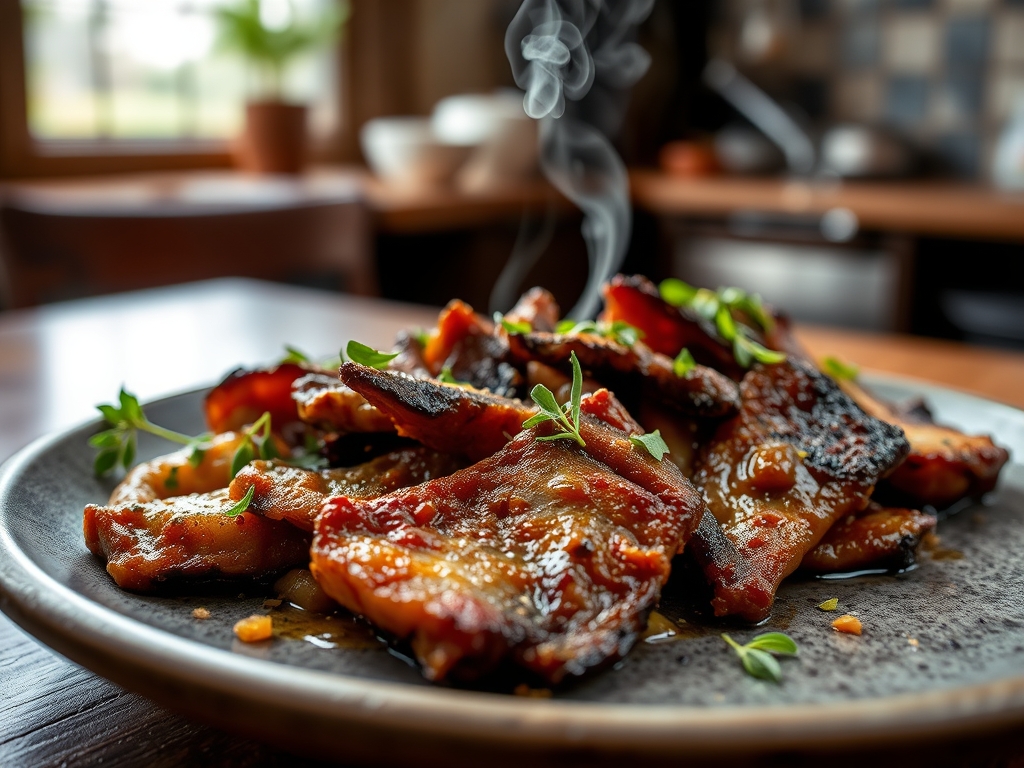
Picture the scene: your kitchen is filled with the deep, intoxicating aroma of toasted peppercorns and slow-rendered fat. We are not just making dinner; we are mastering the art of the perfect sear to transform humble dry beef recipes into a centerpiece that rivals a high-end steakhouse. Most people hear "dry beef" and think of chewy, salty jerky, but we are flipping the script by focusing on moisture retention through scientific precision. We are going to harness the power of salt-induced protein denaturation to ensure every slice is succulent. By the time we are done, you will understand why your heavy-bottomed skillet is your best friend and how a simple digital scale can be the difference between a culinary triumph and a literal "dry" disaster. Grab your apron; it is time to get nerdy with our meat.
The Gathers:
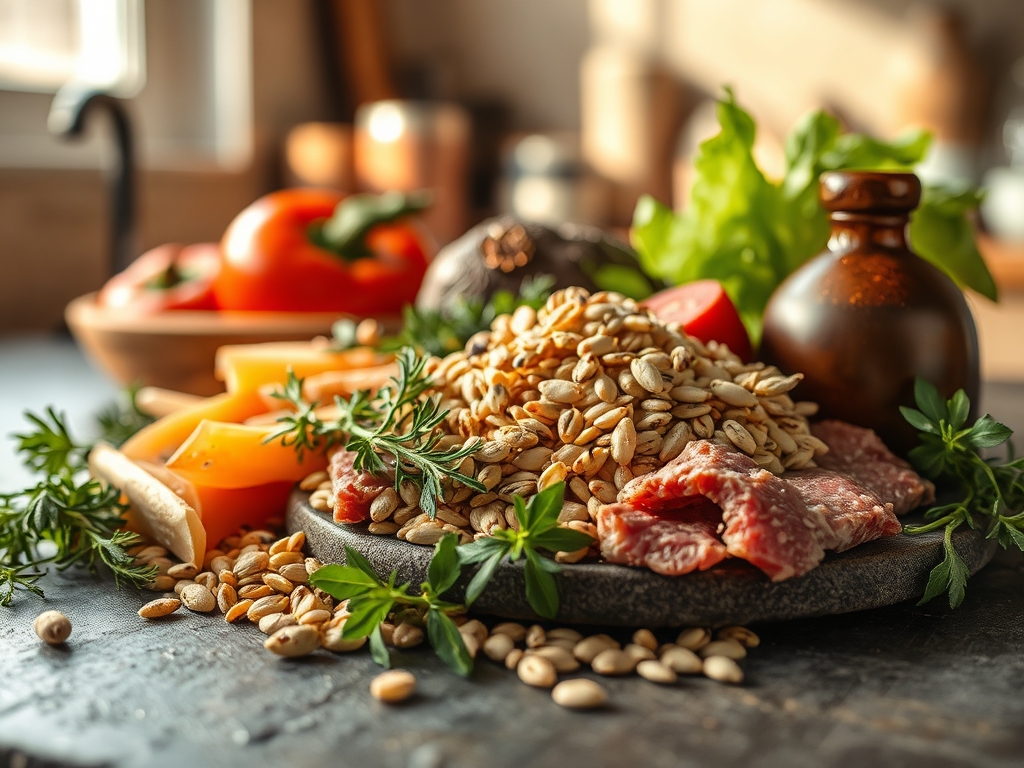
To execute these dry beef recipes with finesse, your mise-en-place must be flawless. Start with a three-pound eye of round or top sirloin roast. You want a cut with a tight grain structure. We will be using coarse kosher salt; the jagged crystals are essential for creating a hygroscopic surface that draws out moisture before reabsorbing it as a concentrated brine. You will also need whole black peppercorns, which we will crack manually to preserve their volatile oils, and a handful of woody herbs like rosemary and thyme.
Smart Substitutions:
If you cannot find a lean roast, a thick-cut London Broil works beautifully. For those watching their sodium, replace half the salt with nutritional yeast. It provides a savory, umami-rich profile that mimics the depth of aged beef without the blood pressure spike. If you lack fresh herbs, use a high-quality dried herbes de Provence, but bloom them in a small amount of neutral oil first to awaken their lipid-soluble flavors.
The Clock
Efficiency in the kitchen is all about the Chef's Flow. This is the mental map of your cooking process that prevents bottlenecks. For these dry beef recipes, your active prep time is a brisk 20 minutes, but the "magic" happens during the rest.
- Prep Time: 20 minutes (trimming, seasoning, and tempering).
- Cook Time: 60 to 90 minutes, depending on your desired internal temperature.
- The Rest: 20 minutes. This is non-negotiable.
The flow looks like this: salt the meat first, let it temper on the counter to lose its refrigerator chill, and use that time to prep your side dishes. By the time the oven is preheated, your beef is at the perfect starting temperature for even heat penetration.
The Masterclass
1. The Dry Brine Ritual
Apply a generous coating of kosher salt to all sides of the beef. Place it on a wire rack set over a rimmed baking sheet. This allows for total air circulation, which is vital for a crisp exterior.
Pro Tip: This process utilizes osmosis. Initially, salt draws moisture out; however, after about 45 minutes, the salt dissolves into a concentrated brine that the meat reabsorbs, breaking down tough muscle proteins for a more tender bite.
2. Tempering for Success
Never take beef straight from the fridge to the heat. Let the roast sit at room temperature for at least an hour. Use your digital scale to ensure your spice rub ratios are consistent every time you cook.
Pro Tip: Tempering reduces the thermal gradient between the center of the meat and the exterior. This ensures the outside does not overcook and turn gray before the middle reaches a perfect medium-rare.
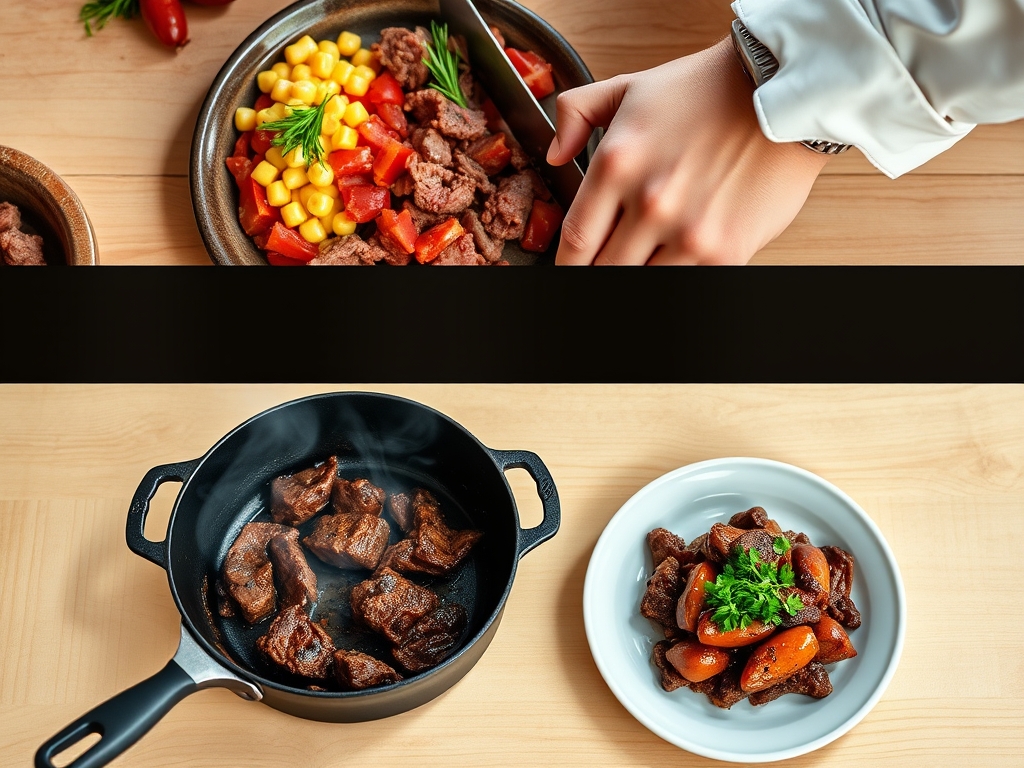
3. The High-Heat Sear
Heat a heavy-bottomed skillet until a drop of water dances and evaporates instantly. Use high-smoke-point oil like avocado oil. Sear the beef on all sides until a deep, mahogany crust forms. Use your tongs to hold the meat steady as you sear the narrow ends.
Pro Tip: This is the Maillard Reaction. It is a chemical reaction between amino acids and reducing sugars that creates hundreds of different flavor compounds. Without this step, your roast will lack complexity.
4. Low and Slow Roasting
Transfer the roast to a 250 degree Fahrenheit oven. We want a gentle heat that coaxes the fat to render slowly without tightening the muscle fibers too quickly.
Pro Tip: Low-temperature roasting minimizes collagen contraction. When beef is blasted with high heat, the fibers squeeze out their juices like a wrung-out sponge. Gentle heat keeps the moisture trapped inside.
5. The Herb Baste
During the last ten minutes of cooking, add a knob of butter, crushed garlic, and rosemary to the pan. Use a saucier or a large spoon to continuously pour the foaming butter over the meat.
Pro Tip: This is called arrosé. The fat acts as a flavor carrier, infusing the piquant aromatics of the herbs directly into the crust of the roast while adding a glossy, professional finish.
6. The Sacred Rest
Once the internal temperature hits 130 degrees Fahrenheit for medium-rare, remove it from the heat. Place it on a warm cutting board and walk away. Do not tent it tightly with foil, or you will steam the crust you worked so hard to build.
Pro Tip: This accounts for thermal carryover. The internal temperature will rise another 5 to 7 degrees while resting. Furthermore, resting allows the agitated juices to redistribute and thicken, ensuring they stay in the meat rather than flooding your board.
The Deep Dive
Macro Nutrition
A standard 4-ounce serving of this lean roast provides approximately 250 calories, 35 grams of protein, and 12 grams of fat. It is a powerhouse of Vitamin B12 and Zinc, making it an excellent choice for muscle recovery and immune support.
Dietary Swaps
- Keto: This recipe is naturally keto-friendly. Increase the butter baste for higher fat macros.
- Vegan: Swap the beef for a large "roast" made of seitan. Use soy sauce and liquid smoke in the brine to mimic the savory depth of beef.
- Gluten-Free: This recipe is inherently gluten-free; just ensure your spice blends do not contain anti-caking agents derived from wheat.
The Fix-It: Common Pitfalls
- The Meat is Gray: This happens if you skip the sear or crowd the pan. Use a larger skillet to ensure the steam can escape, allowing for a true sear rather than a simmer.
- The Crust is Too Salty: You likely used table salt instead of kosher salt. Table salt is much denser. If this happens, slice the meat thin and serve with an unsalted viscous jus to balance the palate.
- The Meat is Tough: You likely cut with the grain. Use a sharp carving knife and a bench scraper to clear your workspace, then slice perpendicular to the muscle fibers to shorten them.
Meal Prep and Reheating
To maintain "day-one" quality, do not microwave your leftovers. Instead, use a sous-vide immersion circulator to bring the meat back to 130 degrees Fahrenheit. If you do not have one, wrap the slices in foil with a splash of beef stock and warm them in a 300 degree oven until just heated through.
The Wrap-Up
Mastering dry beef recipes is a rite of passage for any home cook who wants to elevate their kitchen game. By understanding the science of the Maillard reaction and the patience required for proper tempering, you have turned a basic protein into a culinary masterpiece. Remember, the tools in your drawer like your microplane for fresh garlic or your digital scale for spices are there to ensure consistency. Now, go forth, slice against the grain, and enjoy the most flavorful roast of your life.
The Kitchen Table
How do I know when the beef is done?
Always use a digital meat thermometer. For a perfect medium-rare, pull the roast at 130 degrees Fahrenheit. The temperature will continue to rise during the resting period, reaching the ideal 135 degrees for serving.
Can I cook this in a slow cooker?
You can, but you will lose the textural contrast of the crust. If you use a slow cooker, sear the meat in a heavy-bottomed skillet first to develop flavor through the Maillard reaction before slow-cooking.
What is the best way to slice the roast?
Identify the direction of the muscle fibers and slice perpendicular to them. This technique, called cutting against the grain, breaks up the tough fibers, making every bite feel significantly more tender and easier to chew.
Why is my roast dry even though it is medium-rare?
You likely skipped the resting phase. If you cut the meat immediately after removing it from the oven, the internal pressure forces the juices out. Resting allows the proteins to relax and reabsorb those essential liquids.