
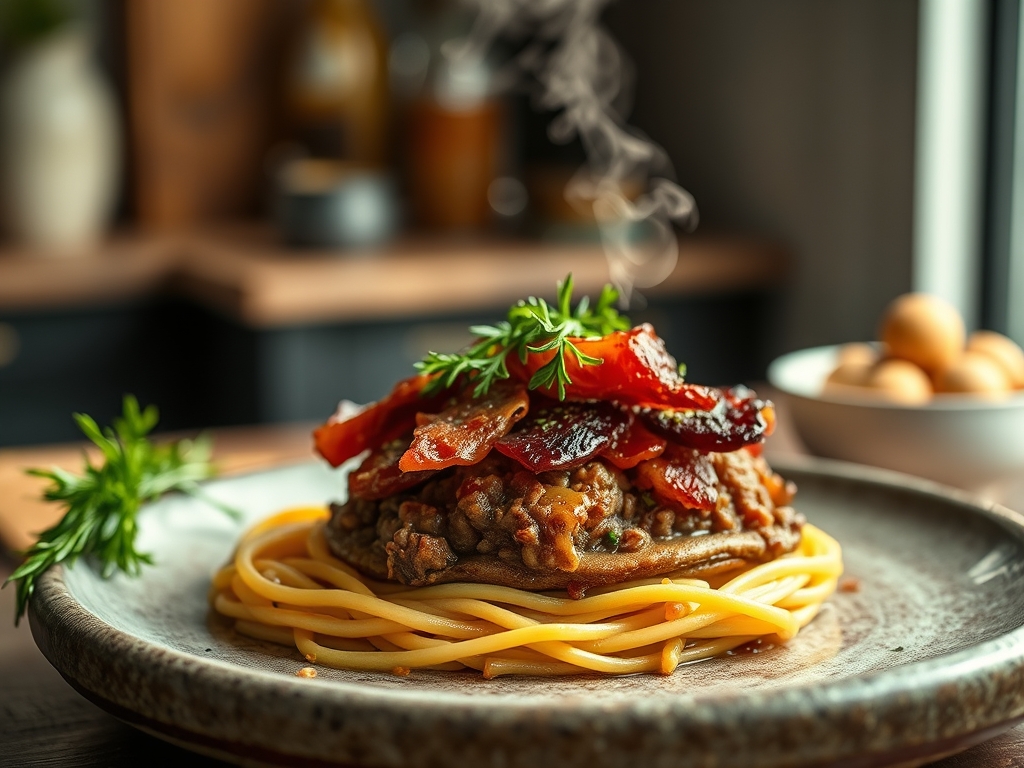
The sizzle of rendered pork fat meeting a hot cast iron surface is the ultimate kitchen siren song. When you master bacon ground beef recipes, you are not just cooking dinner; you are managing a complex chemical reaction between proteins and lipids. The salt-cured bacon provides a smoky, fatty jacket that protects the lean ground beef from drying out, ensuring every bite is a pressurized explosion of savory juice. It is the perfect marriage of texture and intensity.
Whether you are stuffing mini meatloaves or rolling gourmet poppers, the secret lies in the structural integrity of your assembly. We are aiming for that glorious Maillard reaction where amino acids and reducing sugars create a brown, flavorful crust. This is not just food; it is edible engineering. By the end of this guide, you will understand how to manipulate temperature and moisture to create restaurant-quality results in your own home kitchen. Let us get those aprons on and dive into the delicious physics of meat.
The Gathers:
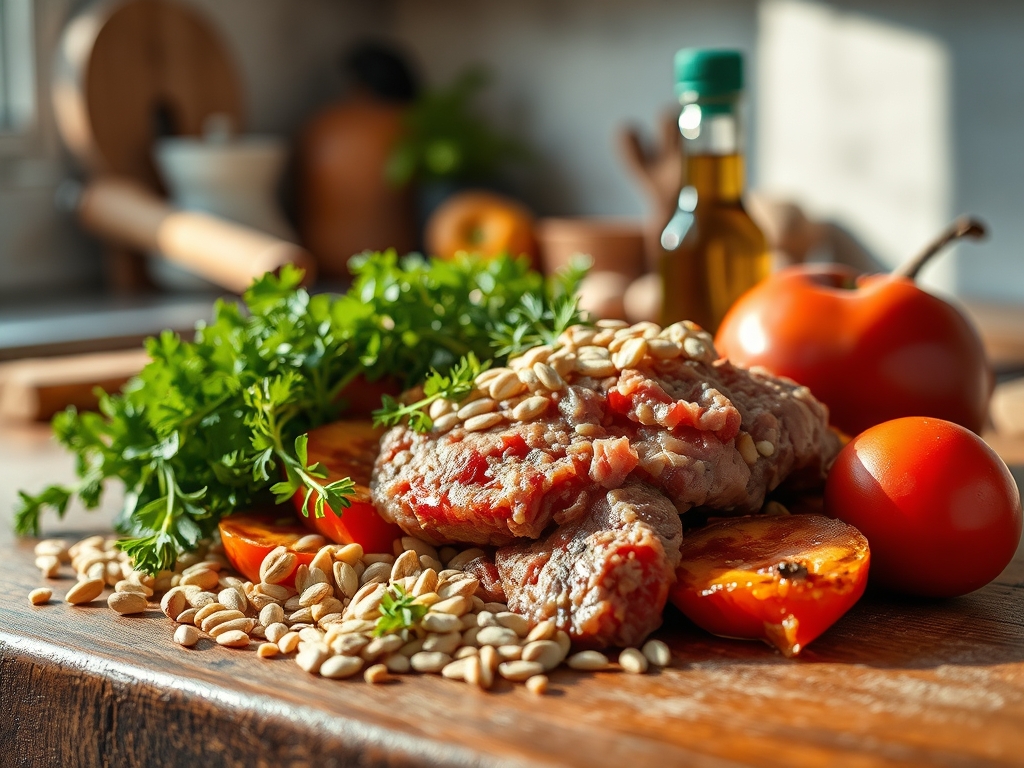
To execute these bacon ground beef recipes with precision, your mise-en-place must be flawless. Start with high-quality ground chuck, ideally an 80/20 lean-to-fat ratio. This provides enough intramuscular fat to emulsify with your seasonings without becoming greasy. For the bacon, select a center-cut variety; it has a more consistent ratio of lean meat to fat, which prevents the wrap from shrinking unevenly during the rendering process.
You will need a heavy-bottomed skillet or a cast iron pan to ensure even heat distribution. Grab your digital scale to portion the beef into uniform 4-ounce spheres; consistency is the enemy of overcooked meat. Your spice rack should include smoked paprika, garlic powder, and freshly cracked black pepper. For the aromatics, use a microplane to grate garlic and onions into a fine paste. This allows the juices to infuse the meat fibers without creating structural weak points like chunky vegetable pieces would.
Smart Substitutions:
If you are watching your saturated fat intake, ground turkey or bison can stand in for the beef. However, because these are leaner, you must add a teaspoon of olive oil or a splash of Worcestershire sauce to maintain a viscous texture. For the bacon, a high-quality turkey bacon works, but be aware it lacks the same rendering capabilities, so you may need to lightly brush it with oil to achieve a crisp finish.
The Clock:
Mastering the "Chef's Flow" is about overlapping tasks to minimize downtime. Expect a total active prep time of 25 minutes. This includes portioning the beef, seasoning, and the delicate art of the bacon wrap. The cooking time varies between 15 and 25 minutes depending on your chosen method; pan-searing requires constant vigilance while oven-roasting allows for passive heat transfer.
Always factor in a 10-minute rest period. This is not optional. During this time, thermal carryover continues to cook the center of the meat while the internal juices redistribute. If you cut into the meat too early, the liquid will escape, leaving you with a dry, disappointing result. Use a digital thermometer to track the internal temperature; you are aiming for a pull-temp of 155 degrees Fahrenheit for a final resting temp of 160 degrees.
The Masterclass:
1. The Seasoning Emulsion
Place your cold ground beef in a chilled stainless steel bowl. Add your dry spices and aromatics. Use a bench scraper or your hands to gently fold the ingredients together. Do not overwork the meat. Over-handling leads to protein cross-linking, which results in a tough, rubbery texture rather than a tender crumb.
Pro Tip: Keeping the meat cold prevents the fat from melting prematurely. This ensures the fat stays in solid pockets that will later melt during cooking to create a juicy interior. This is known as maintaining the "primary emulsion."
2. The Precision Wrap
Take a 4-ounce portion of beef and shape it into a tight cylinder or puck. Take a strip of bacon and wrap it snugly around the circumference. Secure the end with a toothpick if necessary, though a tight wrap usually stays in place due to the natural tackiness of the proteins.
Pro Tip: Ensure the bacon overlaps by at least half an inch. As the bacon heats, it shrinks. The overlap accounts for this contraction, preventing the beef from bulging out and losing its shape.
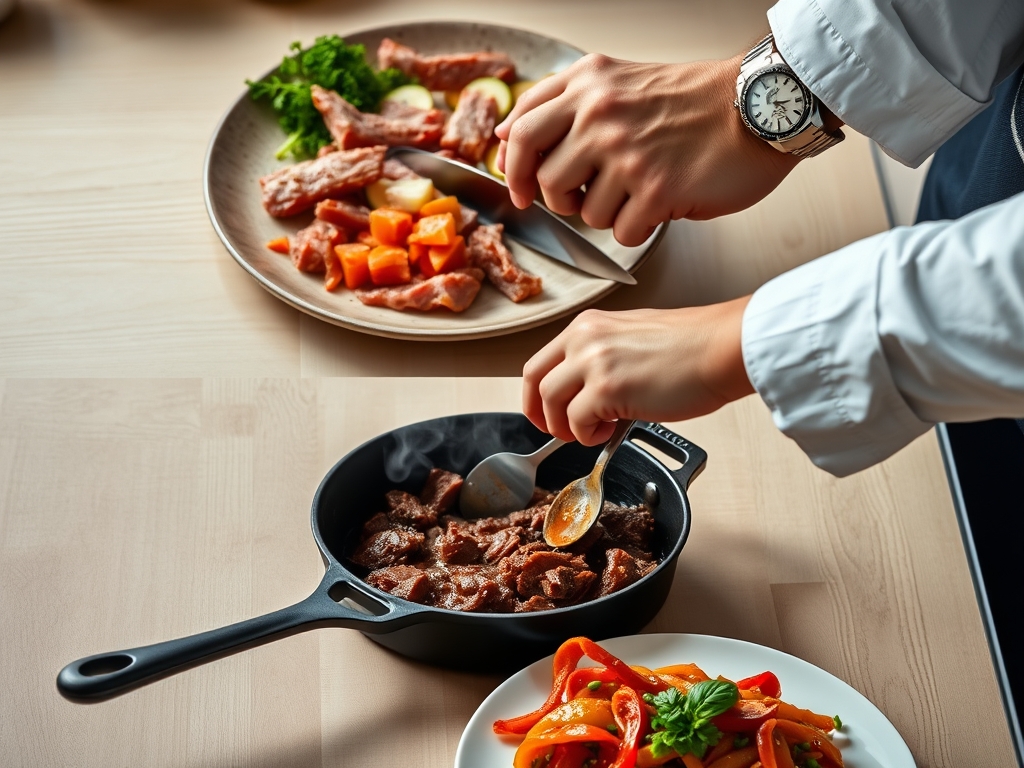
3. The Sear and Render
Heat your heavy-bottomed skillet over medium-high heat. Place the meat bacon-side down first. Use tongs to rotate the pieces every two minutes. This allows the bacon fat to render out, effectively frying the beef in its own flavor.
Pro Tip: This stage utilizes conductive heat to trigger the Maillard reaction. The rendered fat acts as a heat transfer medium, ensuring the bacon reaches a crispy state before the beef center overcooks.
4. The Deglaze and Glaze
Once the bacon is crisp, remove any excess grease with a spoon. Add a splash of beef stock or balsamic vinegar to the pan to deglaze the brown bits (the fond). Brush this concentrated liquid back onto the meat for an extra layer of piquant flavor.
Pro Tip: Deglazing captures the concentrated flavor compounds stuck to the pan. This adds a "umami bomb" to your dish that salt alone cannot provide.
5. The Controlled Rest
Move the meat to a wire rack set over a baking sheet. This allows air to circulate around the entire surface, keeping the bacon bottom from getting soggy. Tent loosely with foil to retain heat without trapping steam.
Pro Tip: Resting allows the muscle fibers to relax. As they relax, they reabsorb the juices that were pushed to the center during the high-heat cooking phase.
The Deep Dive:
From a nutritional standpoint, bacon ground beef recipes are high-protein and high-fat, making them a staple for Keto enthusiasts. A standard serving contains approximately 30g of protein and 22g of fat. To make this Gluten-Free, ensure your spices and any binders (like mustard) are certified GF. For a Vegan twist, use a plant-based ground "meat" and rice-paper bacon seasoned with liquid smoke and maple syrup.
The Fix-It:
- Bacon is floppy: Your pan wasn't hot enough. Increase heat and use a weight (like a smaller pan) to press the bacon against the surface.
- Beef is dry: You likely overmixed the meat or cooked it past 165 degrees. Use a digital thermometer next time.
- Bacon unrolls: The "seam" wasn't placed face-down first. Always start searing on the bacon's tail-end to "weld" it shut.
Meal Prep:
To reheat while maintaining "day-one" quality, avoid the microwave. The microwave agitates water molecules, making the bacon rubbery. Instead, use an air fryer at 350 degrees for 4 minutes or a toaster oven. This re-crisps the fat and warms the beef gently.
The Wrap-Up:
You are now officially armed with the scientific secrets to conquering bacon ground beef recipes. By understanding the balance of fat rendering and protein structure, you have elevated a simple meal into a culinary masterpiece. Remember to use your tools; the microplane and digital scale are your best friends for consistency. Now, go forth, fire up that skillet, and let the aroma of smoky, savory perfection fill your kitchen. Your friends are going to think you went to culinary school over the weekend!
The Kitchen Table:
How do I stop the bacon from shrinking?
Stretch the bacon slightly before wrapping and secure it with a toothpick. The shrinkage is a natural result of collagen fibers contracting; starting with a snug wrap and using medium heat helps the bacon set its shape gradually.
What is the best ground beef for this?
Use 80/20 ground chuck. The 20 percent fat content is essential for flavor and moisture. Leaner blends like 90/10 will result in a dry texture that cannot be fully compensated for by the bacon wrap.
Can I bake these instead of pan-frying?
Yes. Place them on a wire rack over a baking sheet at 400 degrees Fahrenheit. The rack allows hot air to circulate, ensuring the bacon crisps on all sides via convection, though you might miss some deep pan-seared flavor.
How do I know when the beef is done?
Use a digital thermometer to check the internal temperature. Remove the meat from the heat when it hits 155 degrees Fahrenheit. The temperature will rise to the safe 160-degree mark during the mandatory ten-minute resting period.