

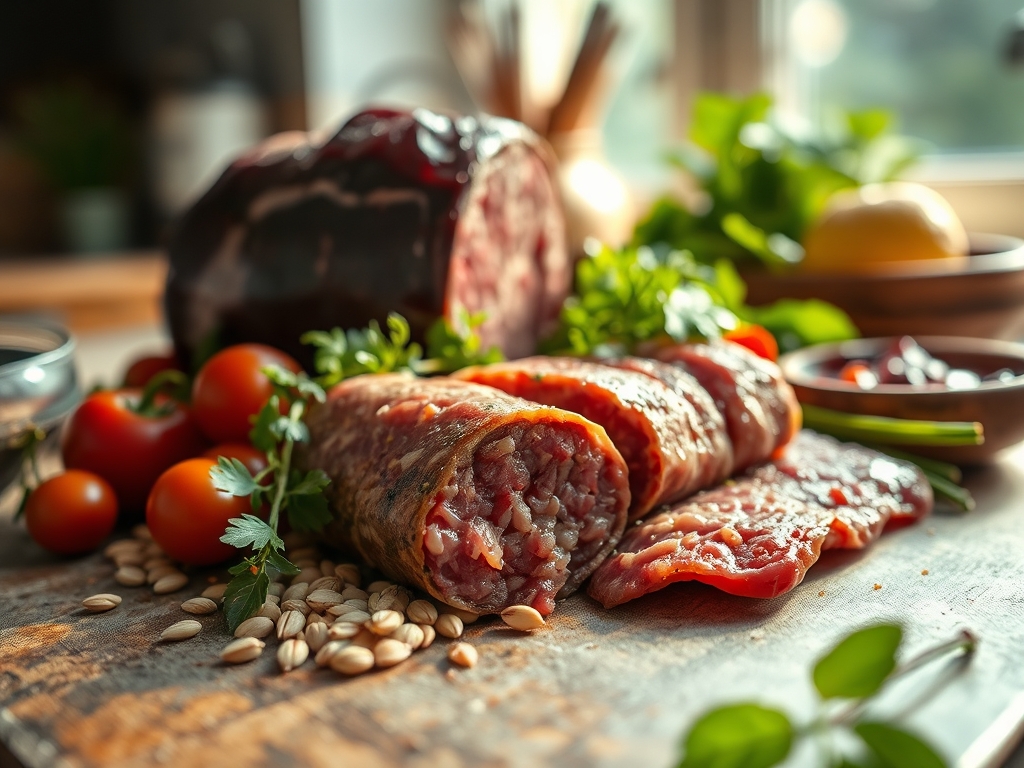
Imagine the sound of a heavy-bottomed skillet meeting a high-flame burner; it is the percussion of a kitchen about to transform raw protein into a masterpiece. When you master rolled beef recipes, you are not just cooking; you are engineering a structural marvel that balances succulent fat with piquant fillings. This technique turns humble cuts into elegant, center-stage showstoppers.
The beauty of the roll is the way it manipulates surface area. By butterflying the meat, you create more space for the Maillard reaction to occur on the outside while trapping moisture and aromatics on the inside. Whether you are craving a traditional Italian Braciole or a sharp, modern Chimichurri flank, these rolled beef recipes offer a sophisticated architectural approach to dinner. We are moving beyond the basic sear and into the realm of culinary craftsmanship. It is time to roll up our sleeves and dive into the molecular magic that happens when high-quality beef meets a perfectly executed technique.
The Gathers:
Your mise-en-place is the foundation of structural integrity. For any of our ten variations, start with your protein: a flank steak or top round is ideal because the long muscle fibers provide the tensile strength needed to hold a shape. You will need a digital scale to ensure your fillings are proportional; too much weight and the roll will fail during the thermal expansion of cooking.
Gather your aromatics. Fresh garlic should be processed with a microplane to create a fine paste that will infuse the meat without leaving chunky, bitter bits. For the fats, choose a high-smoke-point oil like avocado or grapeseed to ensure you can achieve deep enzymatic browning without the oil breaking down into acrid compounds. If you are aiming for a Mediterranean profile, have salty capers and viscous balsamic glaze ready.
Smart Substitutions: If you are avoiding red meat, a large turkey breast can be butterflied using the same logic. For a plant-based "roll," large portobello mushroom caps can be sliced thin and layered, though they lack the connective tissue of beef. If you find yourself without kitchen twine, unflavored dental floss works in a pinch to secure your creation.
The Clock: Chef's Flow
Efficiency in the kitchen is about managing the "Chef's Flow." Expect a prep time of 30 minutes; this includes the manual labor of tenderizing and the precision of layering. The cook time varies by method. A quick sear-and-roast takes 25 minutes, while a braised roll might require 2 hours of gentle simmering to break down collagen.
The flow works like this: Prep the filling first so the flavors can marry. Butterfly the meat while it is still slightly chilled; cold fat is easier to slice cleanly than room-temperature fat. Once rolled and tied, let the meat rest for 10 minutes before it hits the heat. This allows the proteins to "relax" into their new shape, preventing the roll from springing open like a coiled wire the moment it touches the skillet.
The Masterclass:
1. The Precision Butterfly
Lay your beef flat on a clean board. Using a sharp chef's knife, slice horizontally through the thickness of the meat, stopping about half an inch from the edge. Open it like a book.
Pro Tip: This increases the surface area for the Maillard reaction. By thinning the meat, you ensure heat penetrates the core faster, preventing the outer layers from overcooking before the center is safe to eat.
2. The Structural Pound
Cover the meat with plastic wrap and use the flat side of a meat mallet to even out the thickness. Aim for a uniform half-inch across the entire surface.
Pro Tip: Pounding the meat physically breaks down tough connective tissue (collagen). This mechanical tenderization ensures a melt-in-your-mouth texture even if you are using a leaner, more budget-friendly cut.
3. The Flavor Infusion
Spread your chosen filling (herbs, cheese, or aromatics) across the meat, leaving a one-inch border at the edges. Use a spatula to ensure an even, thin layer.
Pro Tip: Leave the border to account for displacement. As you roll the beef, the filling will be pushed outward; a clean border prevents the filling from leaking into the pan and scorching.
4. The Tension Roll
Roll the beef tightly away from you, keeping the tension high. Secure the roll every two inches with kitchen twine using a series of half-hitch knots.
Pro Tip: High tension is vital for heat conductivity. Air pockets inside the roll act as insulators, leading to uneven cooking. A tight roll ensures the entire piece of meat cooks as one solid mass.
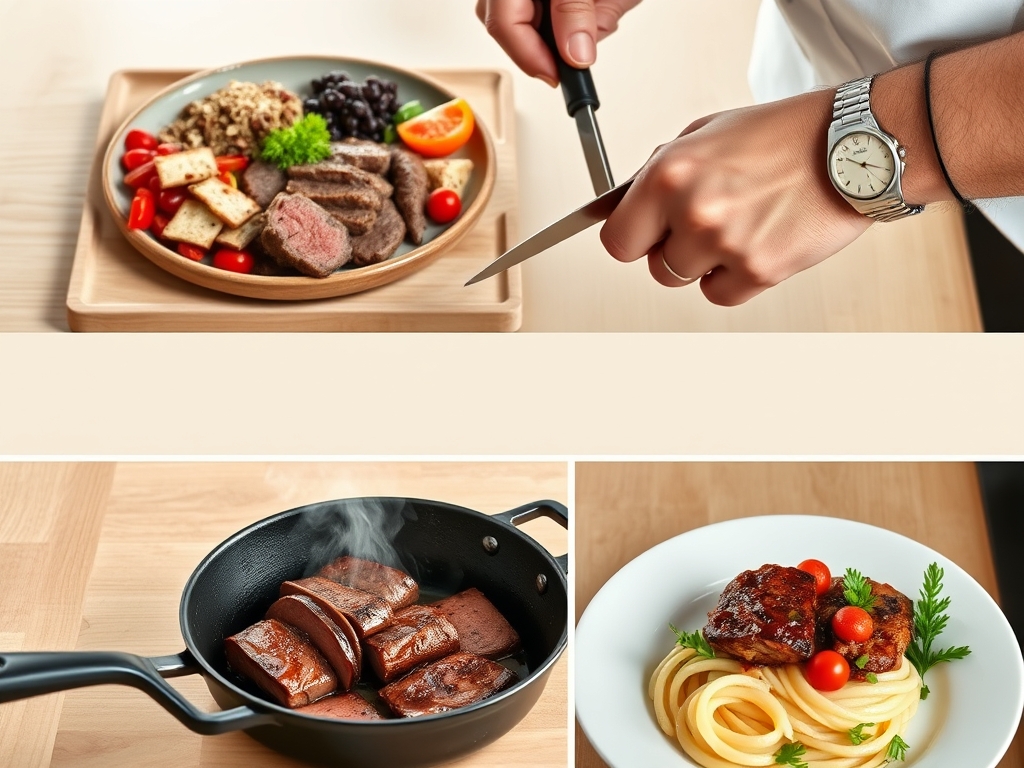
5. The Hard Sear
Heat a heavy-bottomed skillet until it is wispy with smoke. Use tongs to place the beef in the pan, searing every side until a deep brown crust forms.
Pro Tip: This is enzymatic browning. The crust is not just for color; it creates hundreds of new flavor compounds that do not exist in raw meat. Do not move the meat too early or you will tear the proteins.
6. The Deglaze and Simmer
Remove the beef and pour a liquid (wine, stock, or verjus) into the hot pan. Use a wooden spoon to scrape up the brown bits (fond) before returning the beef to the pan or oven.
Pro Tip: Deglazing captures the concentrated solutes stuck to the pan. This creates a viscous, flavorful sauce that acts as a self-basting mechanism if you are finishing the dish in the oven.
The Deep Dive:
From a nutritional standpoint, rolled beef recipes are a powerhouse of bioavailable iron and B12. A standard serving provides roughly 35 grams of protein. To keep it Keto, focus on high-fat fillings like pesto or goat cheese. For a Gluten-Free version, swap traditional breadcrumb binders for almond flour or crushed pork rinds to maintain that essential texture.
The Fix-It:
- The Roll Unravels: This usually happens because the twine was too loose or the meat was too thick. Fix: Use toothpicks as secondary anchors and sear the "seam" side first to "glue" it shut with protein coagulation.
- The Filling Leaks: If your cheese is oozing out, your heat might be too low, causing a slow melt before the meat sears. Fix: Ensure the pan is screaming hot to flash-sear the ends.
- Tough Texture: If the beef is rubbery, you likely skipped the resting phase. Fix: Let the meat rest for at least 10 minutes under foil. This allows the internal juices to redistribute.
Meal Prep Science: To reheat, do not use a microwave; it vibrates water molecules too violently, toughening the beef. Instead, slice the roll and warm it in a saucier with a splash of broth over low heat. This gentle "re-hydration" maintains the day-one tenderness.
The Wrap-Up:
You are now equipped to handle the most sophisticated rolled beef recipes in the culinary canon. From the mechanical breakdown of fibers to the chemical triumph of the sear, you have moved beyond the recipe and into the science of flavor. Remember that cooking is an experiment where you get to eat the results. Grab your twine, trust your skillet, and let the aroma of browning beef fill your home. You have got this, Chef!
The Kitchen Table:
What is the best cut for rolled beef recipes?
Flank steak or top round are the gold standards. They offer long muscle fibers that hold their shape when butterflied and pounded. These cuts are lean enough to roll tightly but contain enough collagen to stay juicy during the cooking process.
Why does my beef roll get tough after cooking?
Toughness usually stems from skipping the resting period or overcooking the outer layers. Always use a digital thermometer to pull the beef at 135 degrees Fahrenheit for medium-rare. Resting allows the muscle fibers to reabsorb moisture, ensuring a tender bite.
Can I prepare rolled beef recipes in advance?
Yes, you can butterfly, fill, and tie the beef up to 24 hours in advance. Keep it tightly wrapped in the refrigerator. This actually helps the flavors of the filling infuse deeper into the meat fibers before you begin the searing process.
How do I prevent the filling from falling out?
The secret is leaving a one-inch border around the edges when spreading your filling. As you roll the meat, the pressure naturally pushes the filling toward the edges. A border ensures the contents stay encased within the protein "sleeve" during cooking.
Do I have to use kitchen twine for these recipes?
While twine provides the most even tension, you can use stainless steel skewers or toothpicks to secure the seam. Just be sure to sear the seam side first to help the proteins bond together, which creates a natural seal for the roll.