
Imagine the sound of a heavy-bottomed skillet meeting the stovetop; it is a resonant, metallic chime that signals the start of something transformative. The air begins to thicken with the scent of rendering fats and the earthy, starchy promise of a root vegetable undergoing a total structural evolution. When life moves at a frantic pace, your pantry is your secret weapon; specifically, your collection of can sliced potato recipes provides a shortcut to gourmet textures without the labor of manual peeling. We are talking about achieving that elusive, glass-like exterior and a pillowy, fondant-style interior in record time. It is not just dinner; it is a technical exercise in heat management and flavor infusion that will make your kitchen feel like a high-end bistro.
The Gathers:
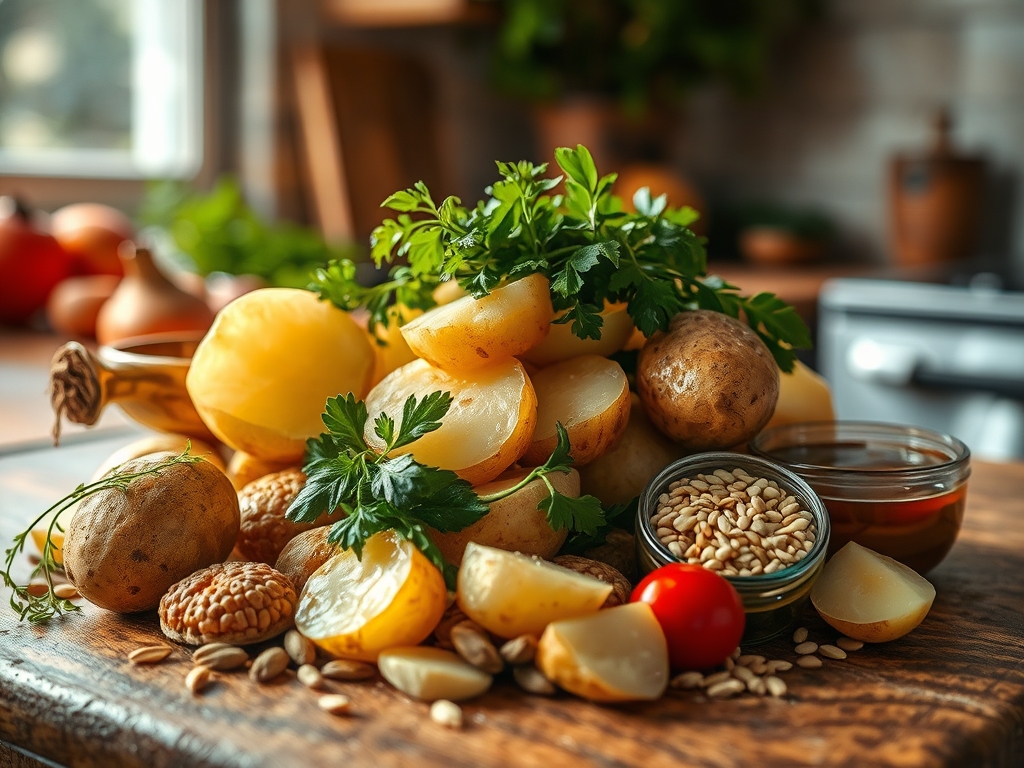
To master these can sliced potato recipes, your mise-en-place must be precise. Start with high-quality canned potatoes; these have been parboiled, meaning the cellular structure of the starch is already partially gelatinized. You will need a high-smoke-point lipid, such as clarified butter or avocado oil, to facilitate the Maillard reaction without scorching. Gather fresh aromatics: sprigs of woody rosemary, thyme, and cloves of garlic that you will later crush with the flat of a chef knife to release their volatile oils.
For the "Smart Substitutions," if you lack clarified butter, use a 50/50 blend of neutral oil and unsalted butter to raise the overall smoke point while retaining that nutty, browned-butter flavor profile. If you are aiming for a piquant kick, swap standard sea salt for a smoked Maldon or a dusting of pimenton. Always keep a microplane nearby to zest lemon or grate hard cheeses like Pecorino Romano over the finished dish; this adds a high-frequency acidic or umami note that cuts through the dense starch.
The Clock
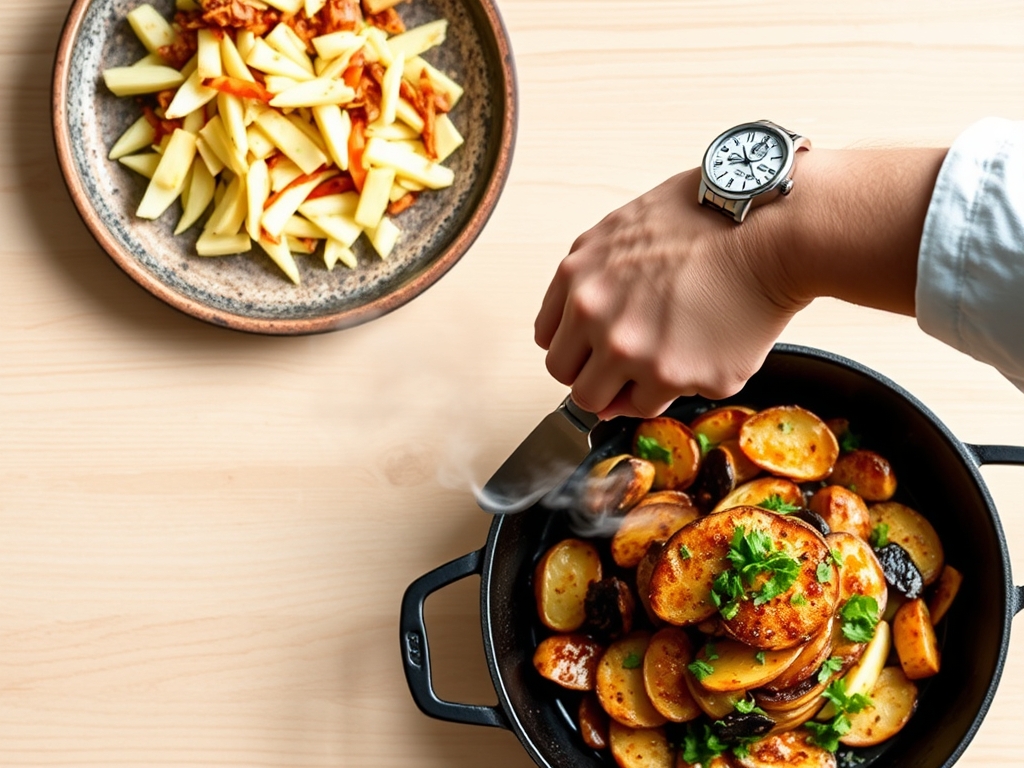
Efficiency in the kitchen is all about the "Chef's Flow." For these can sliced potato recipes, your active prep time is a mere five minutes. Because the slicing and parboiling are handled by the canning process, you bypass the most tedious stages of traditional roasting. The roasting phase takes approximately twenty to twenty-five minutes at high heat.
The flow works like this: preheat your oven and your roasting pan simultaneously. While the metal absorbs thermal energy, you drain and dry your potatoes. By the time the oven pings, your ingredients are prepped, and the "sizzle" is immediate upon contact. This overlap ensures that you are never standing idle, maximizing every second of your evening.
The Masterclass
1. The Desiccation Phase
Drain the cans thoroughly and spread the slices onto a clean kitchen towel or layers of paper towels. Use a second towel to pat the tops firmly. Moisture is the enemy of the Maillard reaction; if the surface is wet, the heat will spend its energy evaporating water rather than browning the sugars.
Pro Tip: This prevents "steam-shielding." When water turns to steam, it creates a physical barrier between the potato and the oil, preventing the crisping process. Drying them ensures direct lipid-to-starch contact.
2. The High-Heat Infusion
Place your heavy-bottomed skillet or sheet pan in a 425 degree Fahrenheit oven for ten minutes. Once hot, add your oil and the potato slices in a single, non-overlapping layer. You should hear an aggressive hiss. Toss in your crushed garlic cloves and rosemary sprigs now to infuse the oil.
Pro Tip: This utilizes thermal mass. A preheated pan prevents the potatoes from sticking by immediately searing the exterior proteins, a phenomenon known as the Leidenfrost effect in liquid-heavy scenarios, but here it simply ensures a clean release.
3. The Agitation Interval
After twelve minutes, use a wide metal bench scraper or thin tongs to flip the slices. The side in contact with the pan should be a deep, golden ochre. Do not crowd the pan; if the slices overlap, they will trap steam and turn mushy rather than crisp.
Pro Tip: This manages the temperature gradient. By flipping, you ensure that the internal moisture migrates evenly, preventing the centers from becoming hollow while the exteriors harden.
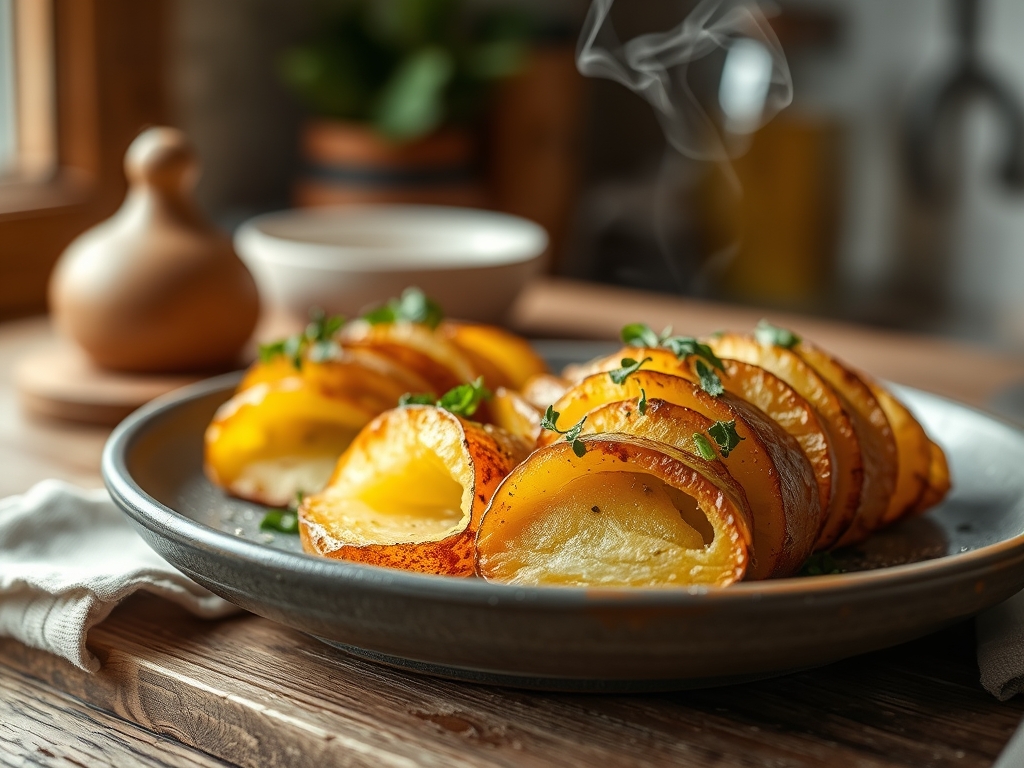
4. The Aeration Finish
Once the potatoes are crisp on both sides, remove the pan from the oven. Use a slotted spoon to transfer the potatoes to a wire cooling rack set over a paper towel. Immediately season with fine salt while the surface oil is still viscous and can "grab" the crystals.
Pro Tip: This accounts for thermal carryover. The potatoes will continue to cook for 2 to 3 minutes after leaving the oven. The wire rack allows air to circulate underneath, preventing the bottom from becoming soggy due to trapped condensation.
The Deep Dive
From a macro nutrition perspective, potatoes are a powerhouse of potassium and complex carbohydrates. Using canned versions often means a slightly lower glycemic index if they have been cooled and processed, as this increases resistant starch. For dietary swaps, vegans can use nutritional yeast for a "cheesy" finish, while those on a keto-adjacent path should focus on portion control and pairing with high-protein sides like seared salmon.
The Fix-It: Troubleshooting Common Pitfalls
- The Soggy Slice: If your potatoes are limp, the oven temperature was too low. Fix: Crank the heat to 450 degrees for the last five minutes to flash-crisp the exterior.
- The Burned Garlic: If your aromatics turn black and bitter, you added them too early. Fix: Next time, add delicate herbs and garlic during the last ten minutes of roasting.
- The Stuck Potato: If the starch bonds to the pan, you likely tried to flip too soon. Fix: Wait an extra two minutes; as the crust forms, the potato will naturally "self-release" from the metal.
For meal prep, reheating is a science. Never use a microwave, as it agitates water molecules and turns the starch gummy. Instead, use an air fryer or a dry skillet over medium heat to re-activate the fats and restore the "day-one" crunch.
The Wrap-Up
Mastering can sliced potato recipes is the ultimate "work smarter, not harder" kitchen hack. You are leveraging the industrial precision of the canning process and combining it with artisanal roasting techniques to create a side dish that anchors any meal. Whether you are deglazing the pan with a splash of vinegar for a German-style salad or piling them high next to a roast chicken, these slices are your canvas. Now, grab your favorite skillet and go create some golden, starchy magic!
The Kitchen Table
Can I use an air fryer for canned potatoes?
Yes, an air fryer is excellent for these recipes. Toss the dried slices in oil and seasonings, then air fry at 400 degrees Fahrenheit for 12 to 15 minutes. Shake the basket halfway through to ensure an even, crispy golden finish.
How do I make canned potatoes taste less like the tin?
Rinse the potatoes thoroughly under cold running water after draining. This removes the canning brine and excess surface starch. Patting them completely dry before roasting further ensures a fresh, neutral flavor that readily absorbs your added aromatics and fats.
Are canned potatoes healthy for my family?
Canned potatoes are a nutritious, gluten-free carbohydrate source. They provide essential vitamins like Vitamin C and B6. To keep them healthy, control the amount of added sodium and use heart-healthy fats like olive oil or avocado oil during the roasting process.
Why are my canned potatoes falling apart?
Canned potatoes are already cooked, so they are delicate. Avoid over-handling them when they are wet. Use a gentle touch when tossing with oil and a thin spatula for flipping. High heat helps "set" the exterior quickly to maintain their structural integrity.