
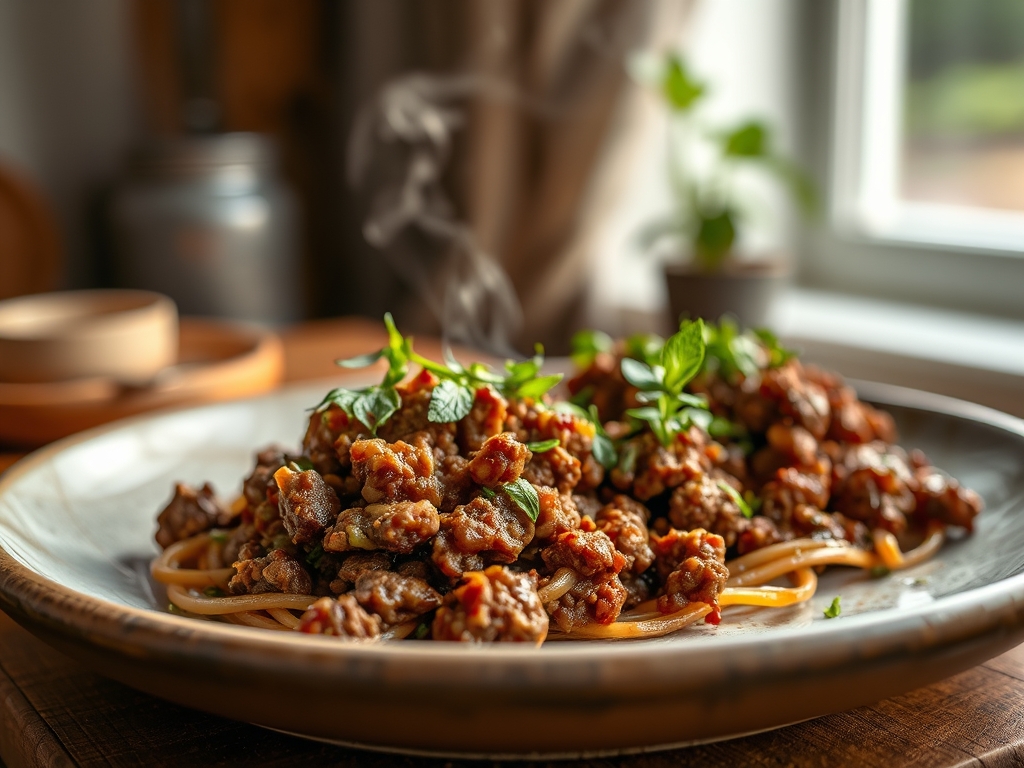
The scent of sizzling fat hitting a hot pan is the universal language of a kitchen that knows what it is doing. We have all been there; you are staring at a cold, gray brick of protein and wondering how to transform it into something legendary. Mastering seasoned ground beef recipes is not just about dumping a packet of salt and chili powder into a skillet. It is an exercise in molecular chemistry. We are talking about the Maillard reaction, that magical chemical dance where amino acids and reducing sugars rearrange themselves under high heat to create hundreds of different flavor compounds. When you treat your beef with respect, you are not just making dinner; you are building a foundation of deep, savory umami that can anchor everything from silk-road inspired bowls to the perfect taco. Let us strip away the blandness and dive into the mechanics of how to make your ground beef the most hardworking ingredient in your refrigerator.
The Gathers:
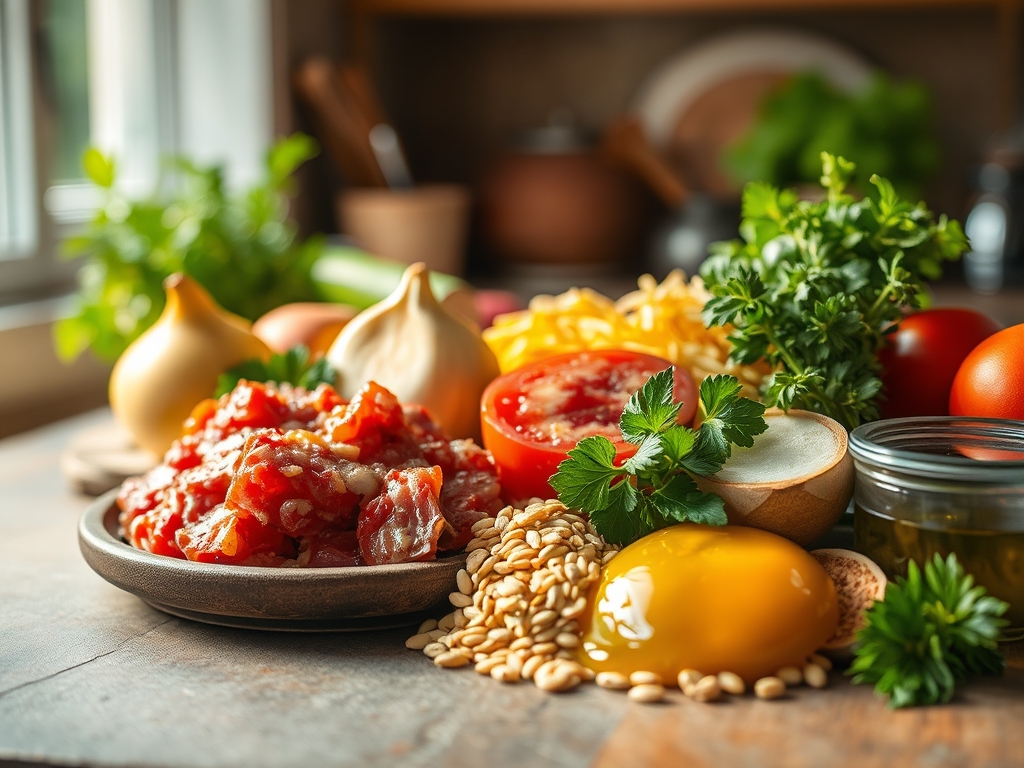
Before we ignite the burner, we must assemble our mise-en-place. To achieve the best results for seasoned ground beef recipes, you want a fat-to-lean ratio of 80/20. This is the golden rule of moisture. The 20 percent fat content provides the viscous mouthfeel and carries fat-soluble flavor compounds from your spices directly to your taste buds. You will need a heavy-bottomed skillet or a cast iron pan to ensure even heat distribution and high thermal mass.
For your aromatics, gather fresh garlic, shallots, and ginger. Do not reach for the pre-minced jars; the sulfurous compounds in fresh garlic are far more piquant and volatile. You will also need a high-quality sea salt, cracked black pepper, and your "secret weapons" such as Worcestershire sauce, tomato paste, and a splash of soy sauce for an umami boost.
Smart Substitutions: If you are watching your saturated fat intake, you can swap half the beef for finely minced cremini mushrooms. Mushrooms contain high levels of glutamate, which mimics the savory profile of beef while adding a boost of vitamin D. If you lack fresh shallots, use the white parts of scallions for a sharper, more herbaceous bite.
The Clock:
Efficiency in the kitchen is all about the Chef's Flow. This process takes exactly 20 minutes from the moment you pull the meat from the fridge to the moment you serve.
- Prep (5 Minutes): Use a sharp chef's knife to mince your aromatics. Measure your dry spices into a small ramekin so you are not fumbling with lids while the pan is screaming hot.
- Searing (7 Minutes): This is the active phase where you render the fat and achieve that deep brown crust.
- Infusing (5 Minutes): This is when we add the liquids and spices to bloom their flavors.
- Resting (3 Minutes): Vital for moisture retention.
By following this timeline, you ensure that the meat does not become rubbery or over-processed.
The Masterclass:
1. The Tempering Phase
Take your beef out of the refrigerator ten minutes before cooking. If the meat is ice-cold when it hits the pan, it will drop the surface temperature of the metal, causing the meat to steam in its own juices rather than sear. Use a digital scale to portion your meat into manageable batches if you are cooking more than two pounds.
Pro Tip: This prevents a "thermal shock" to the pan. When meat steams, it turns gray and loses its structural integrity; tempering ensures the Maillard reaction begins the second contact is made.
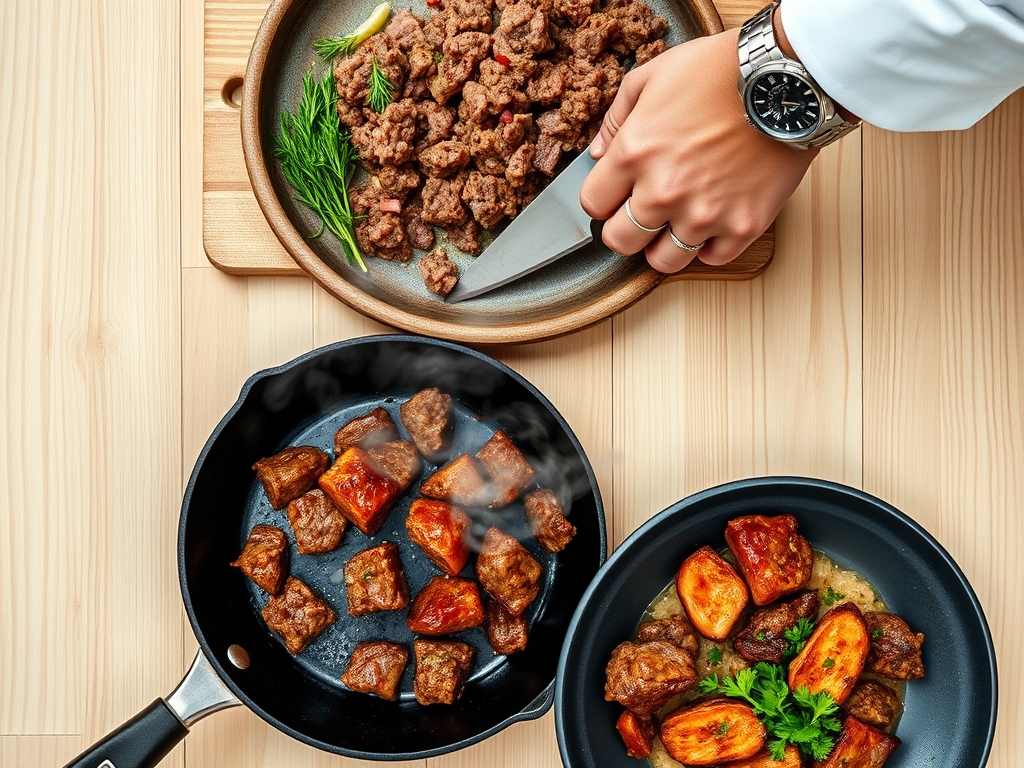
2. The Hard Sear
Place your heavy-bottomed skillet over medium-high heat. Do not add oil yet if you are using 80/20 beef; there is enough fat inside the protein. Press the meat into the pan in one large flat disc. Let it sit undisturbed for three full minutes. Resist the urge to poke it.
Pro Tip: Leaving the meat undisturbed allows for enzymatic browning. Moving it too early breaks the protein bonds before they can caramelize, resulting in a loss of deep flavor.
3. The Break and Render
Use a sturdy bench scraper or a wooden spoon to break the meat into large chunks. Flip them over to expose the un-seared sides. As the fat begins to render, it will become a liquid medium that fries the exterior of the beef crumbles.
Pro Tip: Fat is a thermal conductor. By allowing the meat to fry in its own rendered tallow, you are creating a crisp texture that holds up even when sauces are added later.
4. Blooming the Aromatics
Push the meat to the edges of the pan and drop your minced garlic and shallots into the center. Use a microplane to zest in some fresh ginger if you want a bright, aromatic lift. Let them soften until they become translucent and fragrant.
Pro Tip: This is called "blooming." Many flavor compounds in spices and aromatics are fat-soluble. By toasting them in the rendered beef fat, you infuse the oil with flavor that then coats every grain of meat.
5. The Umami Deglaze
Add a tablespoon of tomato paste and a splash of liquid (beef stock, wine, or even water). Use your spoon to scrape up the brown bits stuck to the bottom of the pan. This is called the fond, and it is concentrated flavor gold.
Pro Tip: Deglazing releases the caramelized proteins from the pan surface and incorporates them back into the dish. This creates a cohesive, rich sauce that clings to the beef.
The Deep Dive:
Macro Nutrition
A standard 4-ounce serving of seasoned 80/20 ground beef provides roughly 280 calories, 20 grams of protein, and 22 grams of fat. It is a powerhouse of B vitamins and zinc. If you use 90/10 lean beef, you can drop the calories to about 200, but you may need to add a teaspoon of olive oil to prevent sticking.
Dietary Swaps
- Vegan: Use a pea-protein based crumble. Since these lack natural fats, add a tablespoon of coconut aminos and a teaspoon of smoked paprika to replicate the "charred" flavor of beef.
- Keto: Keep the fat! Avoid adding sugar-laden ketchups or cornstarch thickeners. Use heavy cream or butter to finish the sauce.
- Gluten-Free: Ensure your Worcestershire sauce is certified GF, or swap it for tamari.
The Fix-It
- The Meat is Too Greasy: Do not dump it down the drain. Tilt the pan and use a spoon to remove excess fat, or toss in a handful of finely chopped kale or spinach to absorb the flavorful oil.
- The Meat is Dry: This usually happens with very lean beef. Whisk a teaspoon of cornstarch into half a cup of beef broth and stir it in. This creates a viscous glaze that mimics the mouthfeel of fat.
- It Tastes Flat: You likely need acid. A squeeze of lime or a teaspoon of apple cider vinegar will "wake up" the flavors by balancing the heavy fats.
Meal Prep Science
When reheating seasoned ground beef recipes, avoid the microwave if possible. The microwave vibrates water molecules, which can lead to "steamed" and rubbery meat. Instead, use a saucier on the stovetop with a tablespoon of water. Cover it with a lid to create a steam chamber that gently rehydrates the proteins without overcooking them.
The Wrap-Up:
You are now armed with the technical prowess to turn a basic grocery staple into a culinary masterpiece. Remember that great cooking is about the intersection of heat, fat, and timing. By respecting the sear and understanding how to bloom your spices, you have elevated your seasoned ground beef recipes from simple sustenance to a gourmet foundation. Now, grab your tongs, get that pan screaming hot, and go create something delicious. Your kitchen is your laboratory; enjoy the chemistry!
The Kitchen Table:
How do I prevent ground beef from turning gray?
Ensure your pan is preheated until it is shimmering hot. Do not overcrowd the skillet; cook in batches if necessary. Gray meat is the result of steaming, which happens when the pan temperature drops too low to trigger the Maillard reaction.
Can I freeze seasoned ground beef?
Yes, you can freeze it for up to three months. Ensure the meat is completely cooled before placing it in a vacuum-sealed bag. Removing all air prevents ice crystals from rupturing the protein cells, which preserves the "day-one" texture upon thawing.
What is the best way to break up ground beef?
Use a stiff wooden spoon or a specialized meat masher tool while the meat is still raw in the pan. For a finer texture, use a whisk once the meat begins to brown to break down any large, stubborn clumps effectively.
How do I make my ground beef taste like a restaurant?
The secret is "layering" salt and adding an acid at the end. Salt your meat during the sear, then add a splash of vinegar or citrus juice right before serving to brighten the heavy, savory notes of the beef and fat.