
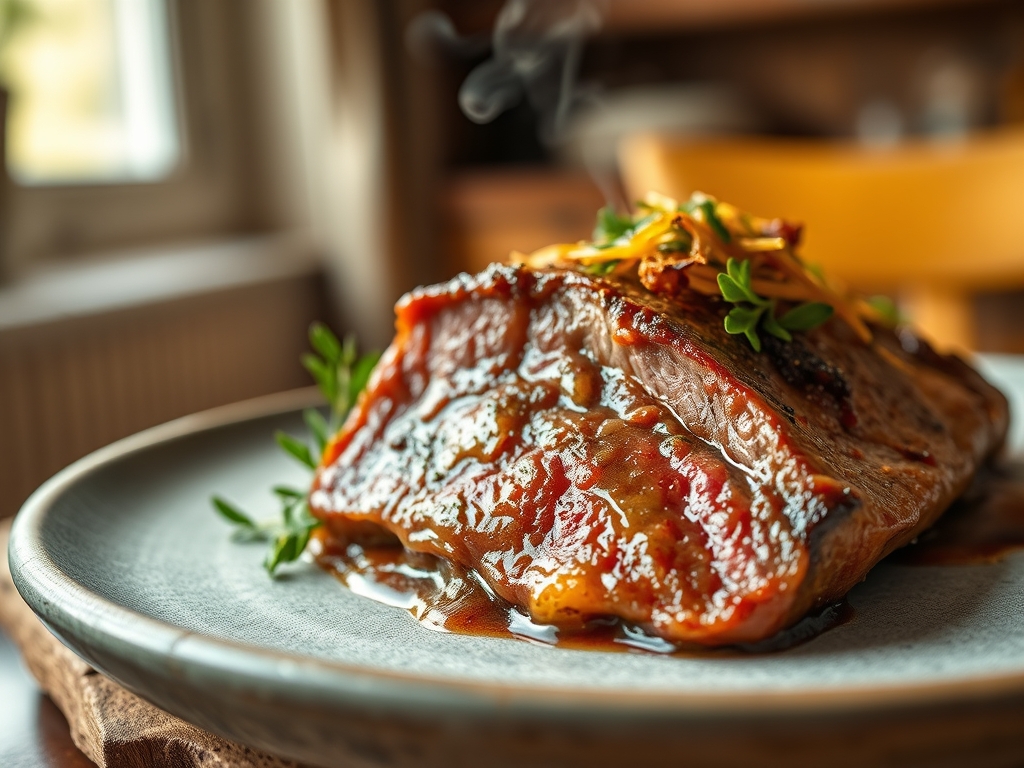
Imagine the scent of slow-simmering onions and red wine clinging to the air while a heavy-bottomed Dutch oven whispers a low hiss on the stovetop. This is the ultimate comfort. When you master shoulder of beef recipes, you are not just cooking dinner; you are performing a culinary transformation of a tough, hard-working muscle into velvet.
The shoulder, often called the chuck, is a labyrinth of connective tissue and intramuscular fat. It requires a specific scientific approach to unlock its potential. Unlike a quick-seared ribeye, the shoulder demands patience and precision to reach that fork-tender state. We are going to dive into the molecular magic that turns collagen into gelatin, ensuring your next Sunday roast is the talk of the neighborhood. Grab your apron and a glass of something bold; we are going to make some kitchen magic happen.
The Gathers:
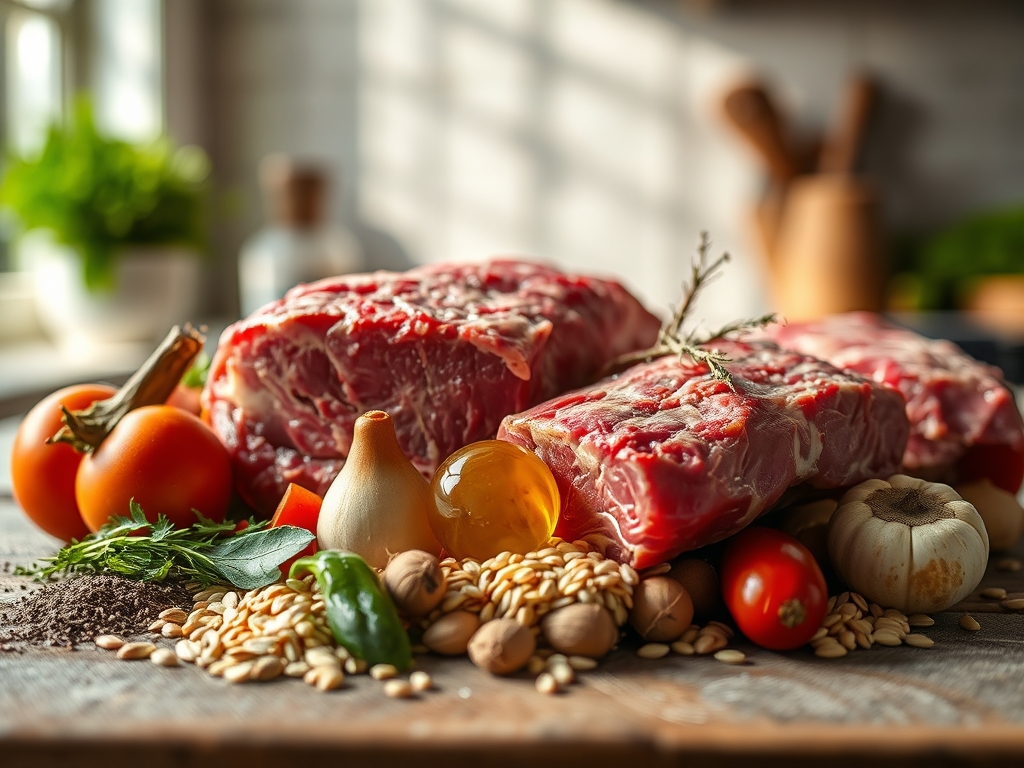
Before we ignite the flame, your mise-en-place must be impeccable. Start with a three to four pound shoulder roast, brought to room temperature to ensure even heat distribution. You will need coarse kosher salt for its ability to penetrate muscle fibers and freshly cracked black pepper for a piquant bite.
For the braising liquid, gather a dry red wine like Cabernet Sauvignon and a high-quality beef bone broth. The aromatics are non-negotiable: yellow onions, carrots, and celery (the classic mirepoix), plus a head of garlic. Use a microplane to zest a bit of lemon at the end for brightness. You will also need fresh thyme, rosemary, and a few bay leaves to infuse the sauce with earthy depth.
Smart Substitutions:
If you are avoiding alcohol, replace the wine with an equal amount of beef broth mixed with two tablespoons of balsamic vinegar to provide the necessary acidity. For a nightshade-free version, swap tomato paste for a tablespoon of umami-rich Worcestershire sauce or liquid aminos. If you lack fresh herbs, use one-third the amount of dried herbs, but remember that dried herbs need to be added earlier in the process to properly rehydrate and release their oils.
The Clock
Efficiency in the kitchen is about the Chef's Flow. This is the art of overlapping tasks so that no time is wasted. Total active prep time is approximately thirty minutes, while the passive cooking time spans three to four hours.
- The Chill (15 mins): Temper the meat. Cold meat in a hot pan causes fibers to seize and prevents a proper sear.
- The Sear (15 mins): High-intensity work. This is where you build the flavor foundation.
- The Braise (3 to 4 hours): This is the hands-off phase. The oven does the heavy lifting while you reclaim your afternoon.
- The Rest (20 mins): Critical for moisture retention. If you cut it too soon, the juices flee, leaving the meat dry.
The Masterclass
1. The Salt Cure
Pat the beef bone-dry with paper towels. Moisture is the enemy of the Maillard reaction. Season aggressively on all sides with kosher salt. Let it sit for at least thirty minutes.
Pro Tip: This process, known as dry brining, allows salt to denature the surface proteins. This creates a tacky surface that browns more efficiently and helps the meat retain internal moisture during the long cook.
2. The Hard Sear
Heat a heavy-bottomed skillet or Dutch oven over medium-high heat with a high-smoke-point oil like avocado oil. Use tongs to press the beef into the pan. Do not crowd it. Sear until a dark, mahogany crust forms on all sides.
Pro Tip: This is the Maillard reaction in action. It creates hundreds of different flavor compounds that cannot be replicated by boiling or steaming. A pale roast is a flavorless roast.
3. The Fond Extraction
Remove the meat and set it aside. Toss in your diced aromatics. Use a bench scraper to move the vegetables around, picking up the browned bits on the bottom of the pan.
Pro Tip: Those stuck-on bits are called fond. They are concentrated nuggets of umami. Sweat the vegetables until they are translucent to release their natural sugars before adding liquids.
4. The Deglaze
Pour in your red wine. Use a wooden spoon to vigorously scrape the bottom of the pot. Let the liquid reduce by half until it becomes slightly viscous.
Pro Tip: Alcohol acts as a solvent. It dissolves flavor compounds that are not water-soluble, ensuring every ounce of flavor from the sear is integrated into the final sauce.
5. The Low and Slow Immersion
Return the beef to the pot and add broth until the meat is two-thirds submerged. Add your herbs and garlic. Cover with a tight-fitting lid and place in a 300 degree Fahrenheit oven.
Pro Tip: Keeping the temperature low prevents the muscle fibers from tightening too quickly. This allows the collagen to slowly melt into gelatin, which provides that luxurious, lip-smacking mouthfeel.
6. The Fat Render
Check the meat at the three-hour mark. It should be tender but not disintegrating. Use a large spoon or a fat separator to remove the excess oil from the surface of the liquid.
Pro Tip: Rendering is the process of melting solid fat into liquid. While fat is flavor, too much of it will make the sauce feel greasy rather than silky.
7. The Saucier Finish
Remove the meat and herbs. Strain the liquid into a saucier. Simmer on the stovetop until it coats the back of a spoon. Whisk in a knob of cold butter at the very end.
Pro Tip: This is called monter au beurre. The cold butter creates an emulsion with the sauce, adding a glossy sheen and a rich, creamy finish without the need for flour.
8. The Carryover Rest
Place the beef on a warm platter and tent it loosely with foil. Let it rest for twenty minutes before slicing or shredding.
Pro Tip: Thermal carryover means the internal temperature will continue to rise by five to ten degrees. Resting allows the muscle fibers to relax and reabsorb the juices that were pushed to the center during cooking.
9. The Acid Brightness
Just before serving, shave fresh horseradish or lemon zest over the meat using your microplane. A sprinkle of flaky sea salt provides a final textural contrast.
Pro Tip: Fat and salt are heavy. Adding a final hit of acid or zest cuts through the richness, waking up the palate and balancing the entire dish.
The Deep Dive
From a nutritional standpoint, shoulder of beef is a powerhouse of zinc, B12, and iron. It is naturally Keto and Gluten-Free, provided you do not use flour as a thickener. For a Vegan swap, you can apply these braising techniques to large "steaks" of lion's mane mushrooms or celery root, though the cooking time will be significantly shorter.
The Fix-It:
- Tough Meat: If it is still chewy, it simply hasn't cooked long enough. Put it back in. Collagen breakdown is a function of time and temperature.
- Salty Sauce: If you over-reduced your sauce and it is too salty, add a splash of water or a squeeze of lemon. The acid will mask the saltiness.
- Greasy Surface: If you forgot to skim the fat, drop a few ice cubes into the sauce. The fat will cling to the cold cubes, allowing you to scoop it out easily.
Meal Prep:
Shoulder of beef is actually better on day two. As the meat cools in the liquid, it acts like a sponge, soaking up even more flavor. To reheat, do so gently on the stovetop over low heat. Avoid the microwave, as it can cause the proteins to become rubbery through uneven dielectric heating.
The Wrap-Up
Mastering shoulder of beef recipes is a rite of passage for any home cook. It teaches you the value of patience and the science of heat transfer. By focusing on the sear, the deglaze, and the slow breakdown of connective tissue, you turn an affordable cut of meat into a masterpiece. Now, go forth, grab your Dutch oven, and show that shoulder who is boss. Your kitchen is about to smell incredible.
The Kitchen Table
Can I cook beef shoulder in a slow cooker?
Yes. Follow the searing and deglazing steps in a skillet first. Transfer everything to the slow cooker and cook on low for 8 hours. This ensures the Maillard flavors are present despite the moist-heat environment.
Why is my beef shoulder still tough after 3 hours?
It likely needs more time. Every animal is different. If the connective tissue hasn't fully converted to gelatin, the meat will stay firm. Continue simmering until it yields easily to a fork.
What is the best wine for shoulder of beef recipes?
Choose a dry, high-tannin red like Cabernet Sauvignon, Syrah, or Malbec. The tannins help break down the proteins, while the acidity balances the richness of the rendered beef fat.
Can I freeze leftover braised beef?
Absolutely. Freeze the meat submerged in its braising liquid to prevent freezer burn. The liquid acts as a protective barrier, maintaining the meat's texture for up to three months.
How do I get a thicker sauce without flour?
Reduce the braising liquid on high heat in a saucier. As water evaporates, the natural gelatin from the beef will thicken the sauce into a rich, savory glaze.