
Imagine the sizzle of a heavy-bottomed skillet meeting cold fat as the aroma of searing protein fills your kitchen. We have all been there; staring into a fridge that feels like a desert while our stomachs demand a five-star experience. You do not need a pantry stocked with rare spices to create magic. These easy chicken recipes for dinner with few ingredients rely on high-quality basics and precise technique to transform the humble bird into a masterpiece. By mastering a few core principles of heat and moisture, you can bypass the complexity of long grocery lists without sacrificing a single ounce of flavor or sophistication.
The secret to minimalist cooking is not doing less; it is doing the right things more effectively. When you strip away the clutter of twenty-ingredient sauces, you allow the quality of your poultry and the chemistry of the Maillard reaction to take center stage. We are talking about crispy skins, succulent interiors, and sauces that achieve a viscous, glossy finish using nothing but pan drippings and a splash of acid. It is time to reclaim your weeknights with recipes that feel like a warm hug but taste like a culinary degree. Let us get your mise-en-place ready and dive into the science of simple, soulful cooking.
The Gathers:
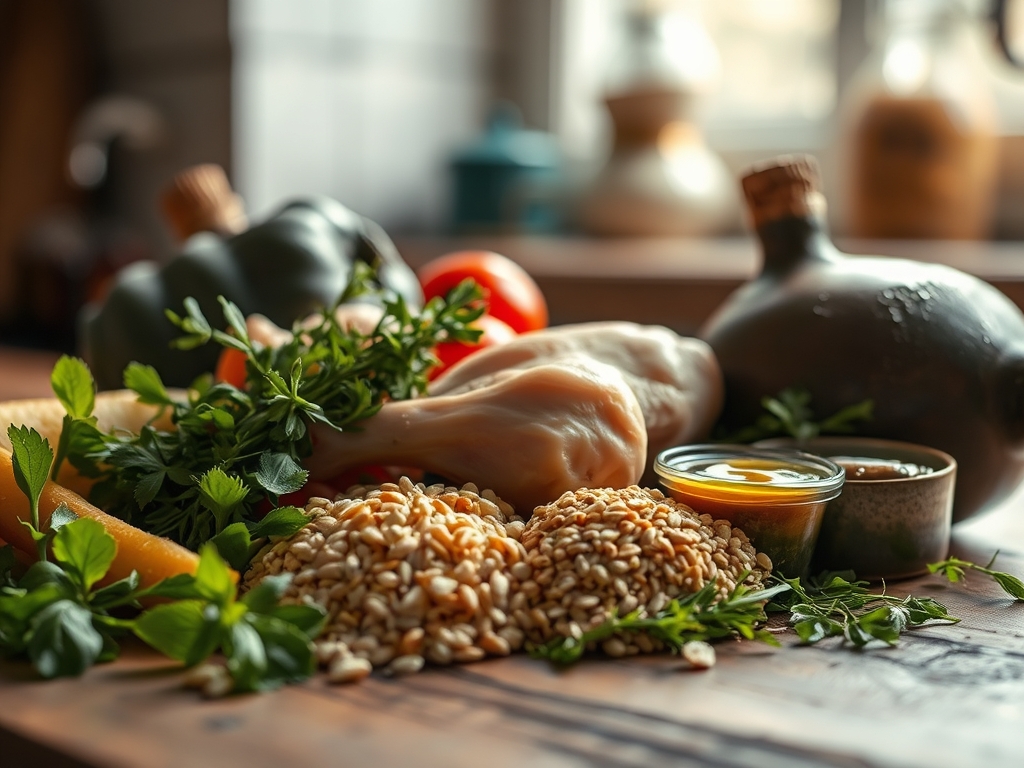
Before we ignite the burners, we must organize our sensory palette. Professional chefs rely on a mise-en-place that prioritizes temperature and texture. For these recipes, your core kit includes high-moisture chicken thighs or lean breasts, a high-smoke-point fat like avocado oil or clarified butter, and a piquant acid such as lemon or balsamic vinegar. Use a digital scale to ensure your portions are uniform; this ensures that thermal energy distributes evenly across every piece of meat.
Smart Substitutions are your best friend when the pantry is lean. If you lack fresh garlic, a pinch of high-quality garlic powder can provide that sulfurous depth, though it lacks the pungent bite of the fresh bulb. Out of lemons? A splash of dry white wine or apple cider vinegar will deglaze your pan just as effectively, providing the necessary acidity to cut through the richness of rendered chicken fat. Always keep a microplane nearby to zest citrus or grate hard cheeses; the increased surface area allows flavors to infuse into your sauces almost instantly.
The Clock:
Efficiency in the kitchen is governed by what I call the Chef's Flow. This is the art of overlapping tasks so that no second is wasted. Most of these recipes require a mere 10 minutes of active prep and 15 to 20 minutes of cook time. The total investment of 30 minutes is the sweet spot for weekday sanity. While your chicken is tempering on the counter (never cook meat straight from the fridge), you should be preheating your stainless steel or cast iron skillet.
The flow begins with the sear. While the chicken renders its fat, you prepare your finishing touches. If a recipe calls for a pan sauce, your liquids should be measured and ready before the meat leaves the pan. Remember, the clock does not stop when the heat goes off. Factor in a mandatory 5-minute rest period. This allows the muscle fibers to relax and reabsorb the internal juices, ensuring your first bite is as moist as the last.

The Masterclass:
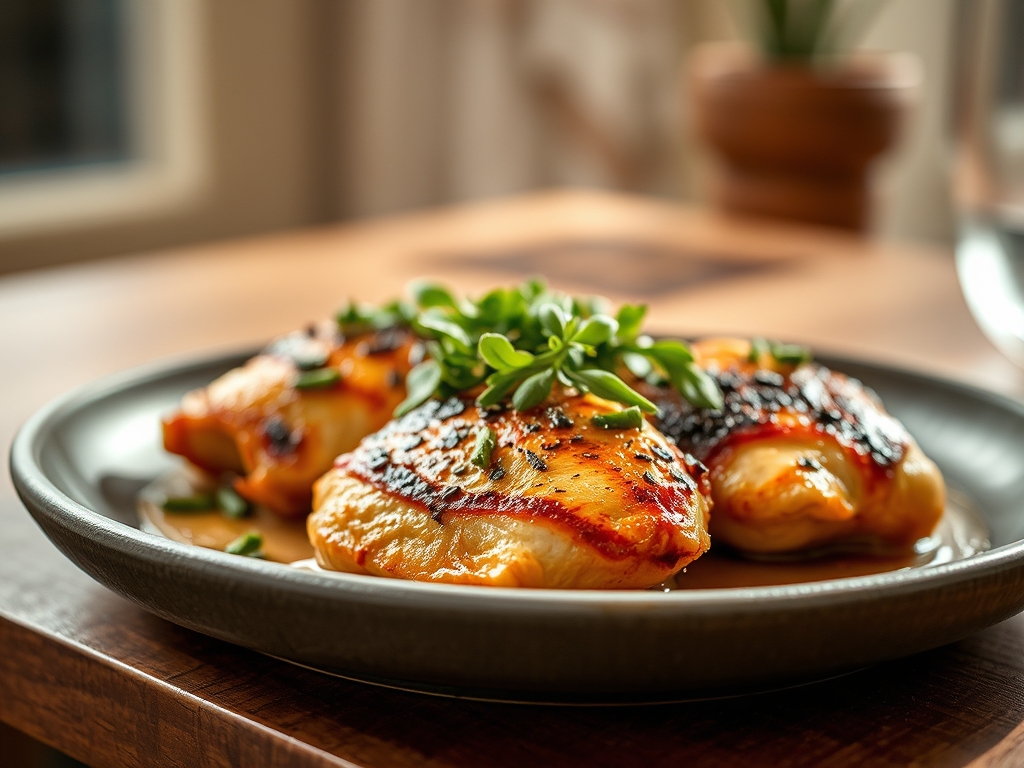
1. The Perfect Sear
Pat your chicken bone-dry with paper towels to remove surface moisture. Season aggressively with kosher salt. Place the chicken skin-side down in a hot skillet with a thin layer of oil. Do not move it until it releases naturally from the pan.
Pro Tip: This is the Maillard reaction at work. Moisture is the enemy of browning; by drying the surface, you ensure the heat goes toward caramelizing proteins rather than steaming them.
2. Deglazing for Depth
Once the chicken is cooked and removed, you will see brown bits stuck to the bottom of the pan. Pour in a half-cup of liquid (broth, wine, or water) and use a wooden spoon or bench scraper to lift those bits.
Pro Tip: Those brown bits are called fond. They contain concentrated umami compounds that, when dissolved, create a complex base for a pan sauce without needing extra ingredients.
3. Emulsifying the Sauce
Whisk a small pat of cold butter or a spoonful of heavy cream into your simmering deglazing liquid. Keep the sauce moving until it thickens into a glossy, viscous coating.
Pro Tip: This creates a stable emulsion. The fats and liquids bind together, creating a luxurious mouthfeel that coats the back of a spoon, a technique known as nappe.
4. Controlled Thermal Carryover
Remove your chicken from the heat when it is 5 degrees below your target temperature (usually 160F for breasts). Tent it loosely with foil.
Pro Tip: Thermal carryover means the internal temperature will continue to rise even after the meat is off the stove. Pulling it early prevents the protein strands from over-tightening and becoming rubbery.
5. Infusing Aromatics
In the final two minutes of cooking, toss in smashed garlic cloves or woody herbs like rosemary. Baste the chicken with the flavored fat using a large spoon.
Pro Tip: Fat is a solvent for flavor. The essential oils in herbs are fat-soluble, meaning they will infuse into the oil and then permeate the meat much more effectively than if they were just sprinkled on top.
6. Aerating the Finish
If using a sauce, give it a vigorous whisk right before serving. This incorporates air and ensures the texture is light rather than heavy.
Pro Tip: Aeration changes the way flavors hit your tongue. A lightly aerated sauce feels more vibrant and allows the piquant notes of your acids to shine through.
7. The Rest and Carve
Wait at least five minutes before slicing. Use a sharp chef's knife to cut across the grain.
Pro Tip: Cutting across the grain shortens the muscle fibers, making the meat easier to chew and giving it a more tender texture on the palate.
The Deep Dive:
From a nutritional standpoint, these chicken recipes are powerhouses of lean protein. A standard 6-ounce serving provides roughly 40 grams of protein with minimal carbohydrates, making it ideal for Keto or Low-Carb lifestyles. To make these recipes Vegan, swap the chicken for extra-firm tofu or cauliflower steaks, ensuring you press the tofu well to mimic the chicken's density. For Gluten-Free diners, simply ensure your deglazing liquids are certified GF and avoid using flour as a thickener; a reduction method is more flavorful anyway.
The Fix-It: If your chicken is sticking, it is likely because the pan wasn't hot enough or you are trying to flip it too early. Wait for the protein to naturally release. If your sauce is too thin, continue to simmer it to evaporate water and concentrate the solutes. If the meat is dry, you likely missed the carryover window; next time, use a digital thermometer to track the internal temp precisely.
For meal prep, reheating chicken can be tricky. To maintain "day-one" quality, avoid the microwave if possible. Instead, reheat the chicken in a skillet with a splash of water or broth over medium-low heat, covering it with a lid to create a steam chamber. This prevents the proteins from drying out and preserves the integrity of the sauce.
The Wrap-Up:
You now have the technical blueprint to turn a few simple ingredients into a rotation of world-class dinners. Cooking is less about following a rigid script and more about understanding the dialogue between heat, fat, and salt. By focusing on the science of the sear and the magic of the pan sauce, you have unlocked a level of culinary freedom that makes "easy" feel "extraordinary." So, grab your tongs, fire up that skillet, and let the kitchen become your favorite room in the house. You have got this, Chef!
The Kitchen Table:
How do I get crispy skin every time?
Ensure the skin is bone-dry before it hits the pan. Use a heavy-bottomed skillet and do not overcrowd the meat. The weight of the pan and the space for steam to escape are essential for that perfect crunch.
Can I use frozen chicken for these recipes?
Yes, but you must thaw it completely in the refrigerator first. Excess moisture from ice crystals will prevent the Maillard reaction, resulting in grey, steamed meat rather than a golden-brown crust. Always pat dry after thawing.
What is the best oil for high-heat searing?
Use oils with a high smoke point, such as avocado, grapeseed, or canola oil. Avoid extra virgin olive oil for the initial sear, as its low smoke point can lead to bitter, burnt flavors and harmful compounds.
How do I know when the chicken is done without a thermometer?
Press the meat with your finger; it should feel firm but have a slight spring, similar to the fleshy part of your palm. However, for food safety and perfect texture, a digital thermometer is the only foolproof method.
Why does my pan sauce look broken or oily?
This happens when the emulsion fails. To fix it, remove the pan from the heat and whisk in a teaspoon of cold water or an extra pat of cold butter vigorously until the sauce becomes smooth and unified again.