
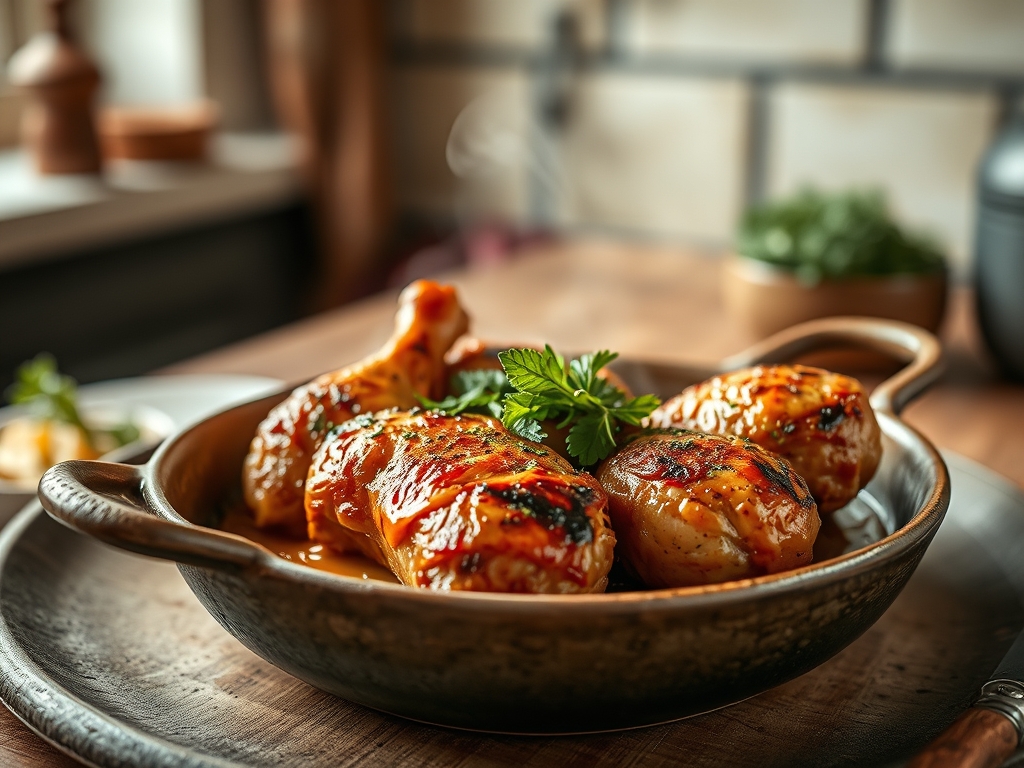
Picture the scene: your kitchen is filled with the scent of roasted garlic and golden skin. There is something deeply satisfying about a heavy pot bubbling on the stove. When you master chicken recipes dutch oven style, you unlock a world of succulent textures and concentrated flavors that a standard sheet pan simply cannot replicate. It is the ultimate vessel for culinary alchemy.
The magic lies in the heavy cast iron. Its high thermal mass ensures that heat remains consistent, even when you drop in cold poultry. This stability is the secret to achieving that perfect, glass-like sear while keeping the interior moisture intact. We are not just making dinner; we are engineering comfort. Whether you are craving a piquant lemon-herb braise or a viscous, cream-based stew, the Dutch oven is your most loyal ally. It transforms humble ingredients into a centerpiece that demands a second helping.
Let us dive into the mechanics of why this works. When you trap steam under that heavy lid, you create a pressurized micro-environment. This breaks down connective tissues in the chicken far faster than traditional roasting. The result is a fork-tender protein that carries the flavor of your aromatics into every fiber. It is efficient, it is elegant, and it is remarkably hard to mess up once you understand the physics of the pot.
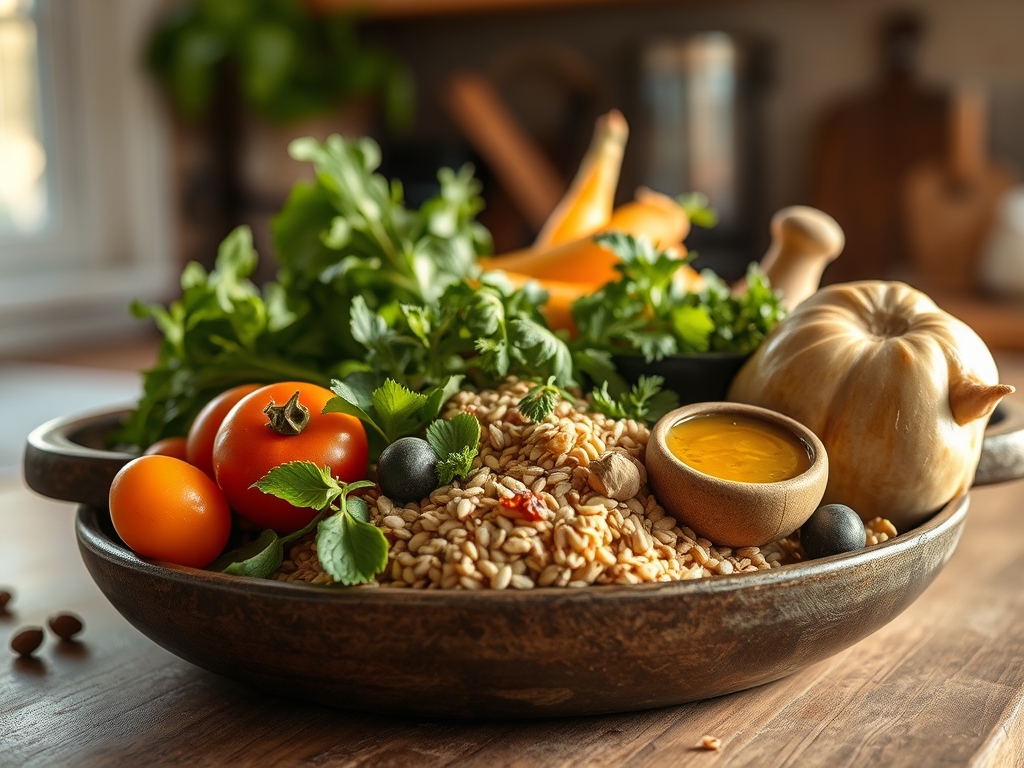
The Gathers:
To execute these chicken recipes dutch oven enthusiasts adore, you must start with a precise mise-en-place. Use your digital scale to ensure your aromatics are balanced. You will need high-quality chicken thighs or a whole bird, organic if possible, as the fat content provides the base for your sauce. Gather fresh thyme, rosemary, and bay leaves; these will infuse the cooking liquid with volatile oils.
Your vegetable base, or mirepoix, should be diced with a sharp chef's knife to ensure uniform cooking. Do not overlook the importance of an acid, such as a dry Sauvignon Blanc or a splash of apple cider vinegar, to deglaze the pot and lift the fond. For the best results, have a microplane ready to zest citrus or grate fresh garlic directly into the pot at the final stage for a bright, piquant finish.
Smart Substitutions:
If you are out of fresh shallots, use the white parts of green onions for a similar sulfurous profile. No white wine? A diluted verjuice or a splash of chicken stock with a squeeze of lemon will provide the necessary acidity without the alcohol. If you need a thicker sauce but want to avoid flour, whisk in a tablespoon of cold butter at the end to create a glossy, emulsified finish.
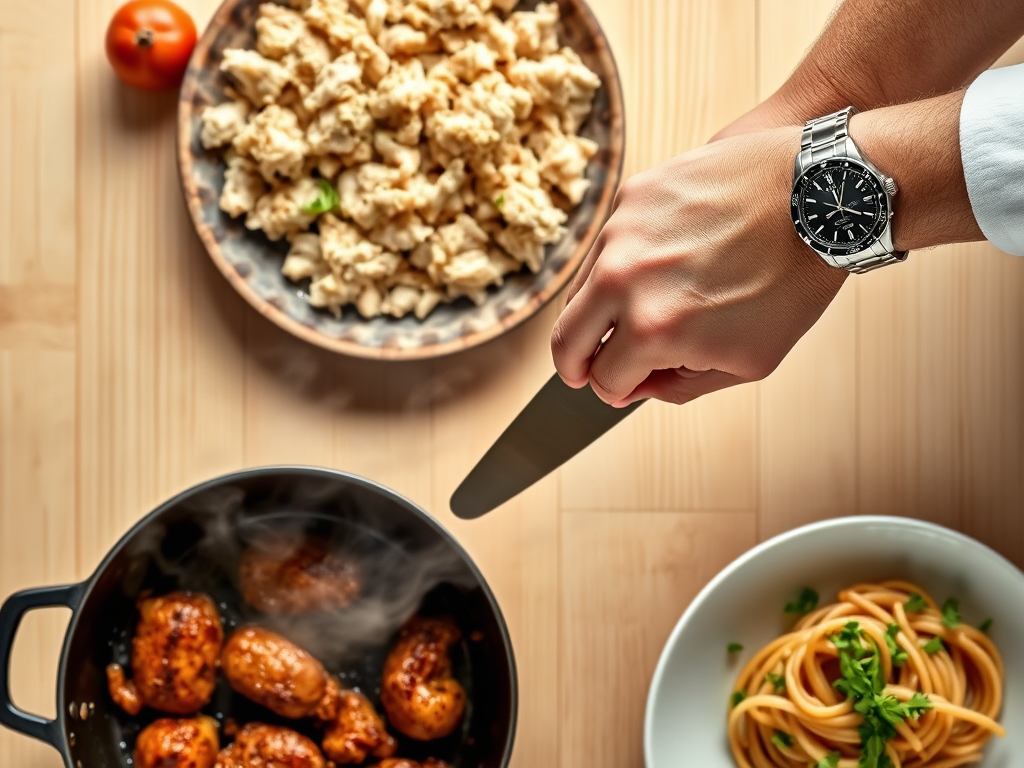
The Clock:
Mastering the "Chef's Flow" is about timing your movements to the thermal properties of the iron. Total preparation usually takes 20 minutes, while active cooking ranges from 45 to 90 minutes depending on the cut of meat.
Start by preheating your pot for at least five minutes over medium heat. This prevents the chicken from sticking. While the meat sears, use those 10 minutes to prep your liquids and herbs. Once the lid goes on, your active work is done. Use this downtime to prepare a side dish or clean your bench scraper and cutting board. The final 10 minutes are reserved for "The Rest," where the meat relaxes and reabsorbs its juices.
The Masterclass:
1. The Sear and Render
Pat your chicken bone-dry with paper towels to ensure a clean sear. Place the chicken skin-side down in a small amount of high-smoke-point oil. Use your tongs to press the skin firmly against the bottom of the pot.
Pro Tip: This step utilizes the Maillard reaction, a chemical reaction between amino acids and reducing sugars that creates hundreds of different flavor compounds. If the meat is wet, it will steam instead of brown, robbing you of that deep, savory crust.
2. Deglazing the Fond
Once the chicken is browned and removed, you will see brown bits stuck to the bottom. This is "fond," and it is concentrated flavor gold. Pour in your liquid and use a wooden spoon to scrape these bits loose.
Pro Tip: This is a process of solubility. The alcohol or acid in your liquid dissolves the caramelized proteins, incorporating them into what will become a highly complex, viscous sauce.
3. The Low and Slow Braise
Return the chicken to the pot, but do not submerge it completely if you want to keep the skin crispy. Liquid should come up about halfway. Place the lid on and move the pot to a 325-degree oven.
Pro Tip: This stage relies on hydrolysis. The heat and moisture slowly convert tough collagen into gelatin. This is why Dutch oven chicken feels so much richer and "juicier" than grilled chicken.
4. The Final Aeration and Rest
Once the internal temperature reaches 165 degrees on a digital thermometer, remove the pot from the heat. Let the chicken rest on a warm platter while you finish the sauce.
Pro Tip: Account for thermal carryover. The internal temperature will rise about 5 degrees after you remove it from the heat. Resting allows the muscle fibers to relax, meaning the juices stay in the meat rather than running out onto the plate.
The Deep Dive:
From a nutritional standpoint, these meals are powerhouses. A standard serving provides roughly 35 grams of protein and is rich in Vitamin B12 and zinc. Because we are using the Dutch oven to render fat, you can often use less added oil than other cooking methods.
Dietary Swaps:
For a Keto-friendly version, swap out root vegetables for cauliflower or radishes, which take on a potato-like texture when braised. For a Vegan alternative using the same Dutch oven techniques, use thick-cut cauliflower steaks or king oyster mushrooms; they respond beautifully to the same searing and deglazing process. If you are Gluten-Free, ensure your chicken stock is certified and use cornstarch or a reduction method to thicken your sauce instead of a roux.
The Fix-It:
- Skin is soggy: If your skin loses its crunch, pop the pot under the broiler for 3 minutes at the very end.
- Sauce is too thin: Remove the meat and boil the liquid rapidly in the saucier or the Dutch oven itself to evaporate excess water.
- Chicken is tough: This usually means it hasn't cooked long enough to break down the collagen. Give it another 15 minutes under the lid.
Meal Prep:
When reheating, do not use the microwave as it toughens the protein. Instead, place the chicken and sauce back in the Dutch oven with a tablespoon of water. Heat on low with the lid on to create a gentle steam bath that restores "day-one" moisture levels.
The Wrap-Up:
There you have it; the science and soul of chicken recipes dutch oven style. Once you understand how to manipulate heat and moisture within that cast-iron walls, you aren't just following a recipe; you are conducting a symphony. Go forth, grab your heavy-bottomed skillet or pot, and turn your kitchen into the best bistro in town. Your friends will thank you, and your taste buds will certainly notice the difference.
The Kitchen Table:
Why is my chicken dry in the Dutch oven?
Dry chicken usually results from overcooking or a poor seal on the lid. Ensure you use a meat thermometer to pull the chicken at 165 degrees and check that your lid fits tightly to prevent moisture loss.
Can I put a cold Dutch oven in a hot oven?
It is safer to let the pot heat up gradually on the stove or put it in a cold oven and let them rise in temperature together. Sudden extreme temperature changes can occasionally cause the enamel to crack or "craze."
Do I need to add liquid to the pot?
Yes, at least a small amount of liquid is required to create the steam necessary for braising. Without liquid, you are simply roasting, which can lead to burning the aromatics at the bottom of the pot.
What is the best chicken cut for Dutch ovens?
Bone-in, skin-on thighs are the gold standard. They contain more connective tissue and fat than breasts, which allows them to remain succulent and flavorful during the longer cooking times required for a deep braise.