
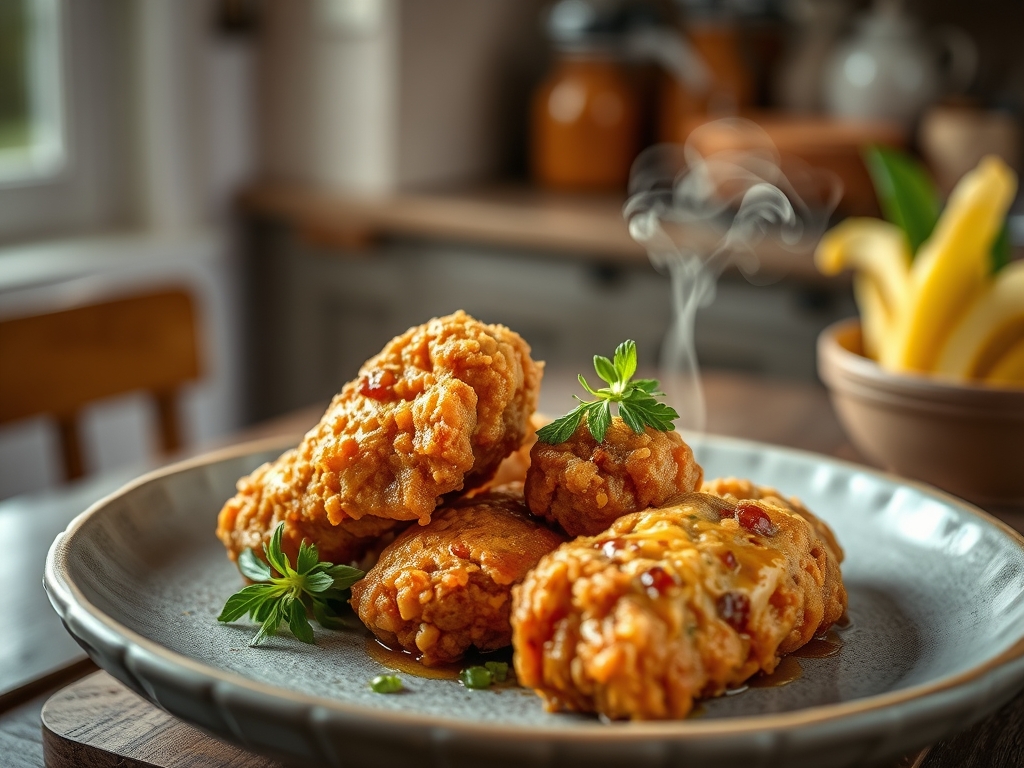
Picture the sound of a heavy cast iron skillet meeting a gas flame. There is a specific, Pavlovian response to the scent of pressurized steam escaping a fryer; it is a blend of toasted wheat, rendered fat, and a bouquet of eleven herbs and spices that feel like a warm hug. We have all chased that elusive, craggy crunch and the succulent, marrow-deep seasoning of the world's most famous bird. When searching for authentic kentucky fried chicken recipes, most home cooks get lost in a sea of mediocre flour blends. They miss the crucial chemistry that separates a soggy thigh from a masterpiece. We are going to deconstruct the architecture of the perfect fry. From the ionic bond of the brine to the precise aeration of the breading, this is not just dinner; it is an engineering project you can eat. Grab your apron and your digital scale. We are about to turn your kitchen into a high-end test lab where the results are golden, shattered crusts and juice that requires three napkins.
The Gathers:
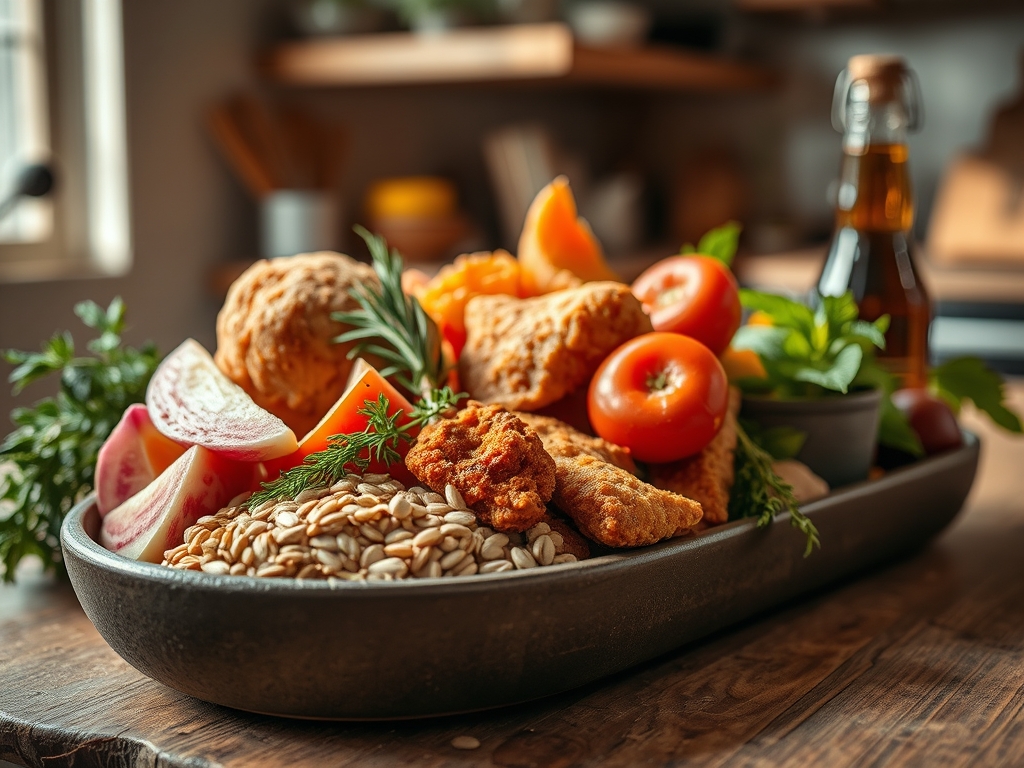
To achieve the "Colonel" standard, your mise-en-place must be meticulous. Start with high-quality chicken pieces; bone-in, skin-on thighs and drumsticks are non-negotiable because the bone marrow provides a deeper flavor profile during the render process. You will need a saucier to prepare your brine and a heavy-bottomed skillet or Dutch oven for the actual frying.
The dry mix is a sophisticated blend of all-purpose flour and cornstarch. The cornstarch is vital because it lacks gluten, ensuring the crust remains crisp rather than chewy. For the spices, use a microplane to ensure your dried herbs are finely powdered, allowing them to integrate into the flour's molecular structure. You will need fine sea salt, white pepper (for that specific piquant heat), celery salt, dried mustard, and smoked paprika.
Smart Substitutions: If you are out of buttermilk, do not reach for regular milk. Instead, create an acidified alternative by whisking one tablespoon of lemon juice into a cup of whole milk. This mimics the viscous texture and lactic acid needed to tenderize the protein. If you find your spice cabinet lacking, a dash of MSG (monosodium glutamate) is the "secret" ingredient that provides the savory umami punch found in commercial kentucky fried chicken recipes.
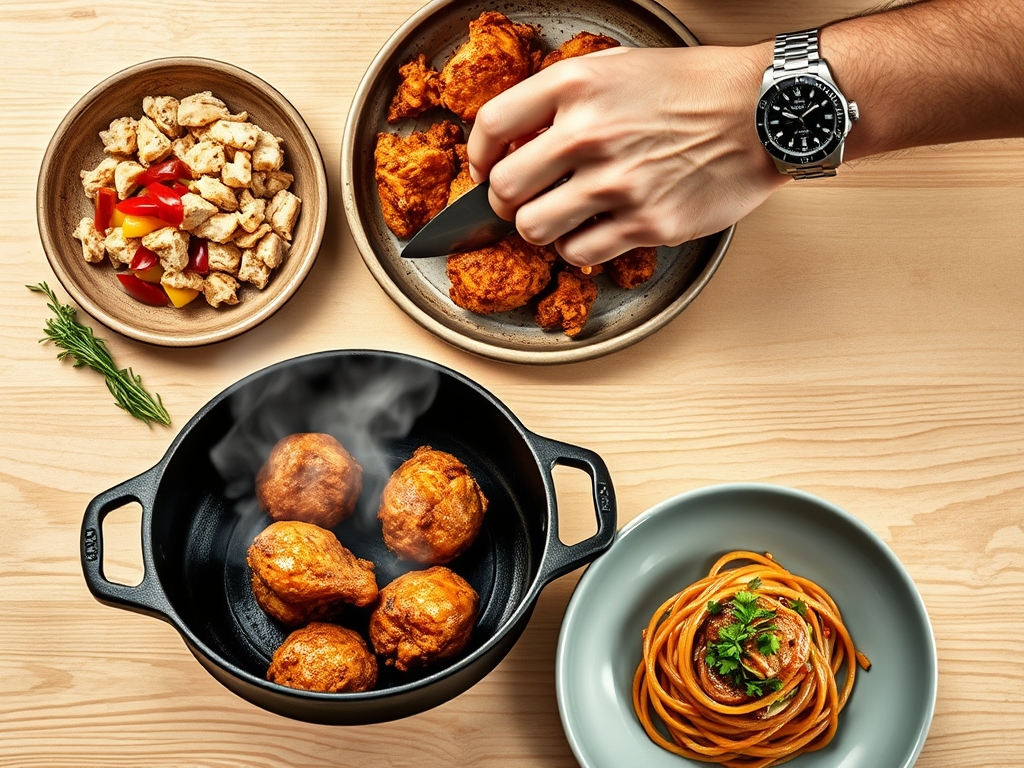
The Clock
Efficiency in the kitchen is about "Chef's Flow." You cannot rush the osmosis of a good brine. Plan for a 24-hour cycle to get the best results.
- Active Prep: 30 minutes (measuring, whisking, and butchering).
- The Brine: 4 to 12 hours (essential for cellular hydration).
- The Dredge & Rest: 20 minutes (crucial for gluten development).
- The Fry: 12 to 15 minutes per batch.
- The Rest: 10 minutes (to allow for thermal carryover).
By staging your ingredients and using a bench scraper to keep your workstation clear, you maintain the momentum needed to manage high-temperature oil without stress.
The Masterclass
1. The Ionic Brine
Submerge your chicken in a mixture of buttermilk, salt, and hot sauce. This creates an environment where salt ions penetrate the muscle fibers, breaking down the tightly wound proteins.
Pro Tip: This process, known as denaturation, allows the meat to hold more moisture during the high-heat fry, preventing the dreaded dry breast.
2. The Double Dredge
Whisk your flour and spices in a large bowl. Take the chicken from the buttermilk and drop it into the flour. Press the flour into the meat with your palms to create "nooks and crannies."
Pro Tip: Adding two tablespoons of the buttermilk brine into the dry flour creates small clumps. These clumps become the "extra crispy" jagged edges through surface area maximization.
3. The Hydration Rest
Place the coated chicken on a wire rack for at least 15 minutes before frying. Do not skip this. The flour needs time to hydrate and bond to the skin.
Pro Tip: This prevents the "skin slip" phenomenon where the breading falls off in one piece. It allows the starches to form a cohesive, viscous glue.
4. The Temperature Strike
Heat your oil to exactly 350 degrees Fahrenheit. Use a digital probe thermometer to monitor the heat. When you drop the chicken, the temperature will plummet; you must adjust the flame to maintain a steady 325 degrees.
Pro Tip: Maintaining a high temperature prevents oil absorption. If the oil is too cool, the chicken acts like a sponge, leading to a greasy mouthfeel.
5. The Internal Finish
Use tongs to flip the chicken only once. Fry until the internal temperature reaches 165 degrees for white meat and 175 degrees for dark meat.
Pro Tip: Dark meat benefits from a higher temperature because it allows the collagen to fully convert into gelatin, resulting in a silkier texture.
6. The Cooling Rack
Immediately move the chicken to a clean wire rack set over a baking sheet. Never rest fried chicken on paper towels.
Pro Tip: Paper towels trap steam against the bottom of the chicken, which reverses the Maillard reaction and turns your crispy crust soggy within minutes.
The Deep Dive
Macro Nutrition: A standard thigh prepared this way contains approximately 280 calories, 18g of protein, and 15g of fat. While it is an indulgent meal, the high protein content provides significant satiety.
Dietary Swaps:
- Keto: Replace the flour with a 50/50 mix of almond flour and crushed pork rinds. Use heavy cream and egg for the wash.
- Gluten-Free: Substitute all-purpose flour with a high-quality 1-to-1 GF blend and increase the cornstarch ratio.
- Vegan: Use "Hen of the Woods" mushrooms or extra-firm tofu pressed for 2 hours. Swap buttermilk for soy milk mixed with apple cider vinegar.
The Fix-It:
- Burnt Crust/Raw Middle: Your oil was too hot. Fix this by finishing the chicken in a 350-degree oven until the internal temp is reached.
- Bland Coating: You likely lost seasoning in the oil. Fix this by dusting the chicken with a "finishing salt" mixed with fine black pepper the moment it leaves the fryer.
- Soggy Breading: The chicken was crowded in the pan. Ensure there is at least an inch of space between pieces to allow steam to escape.
Meal Prep & Reheating: To maintain "day-one" quality, never use a microwave. Reheat leftovers in an air fryer at 375 degrees for 4 minutes or in a toaster oven. This re-activates the fats and recrisps the flour structure without drying out the interior.
The Wrap-Up
Mastering kentucky fried chicken recipes is a rite of passage for any serious home cook. It requires a balance of patience, temperature control, and a deep respect for the spice rack. When you pull that first golden-brown drumstick out of the oil and hear that hollow "thump" of a perfectly set crust, you will know the science was worth it. This is soulful, technical cooking that turns a simple Sunday into a legendary feast. Now, get in there and make the Colonel jealous.
The Kitchen Table
How do I get the breading to stay on?
Ensure the chicken rests for 15 minutes after dredging. This allows the flour to hydrate and form a protein-starch bond with the skin, preventing the coating from sloughing off during the frying process.
What is the best oil for frying chicken?
Use oils with a high smoke point and neutral flavor, such as peanut oil, canola, or grapeseed oil. These can withstand the 350-degree heat without breaking down or adding an off-flavor to the delicate spice blend.
Can I make this in an air fryer?
Yes, though the texture differs. Spray the breaded chicken generously with oil to ensure the flour hydrates. Cook at 375 degrees, turning halfway through, until the internal temperature hits 165 degrees and the exterior is golden.
Why use white pepper instead of black?
White pepper provides a sharp, floral heat that permeates the meat without the visible black flecks. It is a hallmark of traditional kentucky fried chicken recipes, offering a more nuanced, "hidden" spice profile that lingers on the palate.