
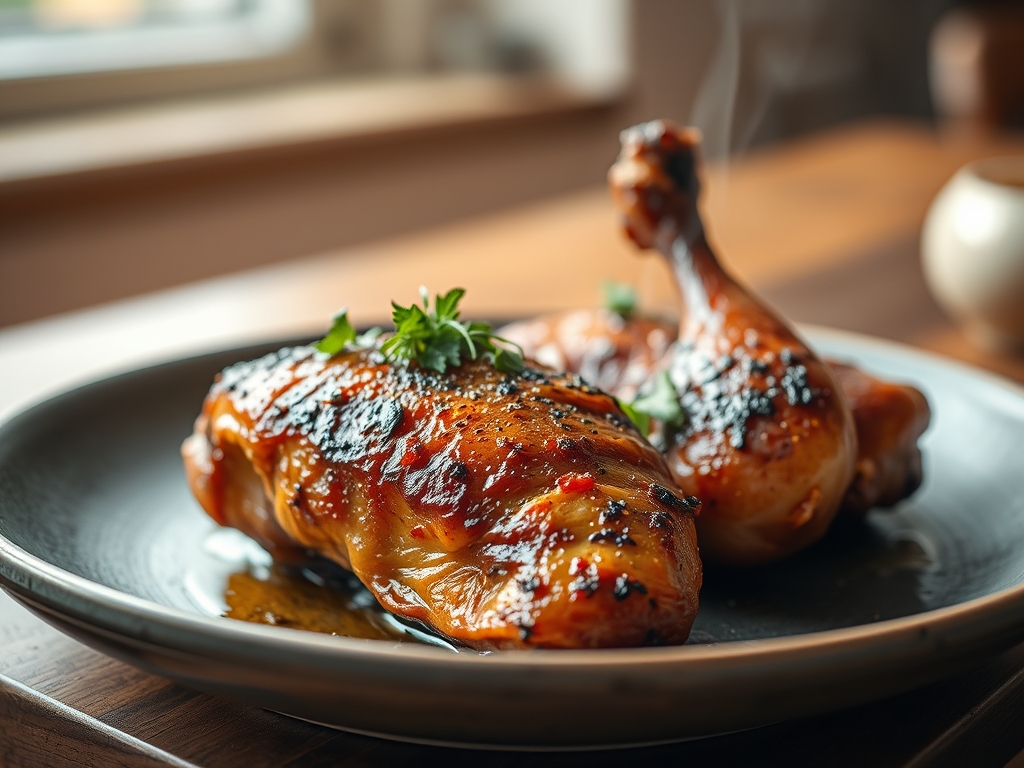
The first whisper of applewood smoke curling around a perfectly seasoned chicken thigh, skin tightening and bronzing at 225°F, is the moment backyard cooking transcends into craft. Smoking chicken transforms ordinary poultry into something layered, complex, and worthy of your best dinner plates. Whether you're exploring classic smoking chicken recipes or pushing into brine-and-rub hybrids, these nine expert-level techniques will arm you with the thermal precision and flavor science that separate weekend warriors from true pitmasters. No guesswork, no dry breast meat, no wasted hours babysitting a temperamental fire.
Mastering smoked chicken isn't about following a single recipe. It's about understanding collagen conversion, moisture retention, and how different woods interact with poultry's mild, fatty canvas. You'll learn to control combustion, manage the stall, and coax Maillard browning without incinerating delicate skin.
The Gathers
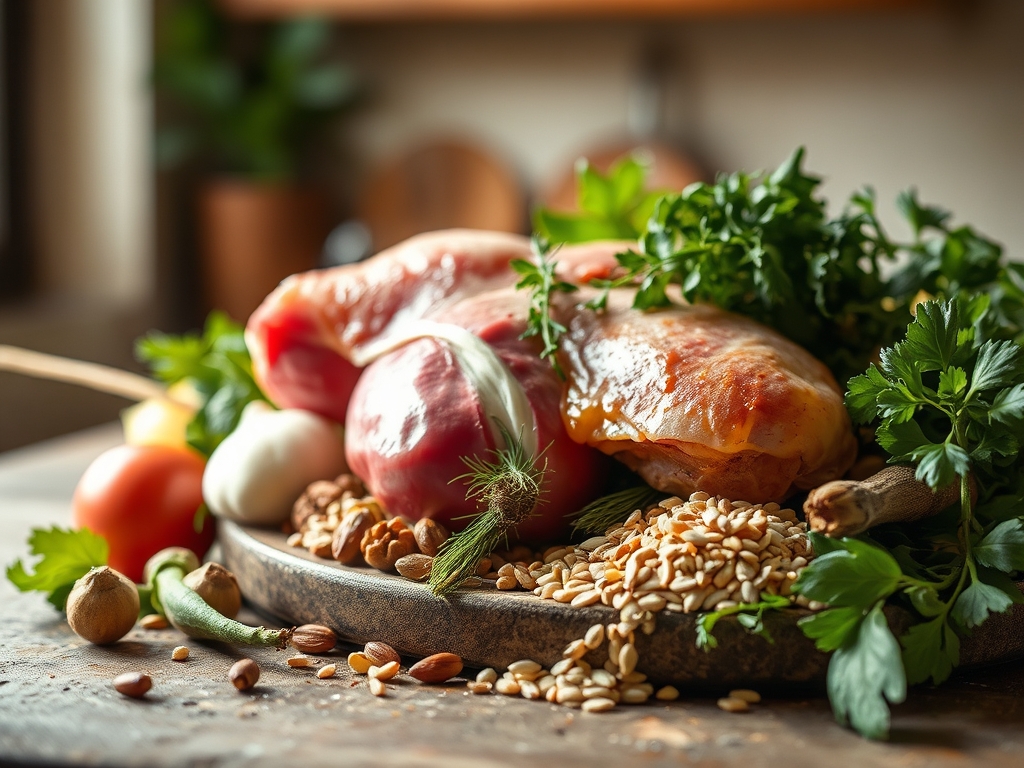
Whole chicken (1.5 to 2 kg) sits at the center of your prep station, skin patted bone-dry with paper towels until it feels like parchment. Kosher salt and coarse black pepper form your base layer, their crystals catching light as you massage them into every crevice. Garlic powder, smoked paprika, and brown sugar add depth and caramelization potential, the sugar's hygroscopic nature drawing moisture to the surface for superior bark formation.
Yellow mustard acts as your binder, its acidity beginning protein denaturation before heat even arrives. Applewood or cherrywood chunks (fist-sized, soaked 30 minutes) provide clean, slightly sweet smoke without the resinous bitterness of mesquite. As you see in the ingredient spread below, fresh thyme sprigs and a halved lemon destined for the cavity add aromatic high notes that permeate from the inside out.
Smart Substitutions: Swap brown sugar for maple syrup crystals if you want deeper caramel notes. Replace applewood with pecan for nuttier undertones. Use buttermilk instead of mustard for a tangier brine-like effect that tenderizes through lactic acid activity.
The Clock
Prep time: 20 minutes for dry-brining and rub application, plus 2 to 12 hours refrigerated rest. Cook time: 3 to 4 hours at 225°F to 250°F, targeting an internal temperature of 165°F in the breast, 175°F in the thigh for optimal texture. Total time: 5 to 16 hours depending on your dry-brine window.
Chef's Flow: Apply your rub the night before. The salt penetrates 6mm per hour, seasoning deep into the muscle while the sugar begins surface dehydration for crispier skin. Load your smoker 30 minutes before the bird goes on, stabilizing temperature and establishing clean blue smoke. Use this window to prep sides or sauces, banking efficiency without sacrificing quality.
The Masterclass
Step 1: Dry-Brine and Season
Coat the chicken with 2 tablespoons kosher salt, working it under the skin wherever possible without tearing. Combine 1 tablespoon smoked paprika, 1 tablespoon brown sugar, 2 teaspoons garlic powder, and 1 teaspoon black pepper. Slather the bird with a thin layer of yellow mustard, then apply the rub generously.
Chef's Secret: The mustard's vinegar content denatures surface proteins, creating additional binding sites for your rub while adding zero mustardy flavor after the smoke. Why it Works: Salt disrupts myosin structure, allowing the muscle to retain more moisture during the long cook. Refrigerate uncovered so skin dehydrates, concentrating flavor and ensuring crackly texture.
Step 2: Prep the Smoker
Bring your smoker to a rock-solid 225°F to 235°F, using lump charcoal as your base and adding two fist-sized wood chunks once the coals ash over. Position a water pan below the cooking grate to stabilize humidity at 50 to 60 percent.
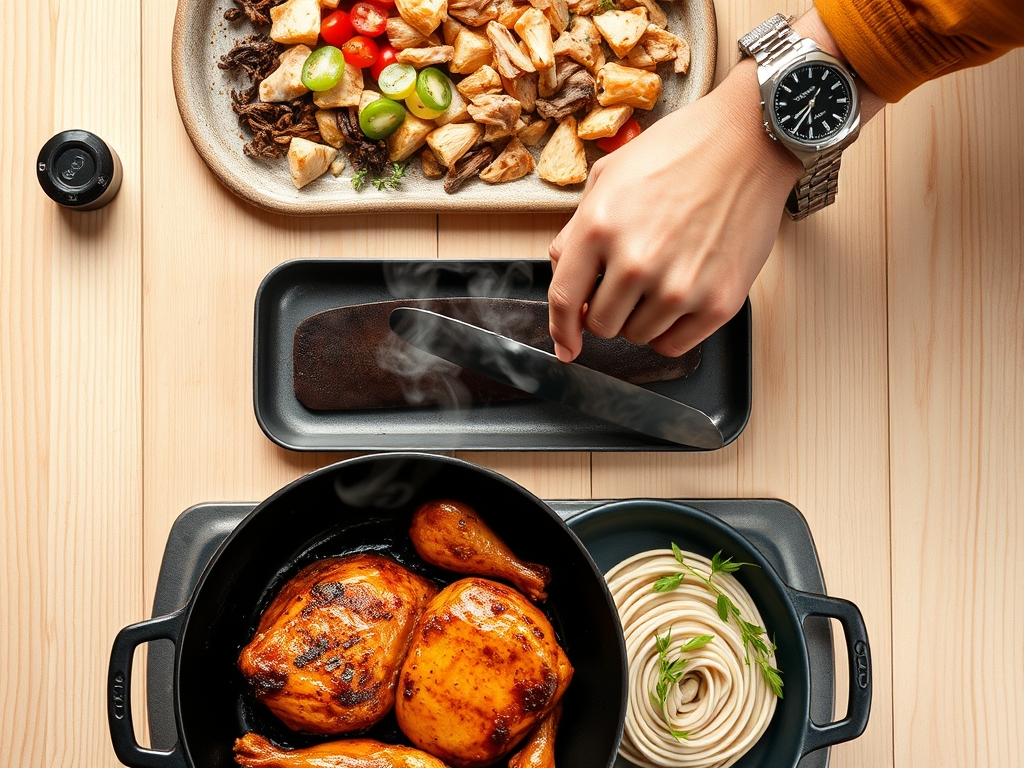
Why it Works: Humidity slows surface drying, giving smoke particles (phenols, carbonyls) more time to adhere before the pellicle fully sets. Note the texture shown in the step-by-step photos: a tacky, slightly glossy surface is your green light. Too dry and smoke won't stick; too wet and you get streaky, bitter deposits.
Step 3: Position and Smoke
Place the chicken breast-side up on the grate, cavity facing the heat source. Insert a dual-probe thermometer, one in the thickest part of the breast, one in the thigh, avoiding bone contact.
Chef's Secret: Spatchcocking (removing the backbone) cuts cook time by 30 percent and ensures even heat distribution, but it sacrifices the dramatic whole-bird presentation. For this method, keep it whole and accept the trade-off. Why it Works: Dark meat's higher collagen content needs that extra 10°F to convert into gelatin, yielding pull-apart tenderness.
Step 4: Manage the Stall
Between 145°F and 160°F internal, evaporative cooling halts temperature rise for up to 45 minutes. Resist the urge to crank heat. Hold steady at 225°F, adding one more wood chunk if smoke thins.
Why it Works: The stall is moisture leaving the surface, concentrating flavors and building bark. Wrapping in foil (the "Texas crutch") speeds things up but softens skin. For crispy results, endure the stall.
Step 5: Rest and Carve
Pull the chicken at 165°F breast, 175°F thigh, then tent loosely with foil for 15 minutes. Carryover heat will add another 3 to 5°F, ensuring pasteurization without dryness.
Chef's Secret: Let the bird rest on a wire rack, not a plate, so steam escapes and skin stays crisp. Why it Works: Resting allows myoglobin to redistribute evenly, preventing that flood of juices when you carve. Slice against the grain for maximum tenderness.
Nutritional Info
Per 150g serving (breast meat, skin-on): 280 calories, 18g fat (5g saturated), 0g carbohydrates, 28g protein, 420mg sodium. Smoked chicken delivers high-quality protein with a favorable fat profile, especially if you peel the skin post-cook. The bark contributes trace minerals from the spices, while the smoke itself adds negligible calories but significant polycyclic aromatic hydrocarbons (PAHs) in moderate, safe concentrations when cooked correctly.
Dietary Swaps
Keto-Friendly: Already compliant. Skip the brown sugar in the rub, relying on smoked paprika and garlic for flavor depth. Gluten-Free: Verify your spice blends contain no anti-caking agents with gluten. Mustard and all listed ingredients are naturally gluten-free. Paleo/Whole30: Omit brown sugar, use coconut aminos if adding a glaze. Low-Sodium: Reduce kosher salt to 1 tablespoon and rely on acid (lemon, vinegar) and herbs for flavor lift.
Serving & Presentation
Rustic Farmhouse: Carve into quarters, plate over a bed of grilled vegetables and drizzle with a reduced apple cider pan sauce. Garnish with fresh thyme and serve family-style on a worn wooden board.
Modern Minimalist: Slice breast into perfect medallions, fan across white porcelain, and accent with a single pickled cherry and microgreens. A smear of smoked aioli anchors the composition.
BBQ Feast: Pull all the meat, toss lightly with a vinegar-based Carolina sauce, and pile into toasted brioche buns. Serve alongside tangy coleslaw and charred corn for a complete smoke-pit spread.
The Pro-Dodge
Pitfall 1: Bitter, acrid smoke. White billowing clouds mean incomplete combustion. Wait until you see thin, barely visible blue smoke before adding the bird. Fix: If you taste bitterness, wrap the chicken in foil for the final 30 minutes to halt further smoke absorption.
Pitfall 2: Rubbery skin. Low humidity or insufficient heat prevents fat rendering. Fix: Finish the bird on a hotter zone (300°F) for the last 15 minutes or under a broiler for 2 minutes per side to crisp the skin.
Pitfall 3: Dry breast meat. Pulling too late or cooking at uneven temps. Fix: Always rely on probe thermometers, never time alone. If overcooked, shred the meat and toss with a vinegar-butter emulsion to reintroduce moisture.
The Meal Prep Corner
Storage: Refrigerate smoked chicken in an airtight container up to 4 days. The bark softens slightly but flavor intensifies as smoke compounds continue to meld.
Reheating: Avoid the microwave, which steams and ruins texture. Reheat in a 300°F oven, skin-side up, for 12 minutes, or slice and sear in a hot cast-iron skillet with a touch of butter for day-one crispness.
Freezing: Vacuum-seal portions and freeze up to 3 months. Thaw overnight in the fridge, then reheat as above. The texture holds remarkably well, though skin may lose some snap.
The Wrap-Up
Smoking chicken is equal parts patience and precision, where understanding thermal dynamics and wood combustion science lets you replicate professional results in your own backyard. These nine tips, from dry-brining protocols to stall management, transform smoking chicken recipes from vague instructions into repeatable technique. Share your smoke rings, your bark close-ups, and your favorite wood pairings in the comments. Let's build a community where every cook masters the fire.
The Kitchen Table
Q: Can I smoke frozen chicken?
A: Technically yes, but it adds 50 percent to cook time and prevents effective dry-brining. Thaw completely in the fridge for 24 hours, then apply your rub for best results.
Q: What's the best wood for smoking chicken recipes?
A: Fruitwoods (apple, cherry, peach) offer mild sweetness that complements poultry without overpowering. Hickory and oak work but require restraint to avoid bitterness. Avoid mesquite unless blending with a milder wood.
Q: Do I need to brine if I'm dry-brining?
A: No. Dry-brining (salting and resting) achieves similar moisture retention without the mess or dilution of a wet brine. It also promotes better skin crisping by reducing surface water.
Q: How do I know when the smoker is at the right temp?
A: Use a reliable dual-probe thermometer with one probe monitoring grate-level temp. Dome thermometers often read 25°F higher than actual cooking surface. Calibrate or invest in a digital system for accuracy.
Q: Can I use a gas or pellet smoker?
A: Absolutely. While purists favor charcoal for smoke flavor complexity, pellet and gas smokers offer superior temperature stability. Add a smoke tube with wood pellets to gas units for enhanced smoke penetration.