
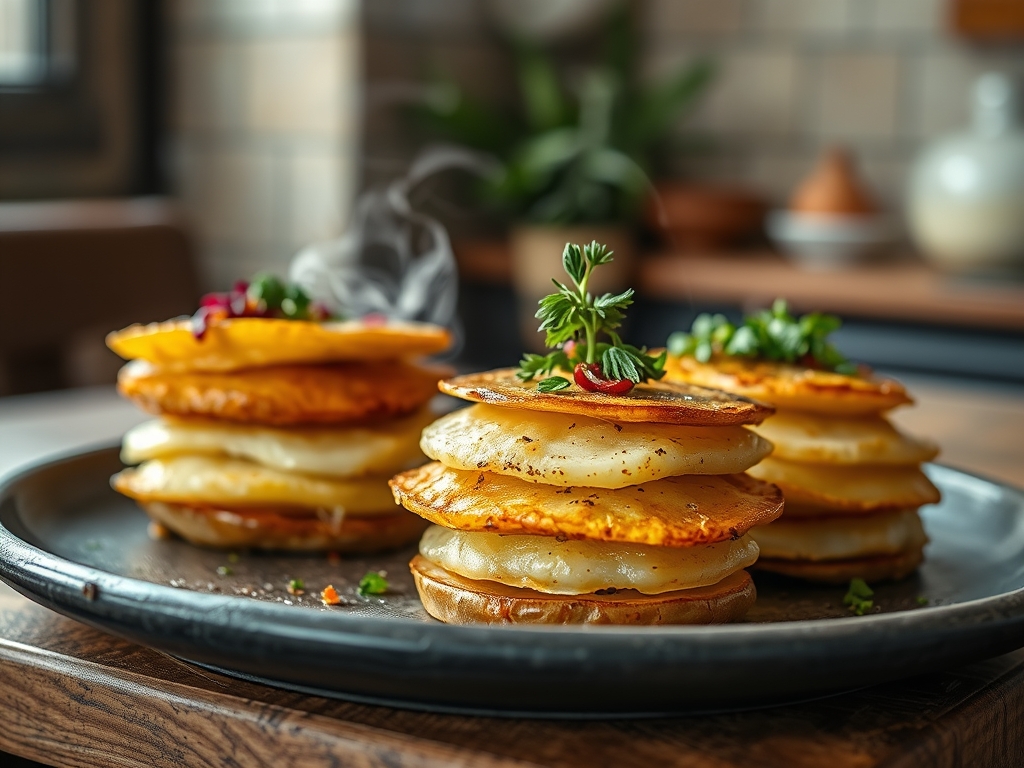
Imagine the sound of a thousand microscopic glass shards shattering at once. That is the precise acoustic profile of the perfect bite. When we talk about stacked potato recipes, we are not just discussing a side dish; we are engineering a structural marvel of starch and lipid. It is about those paper thin layers, fused together by clarified butter, creating a geometric tower that is impossibly soft in the center and aggressively crunchy on the perimeter. We are chasing that golden ratio where the exterior achieves a deep mahogany hue while the interior remains a buttery, silk like laminate. This is the ultimate evolution of the humble tuber.
The secret to mastering these architectural snacks lies in the precision of the slice and the control of the heat. We are moving beyond the rustic mash or the simple roast. By stacking these slices, we create hundreds of tiny surface areas that catch the heat, allowing for maximum Maillard reaction coverage. It is a sensory overload of salt, fat, and heat that turns a pantry staple into a fine dining centerpiece. Grab your apron and your sharpest blade; we are about to turn your kitchen into a high end laboratory of crispiness.

The Gathers:
To execute these stacked potato recipes with professional flair, your mise-en-place must be immaculate. Start with high starch potatoes, specifically Russets or Yukon Golds, which possess the amylose content necessary for structural integrity. You will need a high quality fat source; clarified butter or ghee is superior here because the milk solids have been removed, preventing burning during the long roast. For the piquant elements, gather fresh thyme, rosemary, and a block of aged Parmigiano Reggiano.
Your tool kit is just as vital as your ingredients. You will need a mandoline slicer for uniform thickness, a digital scale to ensure each stack is weighted equally, and a muffin tin or a heavy-bottomed skillet to act as the mold. A microplane is essential for aerating your cheese into a fine snow that melts instantly between the layers.
Smart Substitutions: If you are avoiding dairy, duck fat is a phenomenal alternative that offers a savory, gamey depth. For a lower glycemic index, you can swap half the potato volume with thinly sliced celery root or parsnips. These root vegetables bring a subtle earthiness and a different fiber structure that still holds the "stack" shape beautifully.
The Clock
Efficiency in the kitchen is about understanding the Chef's Flow. The total active prep time for these stacked potato recipes is approximately 25 minutes, but the magic happens during the 50 to 60 minute bake. You must account for the "compression phase," where the potatoes sit under weight to ensure the layers bond.
Think of your workflow in three distinct stages: the Slice (10 minutes), the Assembly (15 minutes), and the Transformation (60 minutes). While the potatoes are in the oven, use that time to prepare your dipping sauces or garnishes. This ensures that the moment the timers go off and the carryover cooking finishes, you are ready to serve. Never rush the cooling process; a five minute rest allows the starches to set, preventing your beautiful towers from sliding apart when you plate them.
The Masterclass
1. The Precision Slice
Using your mandoline, slice the potatoes into translucent rounds, roughly 1.5 millimeters thick. If they are too thick, they will feel like boiled coins; too thin, and they will dissolve into mush before they can crisp.
Pro Tip: Place your slices immediately into a bowl of ice water to wash away excess surface starch. This prevents enzymatic browning (oxidation) and ensures the slices stay individual rather than sticking together in a gummy mass.
2. The Lipid Infusion
Drain the slices and pat them bone dry with a lint free towel. In a large bowl, toss them with melted clarified butter, salt, and aromatics. You want every single millimeter of surface area coated in a thin, viscous layer of fat.
Pro Tip: Use your hands to "shingle" the slices, ensuring the salt is distributed evenly. Salt draws out moisture through osmosis, which is crucial for achieving that final crunch.
3. The Structural Build
Grease your muffin tin or baking dish. Begin stacking the slices one by one, pressing down firmly after every five layers. Fill the molds slightly above the rim, as they will shrink as the water evaporates.
Pro Tip: This is where thermal mass comes into play. By packing them tightly, the center stays insulated and steams in its own juices while the edges are exposed to direct dry heat.
4. The Compression Roast
Cover the tin with parchment paper and place another baking sheet on top, weighted down with a heavy oven safe pot. Bake at 375 degrees Fahrenheit for the first 30 minutes.
Pro Tip: Weighting the potatoes forces the layers to fuse together through a process called starch gelatinization. Without this pressure, the stacks will fan out and lose their signature "mille-feuille" appearance.
5. The Unveiling and Crisp
Remove the weights and the top tray. Increase the oven temperature to 425 degrees. Continue roasting until the tops and edges are a vibrant, shattered glass gold.
Pro Tip: Watch for the Maillard reaction to accelerate in these final minutes. The sugars and amino acids are reacting to create hundreds of new flavor compounds that give the potatoes their "meaty" umami profile.
6. The Final Extraction
Run a bench scraper or a small offset spatula around the edges of each stack to loosen them. Lift them out carefully and place them on a wire rack to cool for three minutes.
Pro Tip: Cooling on a rack prevents steam from collecting at the bottom of the stack. If you leave them in the tin, the bottom will become soggy due to evaporative cooling trapped against the metal.
The Deep Dive
From a macro perspective, these stacked potato recipes are a source of complex carbohydrates and potassium, though the caloric density is high due to the necessary fats. One stack typically contains about 180 calories, 12 grams of fat, and 20 grams of carbohydrates.
Dietary Swaps: For a Vegan version, use avocado oil or a high quality plant based butter. For Keto enthusiasts, you can replace the potato entirely with sliced daikon radish or zucchini, though the texture will be softer. These recipes are naturally Gluten-Free, provided you do not use flour as a thickening agent.
The Fix-It:
- Soggy Bottoms: This usually means the oven temp was too low or the potatoes weren't dried properly. Fix: Finish them in a heavy-bottomed skillet with a touch of oil for two minutes on high heat.
- Falling Apart: This happens if the slices were too thick or not compressed. Fix: Next time, use a heavier weight during the first half of baking.
- Burnt Edges, Raw Middle: Your oven has hot spots. Fix: Rotate the tray 180 degrees halfway through the cooking process and ensure slices are uniform.
Meal Prep: To reheat and maintain "day-one" quality, avoid the microwave at all costs. Use an air fryer at 350 degrees for five minutes or a toaster oven. This re-activates the fats and recrisps the exterior without drying out the interior.
The Wrap-Up
You have officially graduated from basic boiling to the high stakes world of potato architecture. These stacked potato recipes are more than just food; they are a masterclass in texture, patience, and the glorious science of the Maillard reaction. Whether you are serving these at a posh dinner party or just treating yourself to a midnight snack, remember that the secret is in the layers. Go forth, slice thin, and may your crunch be heard from three rooms away.
The Kitchen Table
Can I make these ahead of time?
Yes. You can bake and compress them a day early, keep them in the fridge, and do the final "crisping" roast right before serving. This actually improves the structural integrity of the stacks.
What is the best potato for stacking?
Russets are the gold standard for crunch due to their high starch content. However, Yukon Golds offer a creamier, more luxurious interior texture. A mix of both can provide a complex flavor profile.
Do I need to peel the potatoes?
Peeling is optional but recommended for a refined look. If you leave the skins on, ensure you scrub them thoroughly; the skin adds a rustic texture but can sometimes prevent the layers from fusing perfectly.
Why are my potato stacks gray?
This is caused by oxidation. If you slice the potatoes and leave them exposed to air for too long before coating them in fat or water, they will discolor. Work quickly and keep slices submerged.