
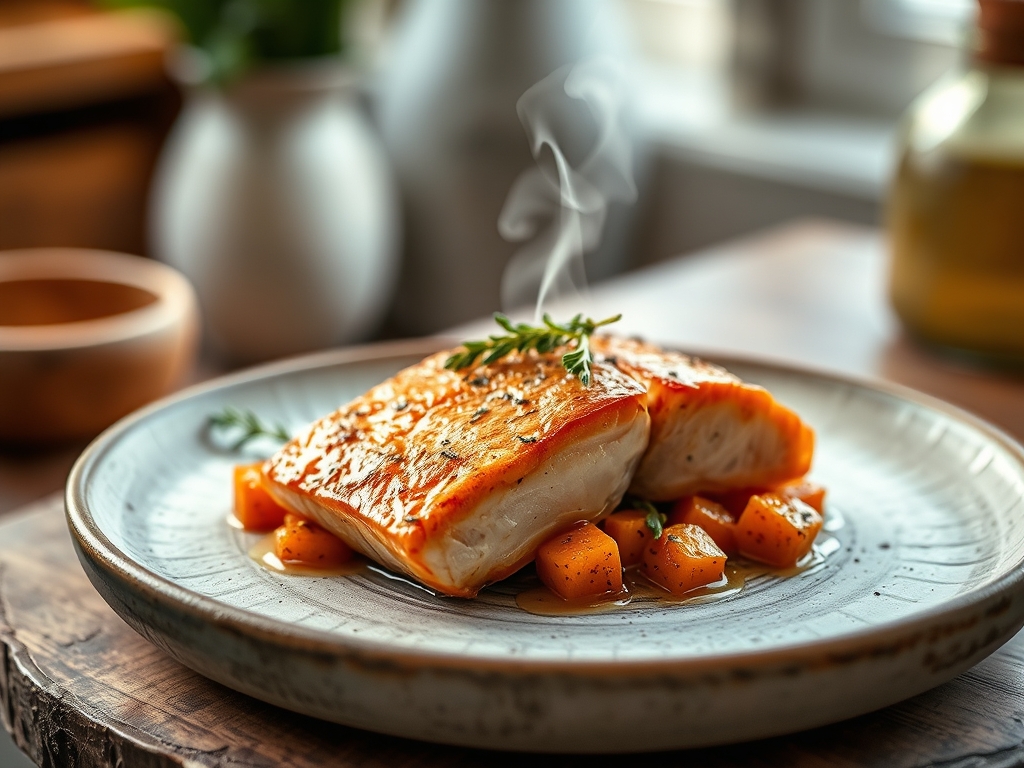
Imagine the sizzle of a heavy-bottomed skillet meeting cold fat as the skin of a sockeye fillet begins its transformation into a salty, glass-like crust. Pair that with the earthy, caramel scent of roasting tubers and you have the foundation for world-class salmon and sweet potato recipes that bridge the gap between Tuesday night fuel and fine dining.
We are moving past the basic "protein and starch" mindset today. We are looking at the molecular harmony between the astaxanthin-rich fats of the fish and the complex polysaccharides of the potato. This is a culinary marriage of texture and temperature. Whether you are searing, poaching, or mashing, the interplay of sweetness and salinity is your secret weapon for a high-performance meal that feels like an indulgence.
The Gathers:
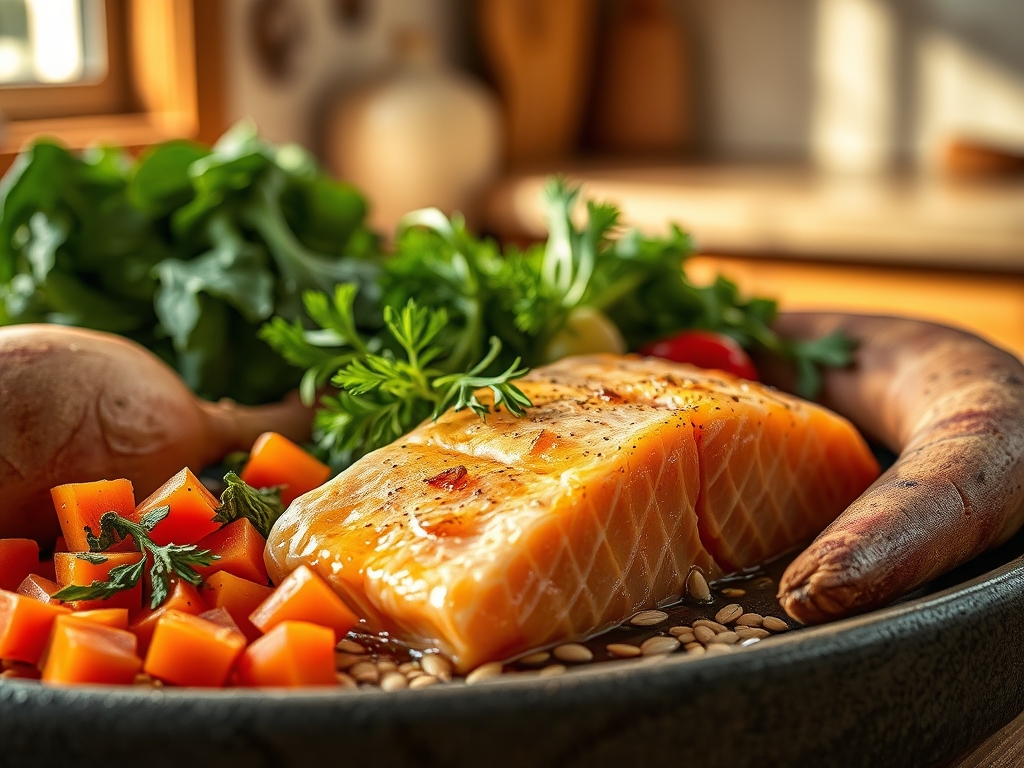
Setting your station is the difference between a frantic kitchen and a rhythmic flow. For these salmon and sweet potato recipes, your mise-en-place requires a focus on moisture control. You will need center-cut fillets; look for vibrant flesh that bounces back when pressed. For the tubers, Garnet or Jewel varieties offer the highest sugar content for superior caramelization.
Gather your microplane for zesting citrus, a bench scraper to transport diced potatoes without bruising the starch cells, and a digital scale for precise portioning. You will also want high-smoke-point fats like avocado oil or clarified butter to ensure you can reach the high temperatures needed for the Maillard reaction without scorching the delicate proteins.
Smart Substitutions:
If you cannot find fresh salmon, high-quality frozen fillets work perfectly if thawed slowly in the refrigerator to prevent cellular rupture. No sweet potatoes? Kabocha squash offers a similar viscous texture and earthy sweetness. For a dairy-free richness in your mash, swap butter for a piquant tahini or a splash of full-fat coconut milk to maintain that velvety mouthfeel.
The Clock
Efficiency in the kitchen is about mastering the "Chef's Flow." This refers to the strategic overlapping of tasks based on thermal requirements. Sweet potatoes are the marathon runners; they require 25 to 35 minutes depending on the cut. Salmon is the sprinter, needing only 6 to 10 minutes of active heat.
Expect a total prep time of 15 minutes and a cook time of 30 minutes. The flow begins with the potatoes. While they undergo enzymatic browning in the oven, you use that window to temper your fish. Cold fish in a hot pan causes the muscle fibers to seize, resulting in a tough texture. By the time your potatoes reach fork-tender perfection, your salmon is ready for its quick, high-heat finish.
The Masterclass
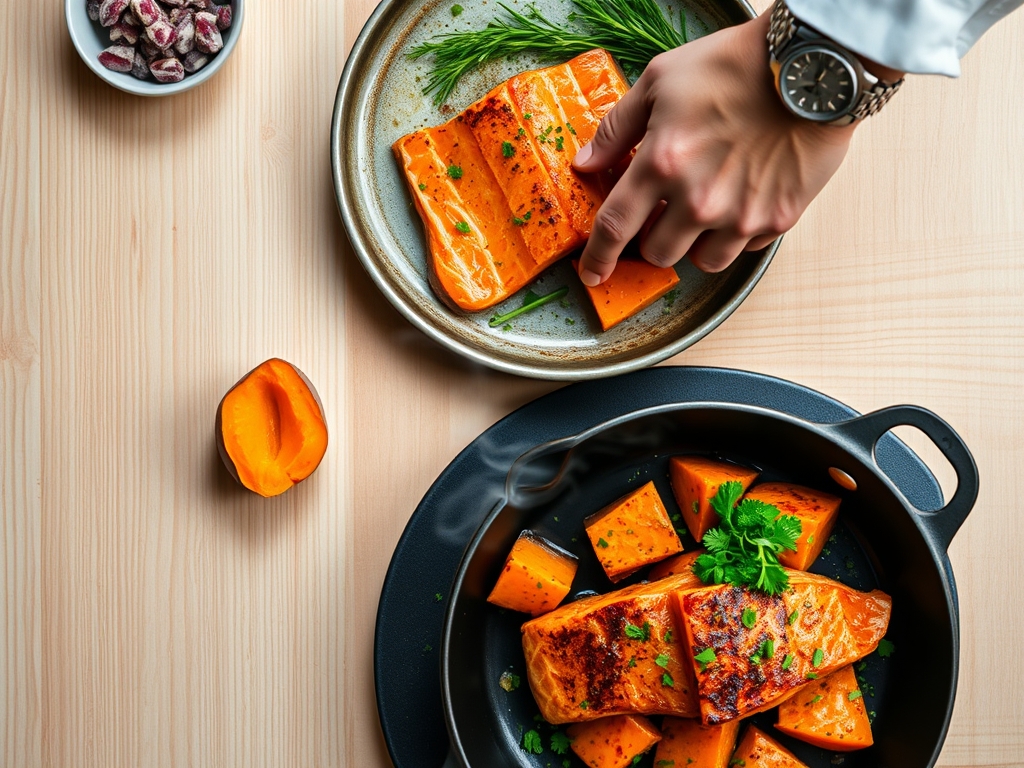
1. Prep the Tubers for Maximum Surface Area
Use a sharp chef's knife to dice your potatoes into uniform half-inch cubes. Uniformity is not just for aesthetics; it ensures every piece finishes cooking at the exact same millisecond. Toss them in a bowl with oil and salt until they look glossy.
Pro Tip: This is about starch gelatinization. By coating the potatoes in fat before they hit the heat, you create a barrier that allows the internal moisture to steam the flesh while the exterior roasts into a crisp shell.
2. The Initial Roast
Spread the potatoes on a preheated sheet pan. You should hear a faint hiss. This immediate contact with a hot surface kickstarts the breakdown of complex sugars into maltose, creating that deep, caramelized flavor profile.
Pro Tip: Avoid overcrowding the pan. If the potatoes are too close, they will release steam and "wet-cook" rather than roast. You want dry heat to encourage the Maillard reaction, which produces hundreds of different flavor compounds.
3. Tempering the Salmon
While the potatoes roast, remove your salmon from the fridge. Pat the skin bone-dry with a paper towel. Moisture is the enemy of a crisp sear. Season generously with kosher salt, which will draw out a tiny amount of surface protein to create a savory "glue" for the crust.
Pro Tip: This stage prevents albumin extrusion, those little white bubbles of protein that leak out when fish is shocked by sudden temperature changes. A tempered fillet cooks more evenly from edge to center.
4. The High-Heat Sear
Heat your heavy-bottomed skillet until the oil shimmers. Place the salmon skin-side down using tongs. Press down firmly for the first 30 seconds to prevent the skin from curling. This ensures maximum contact with the heat source.
Pro Tip: Use the science of thermal conduction. The skin acts as a heat shield, protecting the delicate flesh from overcooking while the fat renders into a crispy, flavorful layer.
5. The Deglaze and Infuse
Once the salmon is flipped, toss a knob of butter and a smashed garlic clove into the pan. Use a spoon to infuse the bubbling fat over the fish. This technique, known as arroser, adds a nutty depth and keeps the top of the fillet moist.
Pro Tip: This creates a viscous pan sauce almost instantly. The butter solids brown (beurre noisette), adding a toasted aroma that complements the sweetness of the potatoes.
6. The Final Rest
Move the salmon to a warm plate and let it sit for three minutes. This allows the internal juices, which have been pushed to the center by the heat, to redistribute through the muscle fibers.
Pro Tip: Account for thermal carryover. The internal temperature will continue to rise by about 5 degrees after you remove it from the pan. Pull the fish at 125 degrees Fahrenheit for a perfect medium-rare finish.
The Deep Dive
From a nutritional standpoint, this pairing is a powerhouse. You are looking at a dense profile of Omega-3 fatty acids, Vitamin A, and fiber. A standard portion provides roughly 35g of protein and 6g of fiber, making it an ideal post-workout recovery meal.
Dietary Swaps:
For a Keto version, reduce the portion of sweet potato and increase the healthy fats with an avocado-lime crema. For a Vegan alternative, replace the salmon with a thick "steak" of roasted cauliflower or firm tofu marinated in seaweed broth to mimic that oceanic salinity.
The Fix-It:
- Soggy Skin: Your pan wasn't hot enough or the skin was damp. Next time, use a bench scraper to ensure the skin is perfectly flat and dry before searing.
- Dry Salmon: You missed the carryover window. Use a digital thermometer to pull the fish earlier.
- Burnt Potatoes: This happens when the sugar content is high but the oven rack is too low. Move the tray to the center rack for more ambient, rather than direct, heat.
Meal Prep:
To reheat without ruining the texture, avoid the microwave. Use a toaster oven at 300 degrees Fahrenheit. This gently warms the fats without vibrating the water molecules so violently that the fish becomes rubbery.
The Wrap-Up
Mastering salmon and sweet potato recipes is about more than just following a list of instructions; it is about understanding the physics of the kitchen. When you balance the piquant notes of a citrus garnish with the rich, rendered fats of the fish and the soft, aerated texture of a perfect mash, you are creating a sensory experience. Grab your favorite skillet and let the science do the heavy lifting. You have the tools, the technique, and the "why" behind every flip. Now, go make something incredible.
The Kitchen Table
Can I cook the salmon and potatoes on one tray?
Yes, but timing is vital. Start the potatoes first for 20 minutes. Then, move them to the side and add the salmon. This ensures the potatoes are crisp and the fish remains tender and moist.
What is the best way to season the potatoes?
Use high-quality kosher salt and smoked paprika. The smokiness complements the natural sugars in the potato. Add fresh herbs like rosemary or thyme during the last five minutes of roasting to prevent the delicate leaves from burning.
Why does my salmon stick to the pan?
The protein hasn't finished its natural release. When the skin is properly seared and the proteins have bonded, the fish will naturally lift from the surface. If it sticks, give it another thirty seconds of undisturbed heat.
How do I tell if the sweet potatoes are done?
The exterior should be slightly puffed and golden brown. Use a fork to test the center; it should slide in with zero resistance. If the centers are hard, the starch hasn't fully broken down into sugar yet.